
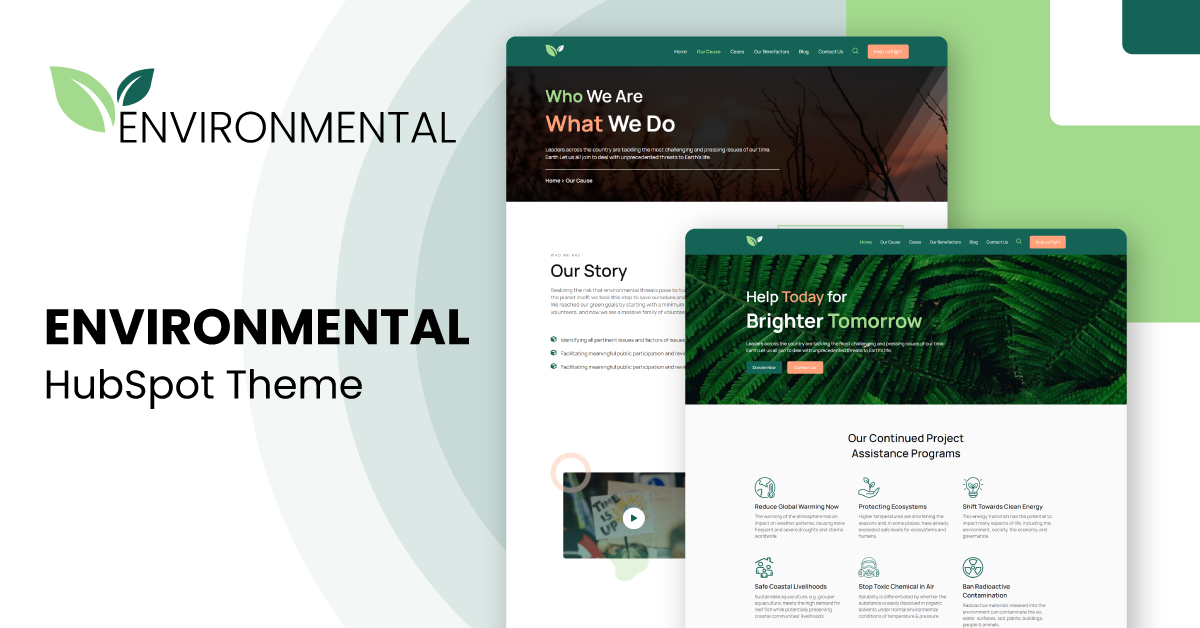
1.Overview
- DIY theme with flexible Drag and Drop customization
- High page speed and lightweight
- 28 modules, 6 pre-built templates, and 11 system pages
- Mobile responsive with easy theme settings
2.Basic Concepts
Here are a few things that you will encounter while using any HubSpot theme:
-
- Modules: They are interchangeable and self-contained objects that add functionality to your page. They concentrate on a specific aspect and, when correctly combined, produce wonders for your UI/UX. You will be able to drag and drop these wherever you wish in the Environmental theme. There are 28 modules in this theme.
- Templates: This is the sample layout that comes with the theme. You can use these to replace your services and content on your website, or you can start from scratch. There are pre-existing 11 templates and 11 system pages in this theme.
- Global Theme Style: Backgrounds, headings, buttons, images, and form fields can all have default design options defined in the theme style settings. These options override and replace the theme’s styling options. Global modules remain the same throughout the website. Wherever you have those modules on the website pages, the settings remain unchanged.
- Global Content: Information that appears on numerous pages, such as the header or footer of a website The drag and drop page editor allows you to edit global content directly.
3.How To Build Page In Environmental HubSpot Theme?
For creating a new page in this HubSpot theme, you can use a page template and customize it accordingly. Follow these steps:
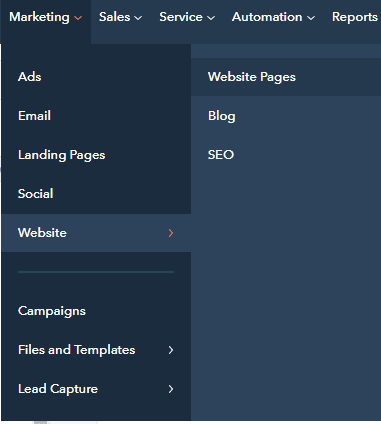
- Log in to your HubSpot account through the HubSpot portal. Go to Marketing > Website > Website Pages.
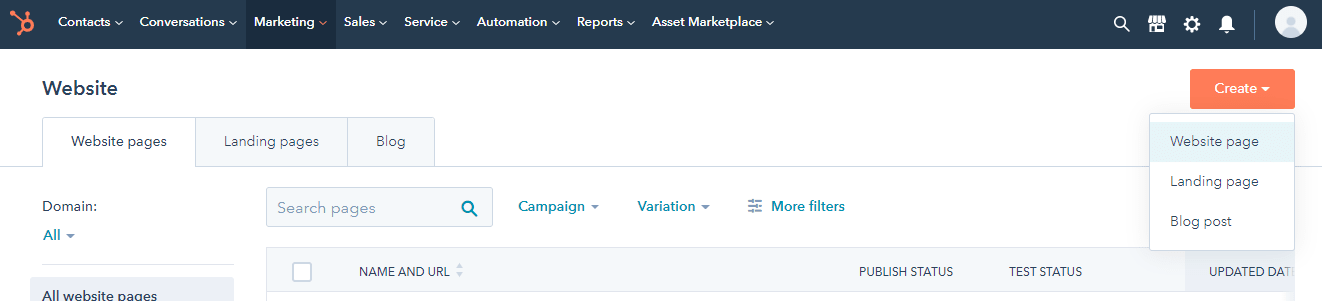
- A Create button can be found in the top right corner. Click Create. Select the sort of page you want to create by clicking on it. Website pages, landing pages, and blogs are all options.
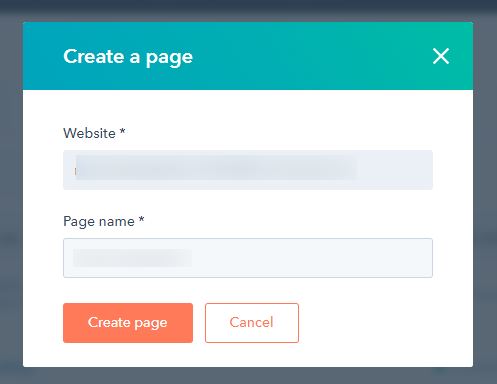
- After you’ve chosen the page type, name the page > Click Create Page.
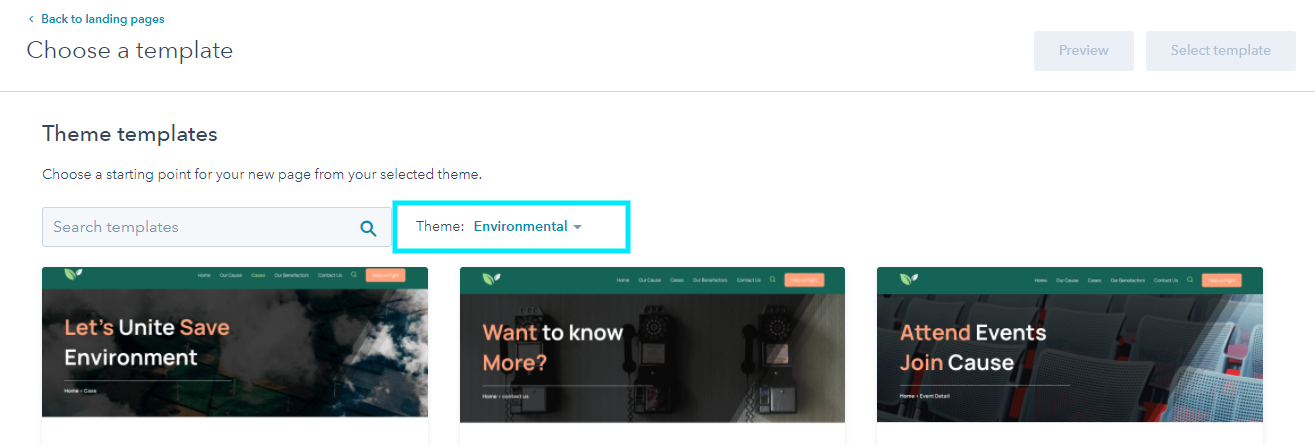
- Now select the Environmental theme and a template after selecting the page type. There are 11 templates included with the theme, including Our Benefactors, Our Cause, Landing Page Donation, and more. Choose which one you wish to make. Click Select Template.
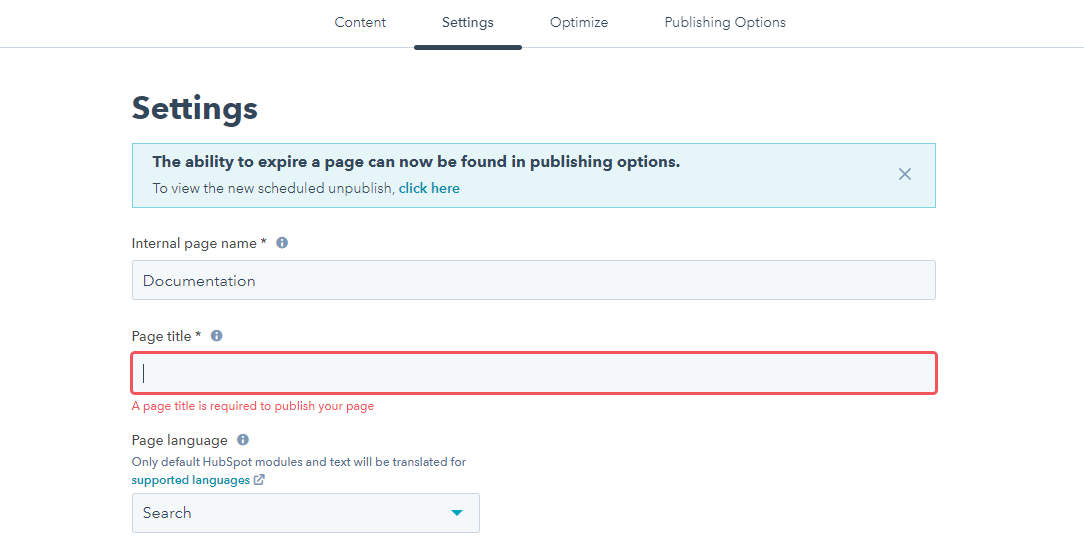
- After you’ve chosen a template, your page will be created successfully. You can now add or remove modules by the drag and drop method as needed. Add meta descriptions, page titles, and other required information, before publishing the page. A page title is necessary before publishing a page.
4.How To Edit Global Styles?
Customizations that will be applied to All Pages and/or Collections are known as global customizations. If you want to keep your customizations constant across Collections and Default Pages, this is a good option.
To edit global styles, follow these steps:
- An Edit Page Panel appears on the left side of the screen once you successfully create a page. Three options available on this panel are:
- Add
- Contents
- Design
- Click Design, you’ll see an Edit Theme Settings button. Click ‘Edit Theme Settings’ to make global changes to the theme.
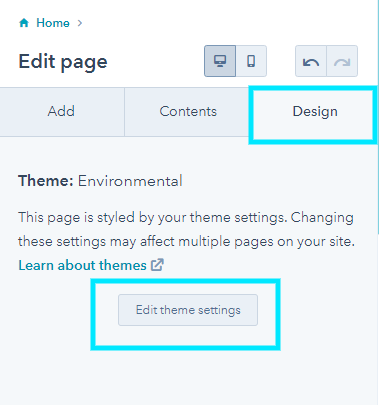
Note: What you change here will affect all of the pages and assets.
You can make changes in the following global styles:

5.How To Edit Global Modules?
In the Environmental HubSpot theme, we have created two global modules:
- Website Header
- Website Footer
After creating any page you can start editing it. On the left side of any created page locate Edit Page Panel. Three opinions available on this panel are:
- Add
- Contents
- Design
Click on Content, you’ll see the Website Header module at the top and the Footer module at the bottom.
5.1.Editing Website Header
For editing website header:
- On the page editor, go to Edit Page panel > Design > Edit Theme Settings
- Select Website Header > Make desired changes
- Publish the header. It will be updated universally.
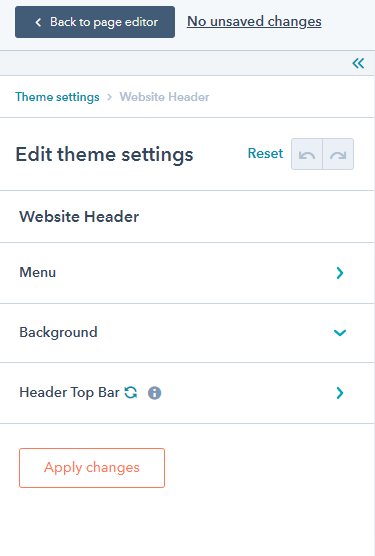
Under the website header in the Environmental theme, you will find the Menu, Background, and Top Bar options.
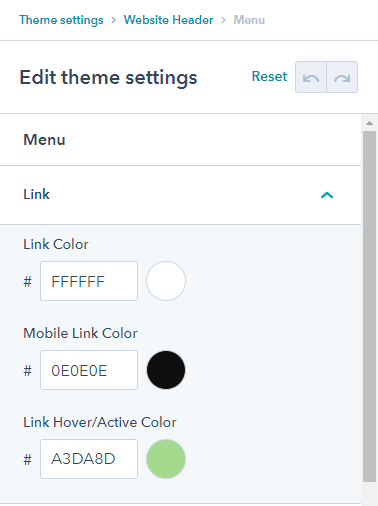
5.1.1.Menu
Under the menu, you can change the following settings related to the menu on your header:
1 Link
Select the link color, mobile link color, and link hover/active color.
2 Dropdowns
Make changes in the text, background, border style and color, and width of the dropdowns on your website.

After making changes click on Apply Changes.
5.1.2.Background Color
You can change the background color of your header. Just put in your color hex code and apply changes.

5.1.3.Header Top Bar
The Top Header Bar is a section above your main menu that allows you to display additional content on top of the header. You might display a secondary menu, language, a message such as a phone number, search, social media icons, and a cart if you have an online store.
In our theme, you can set the top bar by following these steps:
- Go to Website Header > Click Header Top Bar
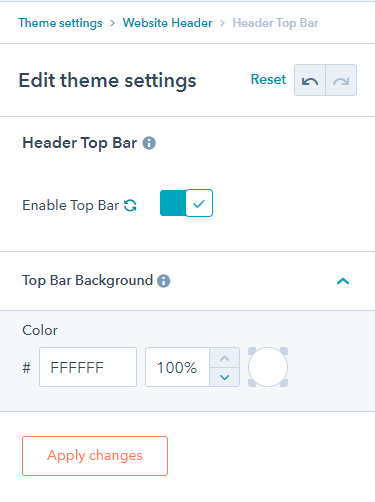
- Push the slider button to enable the top bar.
- Set the background color of the top bar
- Apply Changes.
5.1.2.Editing Website Footer
For editing website footer:
- On the page editor, go to Edit Page panel > Design > Edit Theme Settings
Select Website Footer > Make desired changes on the footer background and text.

- Press Apply Changes. It will be updated universally.
Under the footer, you have the option to edit the website footer text and background.
Please Note: Publishing the changes on these modules will take effect on all your pages so be sure while doing any modifications.
6.How To Change Blog Templates?
You can choose a template for your blog pages using Environmental Theme blog templates. This aids you in deciding how your blog pages will appear. By default you can create a template for the following:
- Blog Post: Template for a single blog post.
- Blog Listing: Template to list all your blog entries in one place.
To change blog templates follow these steps:
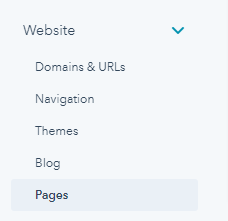
- Go to your HubSpot account’s settings > Scroll down to the left panel > Select Website from the dropdown menu.
- From the drop-down, select the blog option > Choose the templates option.
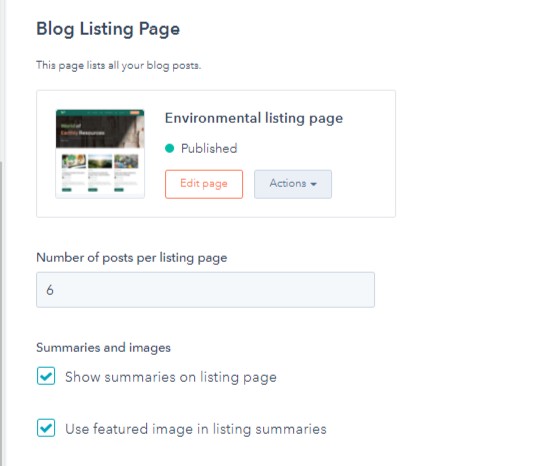
- Go to the Current View option > From the drop-down select Environmental.

- Now select the blog listing page and click on the edit page to continue editing the existing blog template. Select the module through from drag and drop method and apply changes.
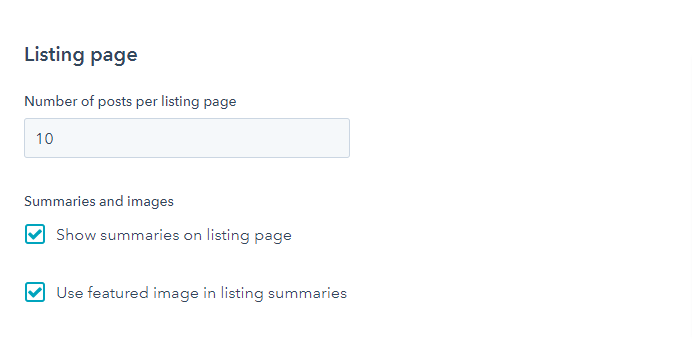
- You can select the number of posts per listing page, select to show summaries and images, and the option to use feature images in listing summaries.
7.How To Change System Templates?
You can use system templates to create a template for system pages such as error pages, password prompts, and search results.
To alter the system templates, follow these steps:
- Go to your HubSpot portal’s Settings > Scroll down to the left panel
- Click Website dropdown > Select Pages
- You will see several sections. Select the System Pages section > Set a template for the system pages after clicking it.

Among the system pages, there are Errors, Password Prompts, and Search Results.
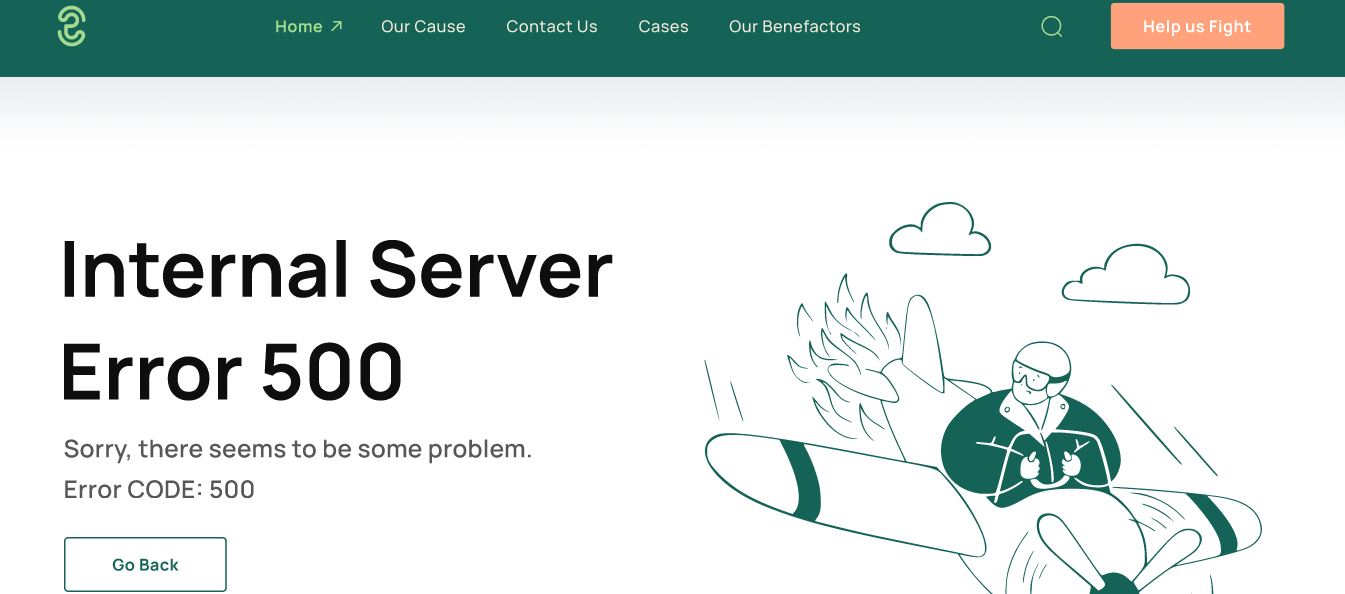
7.1.Errors
Errors
Among the error pages, there are 404 and 500 error pages. To use either of the two pages.
- Go to Settings > Navigate to Website > Select pages from drop-down > Select System Pages.

- Choose the Environmental 500 or 404 Error page from the drop-down menu
- The page template will be used.
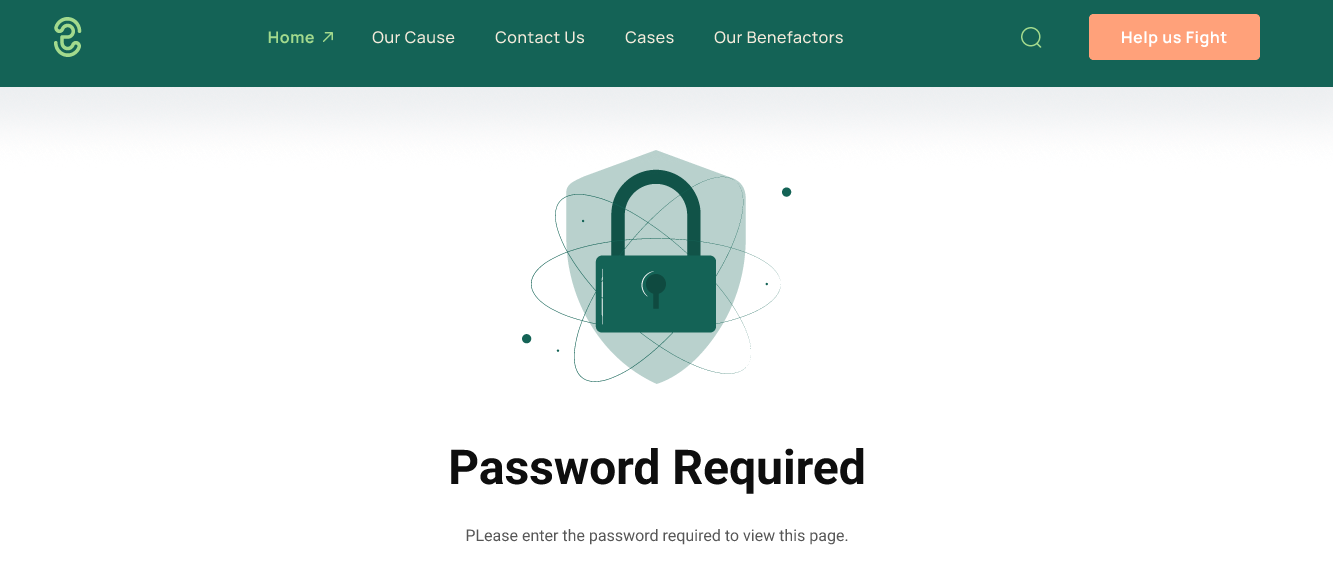
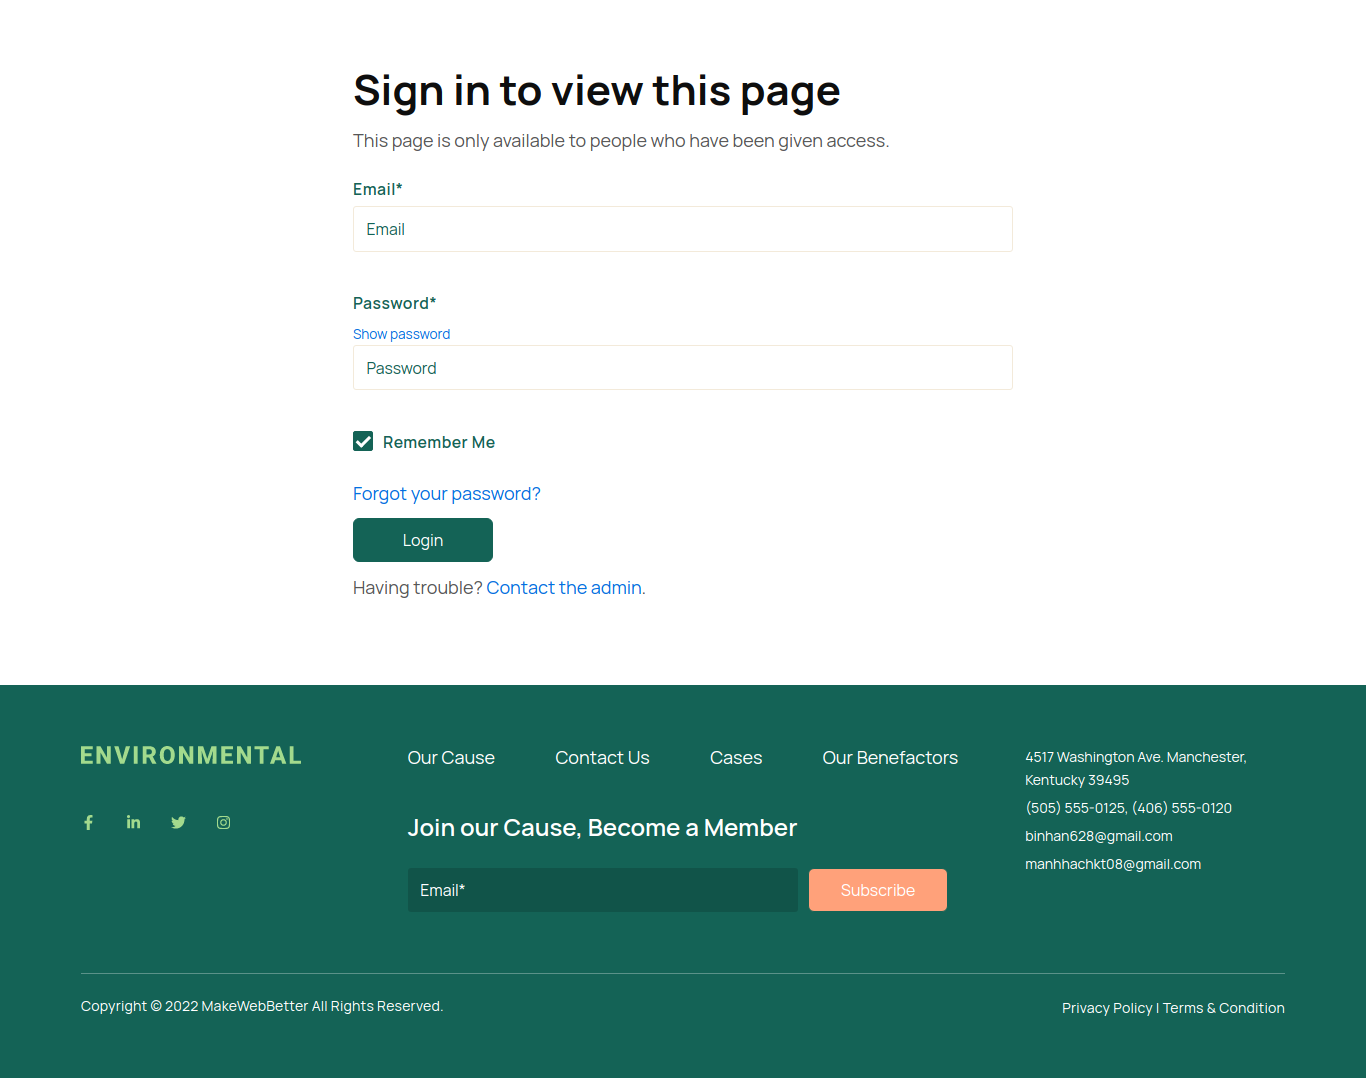
7.2.Password Prompt Page
For using the password prompt page:
- Go to Settings > Navigate to Website > Select pages from drop-down > Select Password Prompt Page.
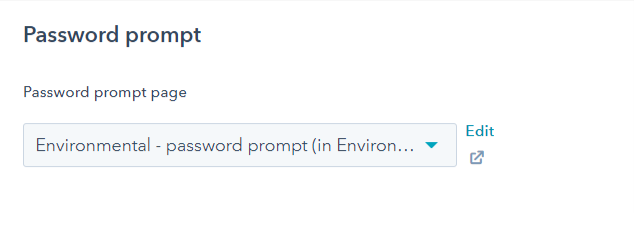
Choose the Environmental Password Prompt from the drop-down option. And our password prompt page will be applied.
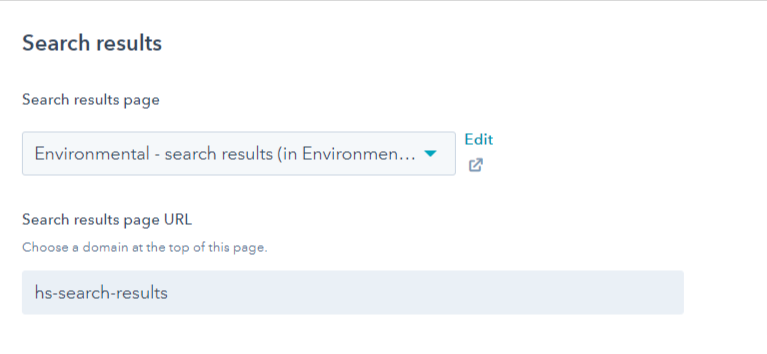
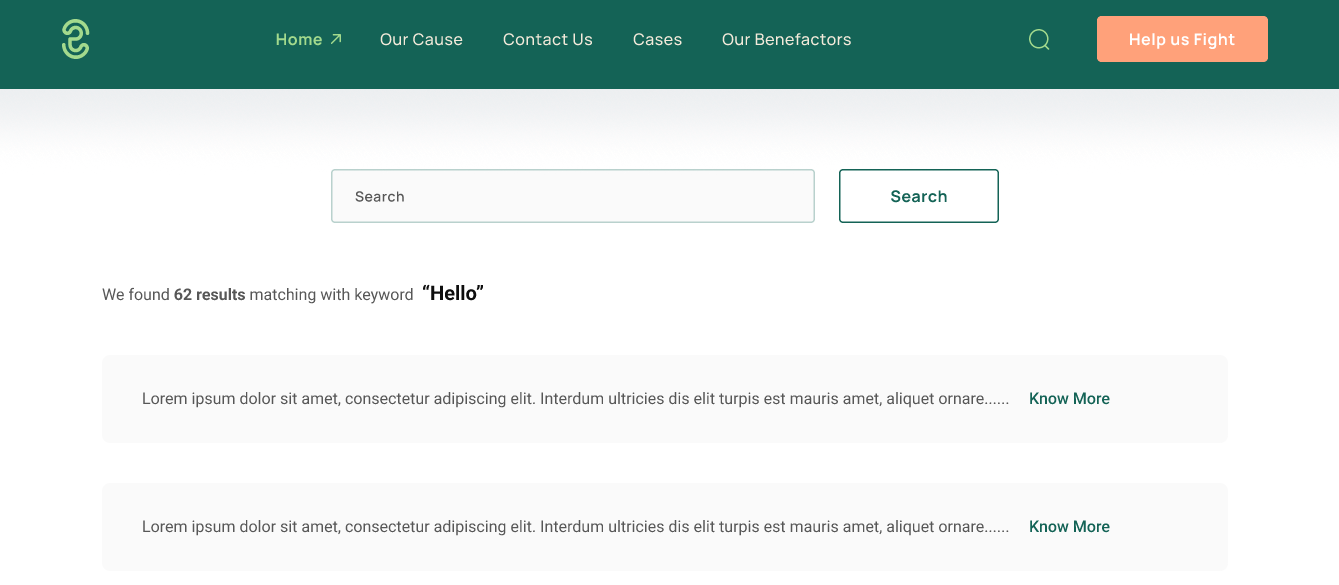
7.3.Search Results
For the search result page:
- Go to Settings > Navigate to Website > Select the environmental template from the dropdown menu > Select Search Result Page.
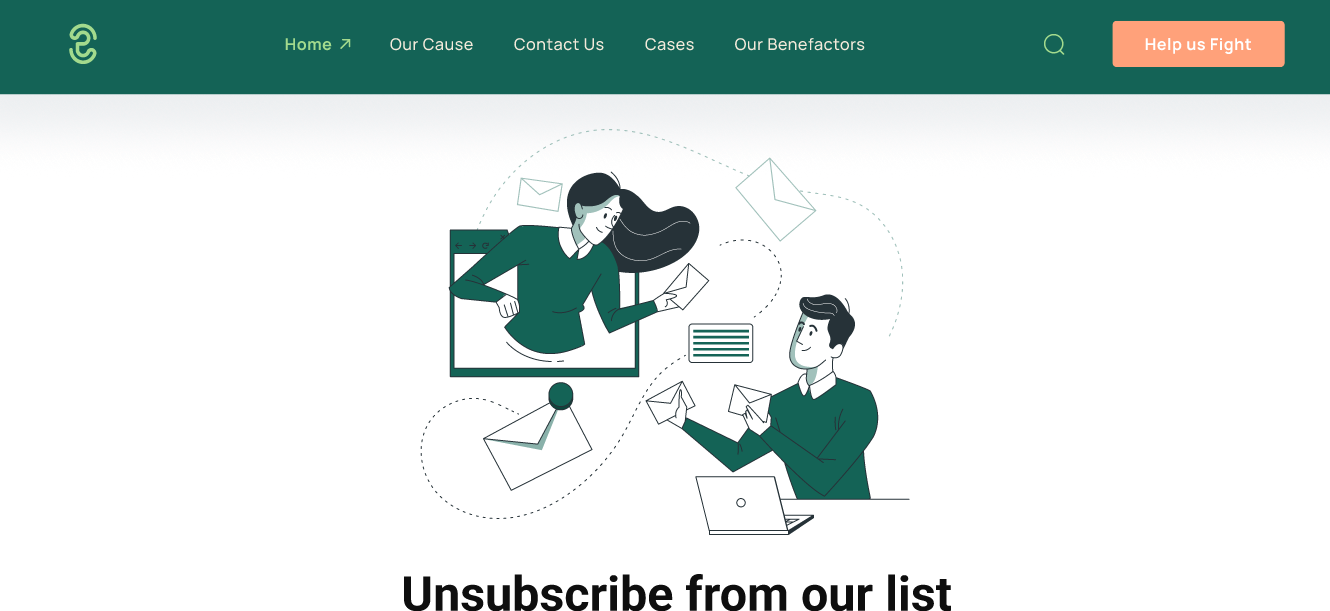
7.4.Email Subscription Template
You can also select the email subscription template.
- Go to Settings > Marketing > Email > Subscriptions
- From the dropdown menu, you can select the Environment theme for the Subscription preference page, Subscription Update confirmation Page, and Unknown Contact subscription confirmation
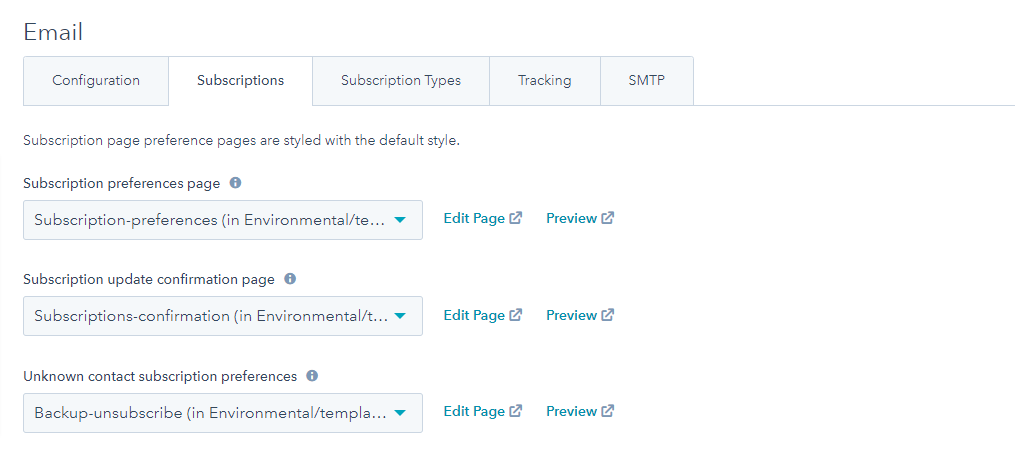
After you have saved your modifications, you will have applied the Environmental template to your chosen pages.
8.Editing Other Theme Settings
You can alter the following settings using these options in the edit theme settings option.
8.1.Global Colors
Under global colors, you can edit the color on every page of your website globally. To change Global Color Settings:
- Go to Marketing > Website > Website Pages > Edit Page Panel > Design > Edit Theme Settings > Global Colors
- Set Primary color > Secondary color > Tertiary color > Title color > Body color > Apply Changes
8.2.Global Fonts
Using global settings, you can change the fonts to appear everywhere on your website pages, blog pages, and system pages. For changing global fonts:
- Go to Marketing > Website > Website Pages > Edit Page Panel > Design > Edit Theme Settings > Global Fonts
- Set Primary Font > Secondary Font > Apply Changes

8.3.Spacing
Using spacing, you can set the spacing between modules and text on your website pages, blog pages, and system pages in a universal manner. To set spacing:
- Go to Marketing > Website > Website Pages > Edit Page Panel > Design > Edit Theme Settings > Spacing
- Set vertical spacing > Maximum content width > Apply changes

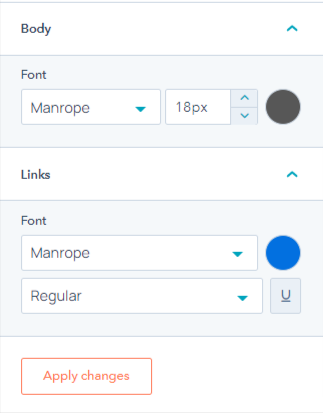
8.4.Typography
Typography is one of the most crucial design aspects. Everything from font style to structure to character and structure is covered by typography. For each heading type, you can set the font, text transform, and mobile font.
For making changes in the typography:
- Go to Marketing > Website > Website Pages > Edit Page Panel > Design > Edit Theme Settings > Typography
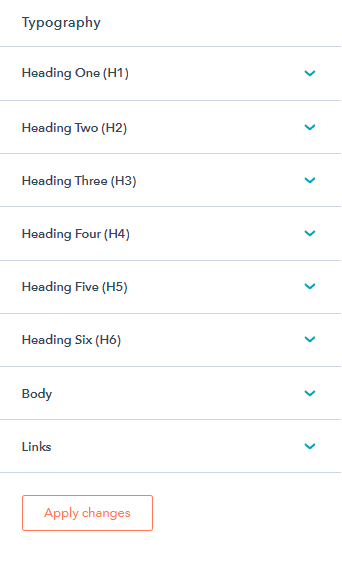
- Choose heading type from h1, h2, h3, h4, h5, and h6.
- Set Transform option from Capitalize, Upper Case, none, or Lowercase.
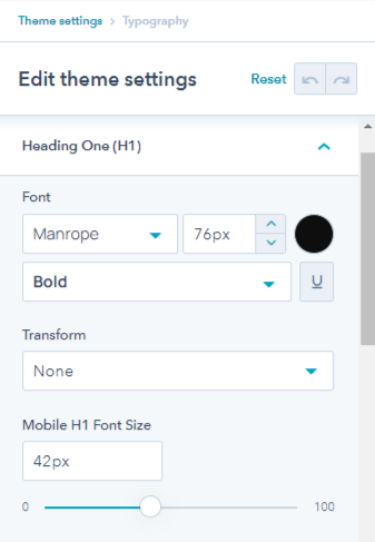
- Set Mobile font. The mobile font will make text appear in the selected font on mobile devices.
- Set body and link font > Apply Changes
8.5.Button
Under buttons, you can change the button style, corner radius, spacing, and padding of primary and secondary buttons n your website pages. To change button settings:
- Go to Marketing > Website > Website Pages > Edit Page Panel > Design > Edit Theme Settings > Buttons
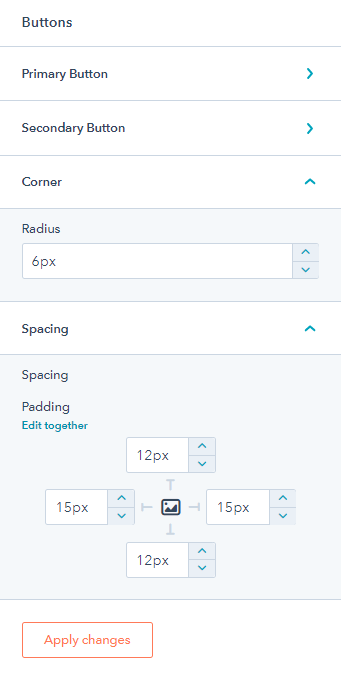
- Select the primary button or secondary button and make changes in its normal state, hover state, and focus state.
- You can also set the border, background, and text for different buttons.
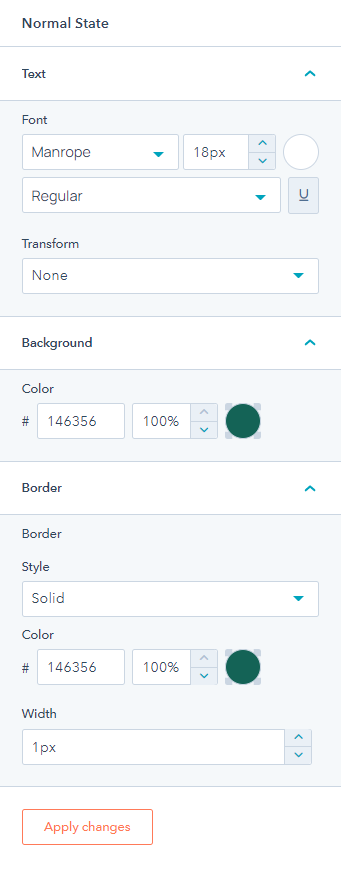
- Set spacing and corner radius > Apply Changes.
8.6.Forms
To change forms settings:
- Go to Marketing > Website > Website Pages > Edit Page Panel > Design > Edit Theme Settings > Forms
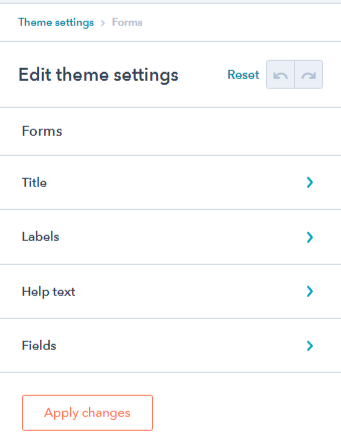
- Under forms you can change the title, labels, help text and alter field settings.
- Apply Changes
8.7.Tables
To make changes in the tables:
- Go to Marketing > Website > Website Pages > Edit Page Panel > Design > Edit Theme Settings > Tables
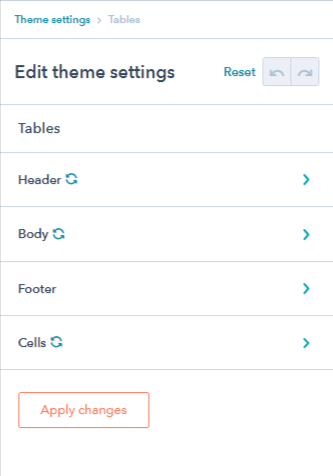
- Set header font & color, body text & background, footer text & background, cells spacing & border.
- Apply changes.
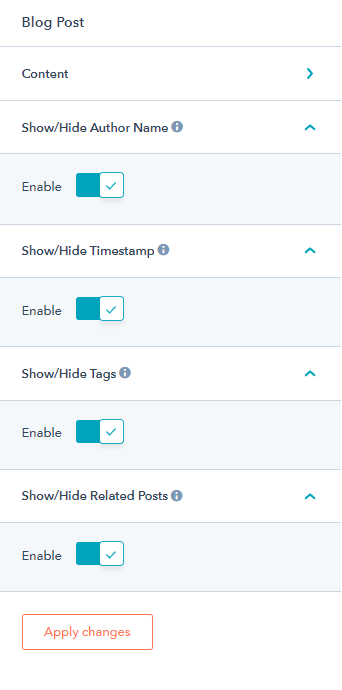
9.Blog Setting
For altering blog settings:
- Go to Marketing > Website > Website Pages > Edit Page Panel > Design > Edit Theme Settings > Blog Settings

- Hit Blog Post > Make changes in the Content > Container width & Paragraph
- Selec to Hide/Show author name/time stamp/tags/Related post > Apply Changes
10.System Page Setting
For system pages modifications follow these steps:
- Go to Marketing > Website > Website Pages > Edit Page Panel > Design > Edit Theme Settings > System Page Settings
- Now you can decide which page settings you want to carry out > Apply Changes
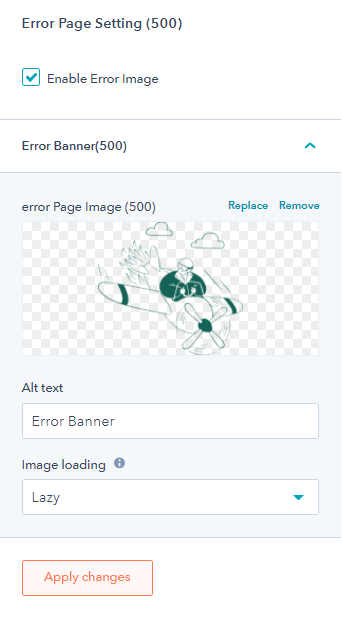
10.1.Error Page Setting (404 & 500)
- Check the checkbox to enable error image
- Replace or remove the error banner image
- Set Alt text and image loading
- Apply changes

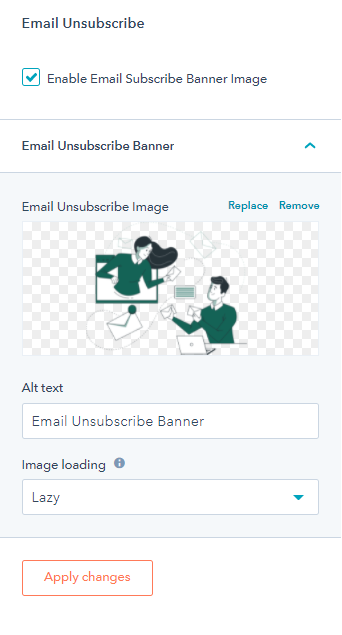
10.2.Email Unsubscribe & Password Prompt
Under email unsubscribe and password prompt page settings you can
- Enable disable both these pages
- Replace/Remove banner image, alt text, and loading
- Apply Changes

11.How To Work With Re-Usable Sections?
To work with the re-usable sections all you need to do is hover over any of the modules > locate and press the plus icon> select from the list of reusable sections > publish changes.
There are 6 re-usable sections in the Environmental HubSpot theme.
12.Modules Library
Here is the list of all the modules available in the Environmetal theme. To work with modules, here are the things you need to keep in mind:
- You need to create a page or use a template for changing modules on the page.
- Simply select the module, drag it anywhere and drop it on the page.
- To edit any module hover over the module > locate pencil icon on the top right of the model > Start editing the module from the module settings on the left
- To delete any module from the page, hover over the module > locate and click the delete icon
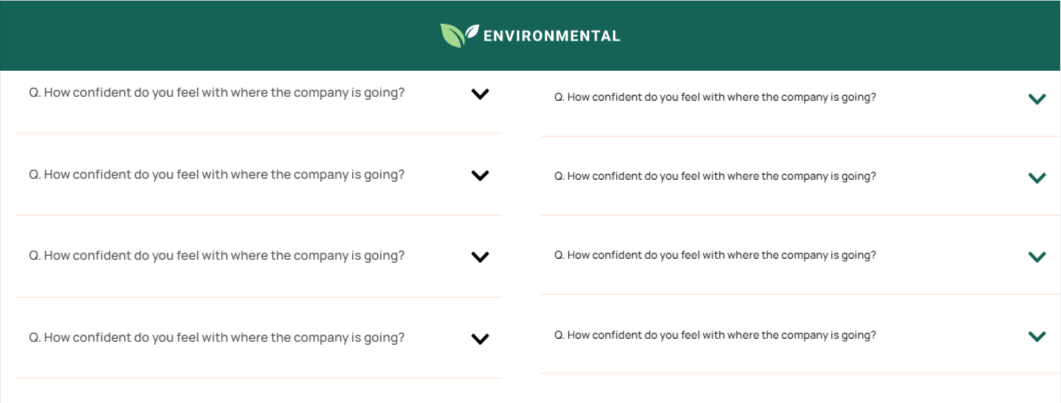
12.1.Accordion
This module can assist you in creating an area where users can toggle between showing and hiding FAQs or vast sections of text. Its height may be adjusted for different devices, such as mobile, desktop, and tablet. You can also modify the color of the background and heading, as well as the border and shadow.
12.2.Benefactor
Enable the benefactor module to display the most precious and revered benefactors of your non-profit organization. You can edit the layout of the module to three or four columns in a single row, edit the content, and style, etc. It is a very attractive module to feature your sponsors and patrons.

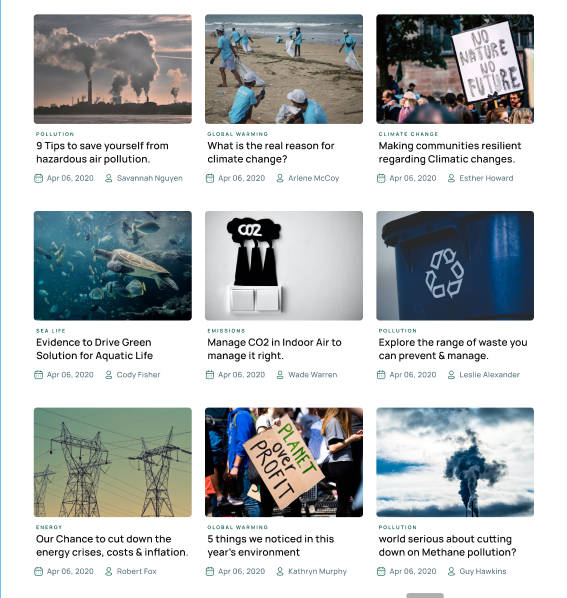
12.3.Blog Listing
In the blog listing module, you can display a set of blogs on your blog page. You can change its content and style. Using a fantastic category of blog entices interested individuals to explore new articles by navigating simple.
12.4.Button
The button module will assist you in placing a button on your page. Set the border radius, enable/disable shadow, alter the font color, and more to adjust the look of this button. You can also enable a primary and secondary button and customize its text and add URLs.
12.5.Case Study
The case study module allows you to showcase a comprehensive examination of a single person, service, problem, group, location, event, organization, or phenomenon. In social, educational, clinical, NPO, and business research, case studies are frequently employed.
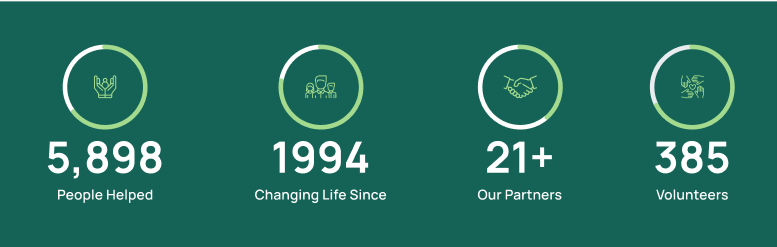
12.6.Counter
The Counter module adds a multi-column section to your page. Each of these columns has some content as well as a counter. You can use it to display numbers like the number of businesses you’ve assisted, the number of clients you’ve served, and the nations to which you provide solutions on your about us or home pages.
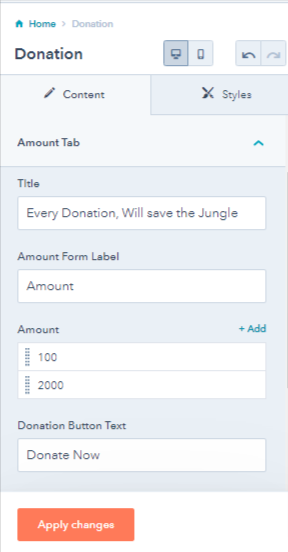
12.7.Donation
The donation module is specifically for your website if you want to urge volunteers to donate for your cause. Just select the module and alter settings, i.e. title, amount label, and donation button. You can add multiple fixed amount options.
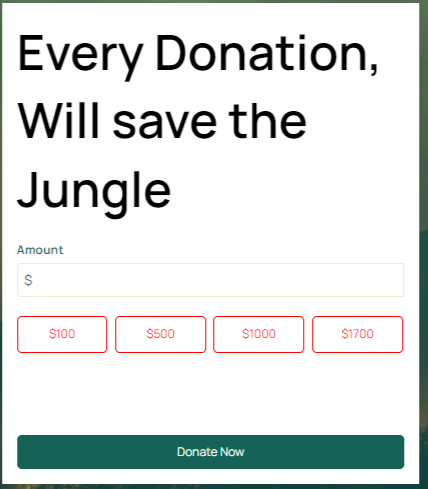
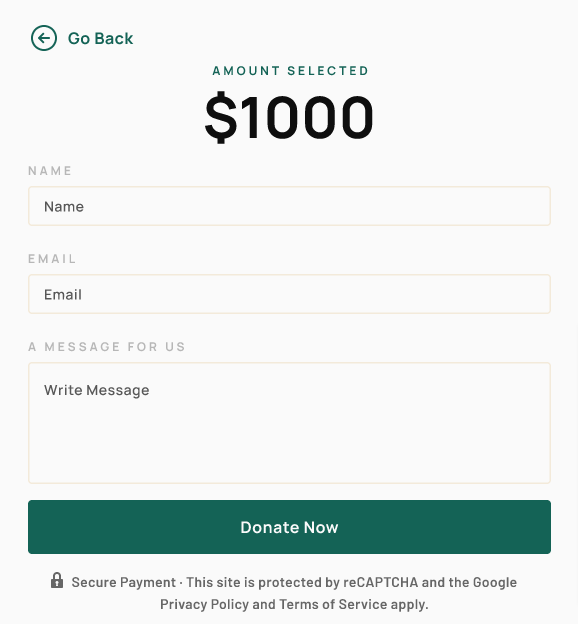
You will need to create a contact property for the donation amount in your form. This form field shall remain hidden in the form.
12.8.Feature Card
You can choose between image or icon type from this section. List your features on this page. You can use the card or overlay layout. You can add multiple feature cards on your page with a progress bar with customizations in their content, image, links, and alt text.
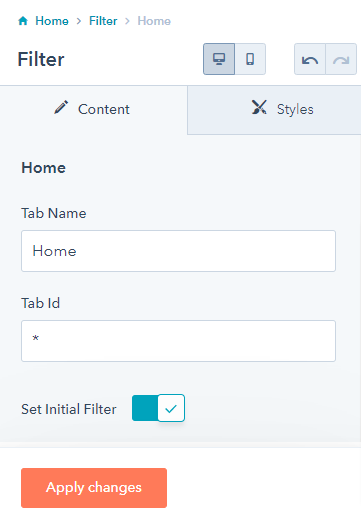
12.9.Filter
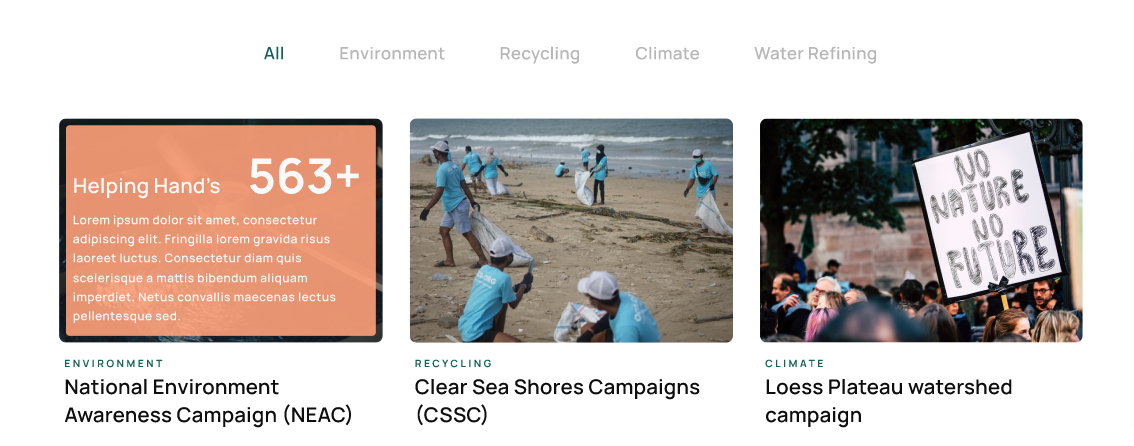
Allow users to filter blogs and content by categories with the use of a filter module. You add multiple categories, tabs, and portfolios. By default, all cases are listed. But, the initial filter setting will allow users to set the initial filter only for a single category at a time.
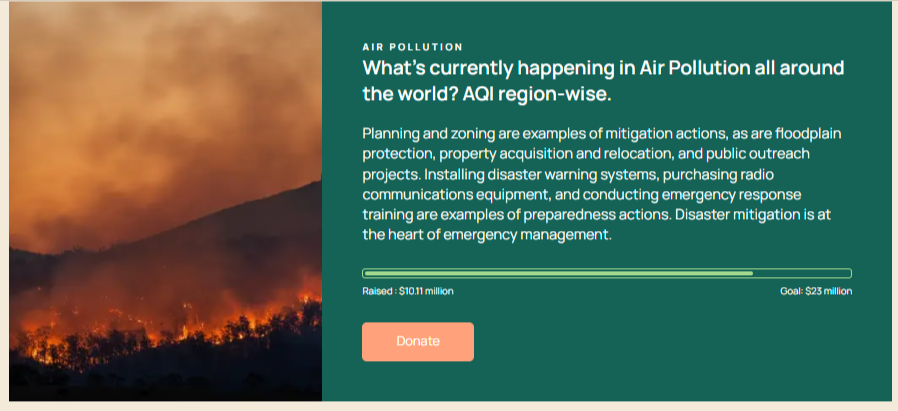
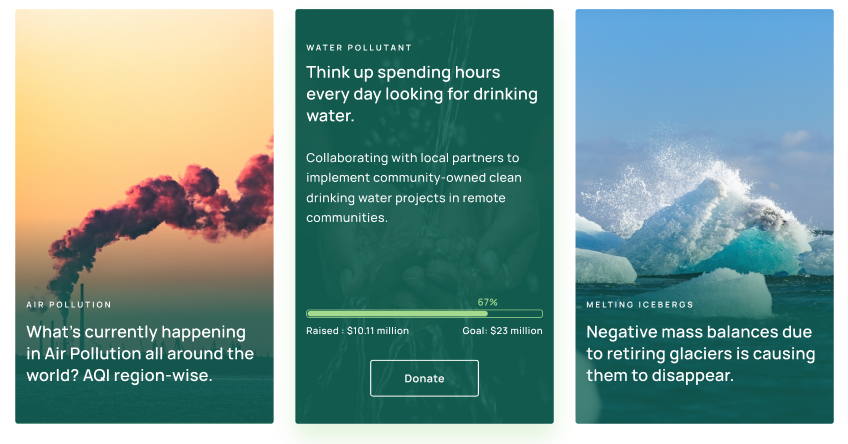
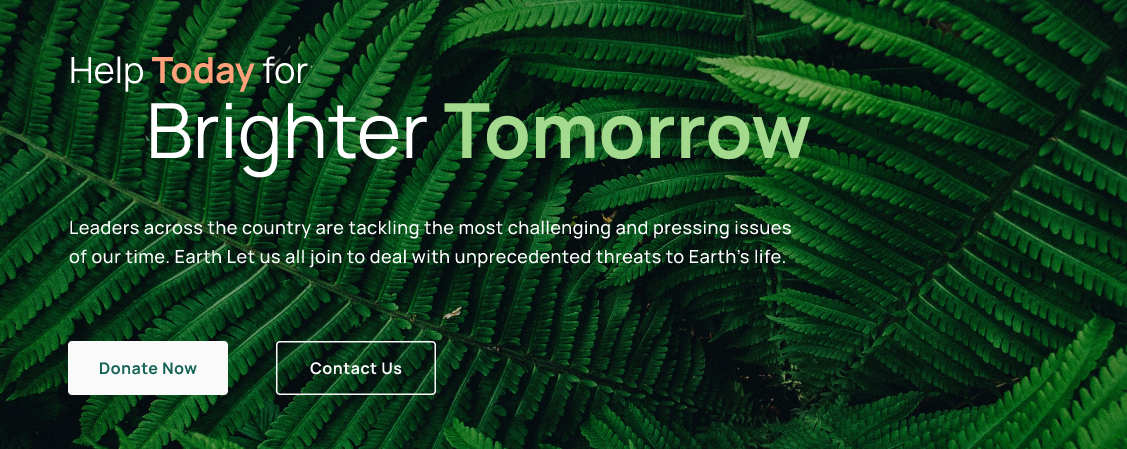
12.10.Hero
A hero banner is the enormous, oversized banner image that users will view as soon as they arrive on this page. Layout, background color, banner header, heading color, layout, image, banner paragraph, and banner color can all be customized. Update the links and use a banner CTA.
12.11.Icon Box
This module provides an area where you can display several cards. Each of these cards has a symbol, and you can choose how many cards to show in each column. You can also change these cards’ layout, count, and text orientation.
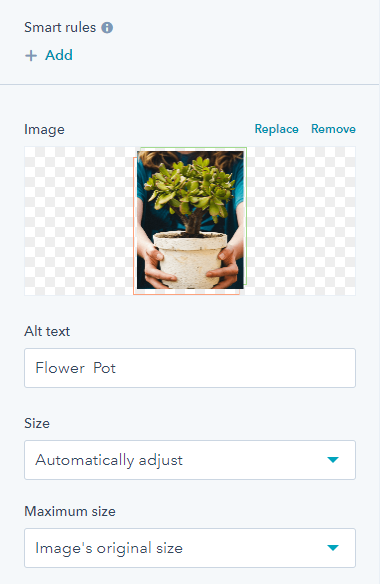
12.12.Image
Image module, as the name implies, allows you to add an image to your website. You can customize the image, including its alt text, size, and loading time.
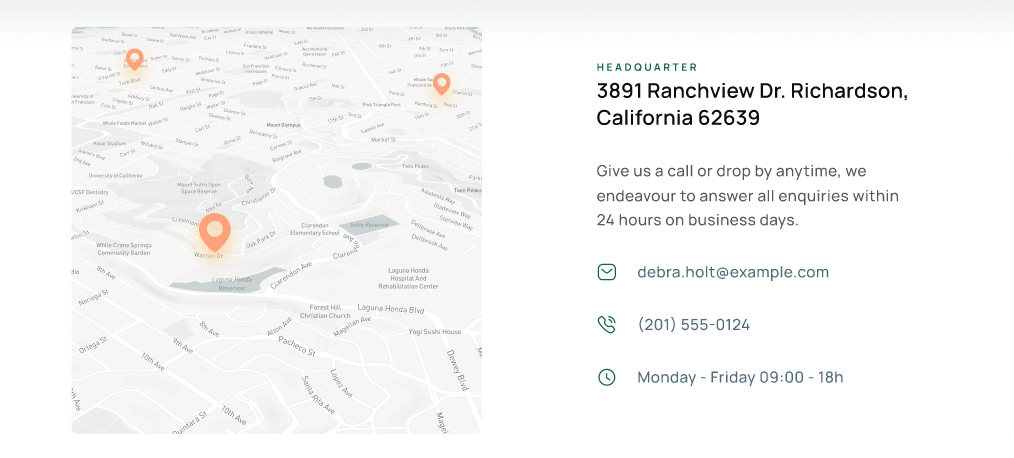
12.13.Map
The Map Module adds a map to your page. You may add the map API, specify the default latitude and longitude, map JSON, zoom level, image loading, and height in this module.
12.14.Menu
Using the menu module, you can display a menubar on your web page.

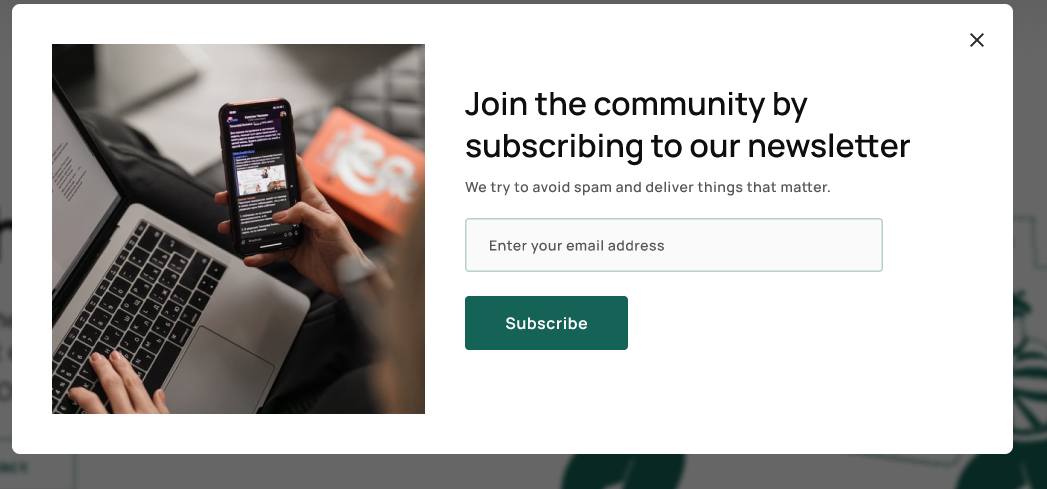
12.15.News Letter
The newsletter module is for you to capture visitor’s emails so they can subscribe to your newsletter to receive attest information about your organization.
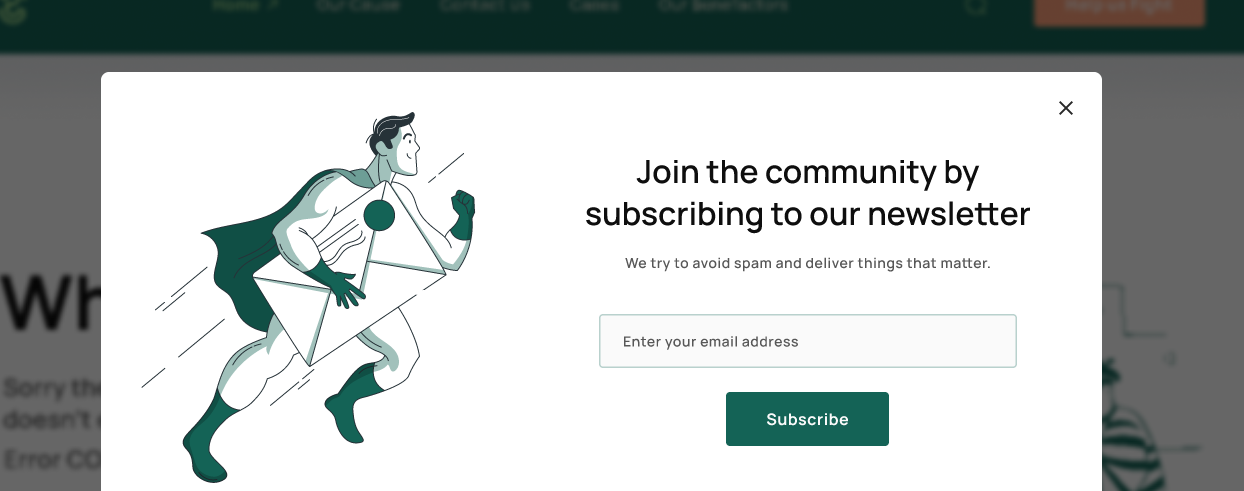
For the newsletter module, you can select:
- The layout type to popup or flyout.
- Newsletter image, image size, maximum image size
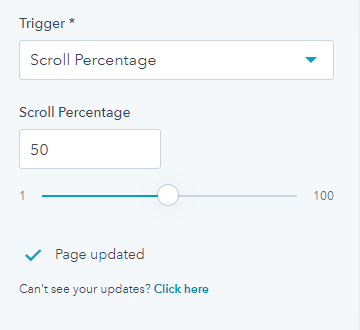
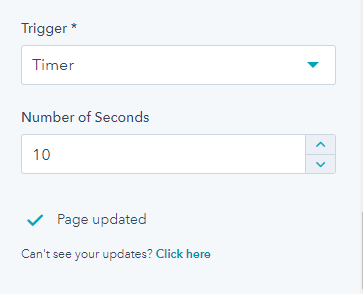
- Trigger parameters from Scroll percentage or timer.
When you select scroll percentage you need to mention upto what percentage shall the user scroll to receive the newsletter sign-up prompt.
Similarly, for the time option, you can set the time in seconds after which the visitor shall be prompted to sign up for the newsletter.
Once the user signs up for your newsletter, the newsletter will not pop up anymore for them.
12.16.Progress Bar
Visitors can observe the progress of an activity with the progress bar. It is a horizontal progress bar. You can edit the style and content of the same.

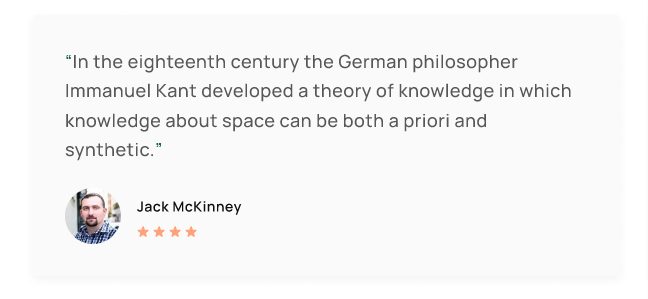
12.17.Review
Show off your customer/volunteer/benefactors/sponsors reviews by adding all their thoughts on your website with the review model. Select a suitable layout, edit your content, update image, etc according to your desire.
12.19.Spacer
The spacer module does not have any editable option. Spacer allows adjusting spacing on the desktop, mobile, and tablet height and background color.
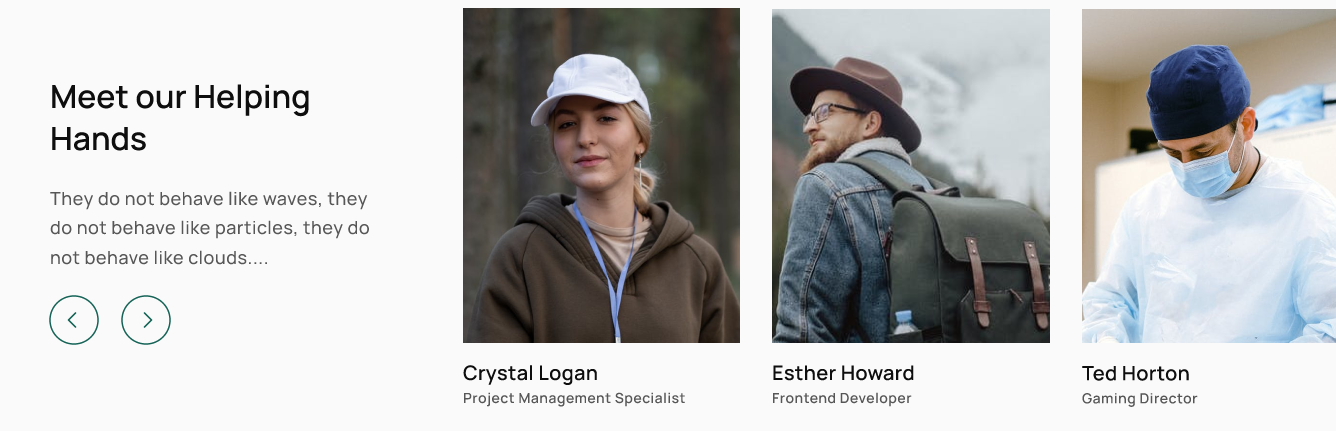
12.20.Team
The team module allows you to display your team members along with their image, title, and text. You can add multiple team members in rows and columns along with their profile, image size, maximum width and height.
12.21.Title Content
As the name suggests, the title content module allows you to add content anywhere on the website page. Additionally you can enable a mini title and edit the text formatting accordingly.
12.22.Video
The video module allows you t update any video content on your website or blog or landing page. You can edit the image, alt text, size, link, icon color, corner radius, and icon background.

12.23.Blog Pagination
Pagination is the process of breaking down a large piece of text into smaller sections. Similarly, you can set the blog pagination through these steps:
- Go to your HubSpot account’s settings > Website > Blog > Templates
- Select the number of blog posts per listing page and the pagination will be done accordingly.
12.24.Footer Navigation
The footer nav module shows at the bottom with a few quick links that you want to show on your website, blog, or landing page. The footer navigation module is only for the footer menu.

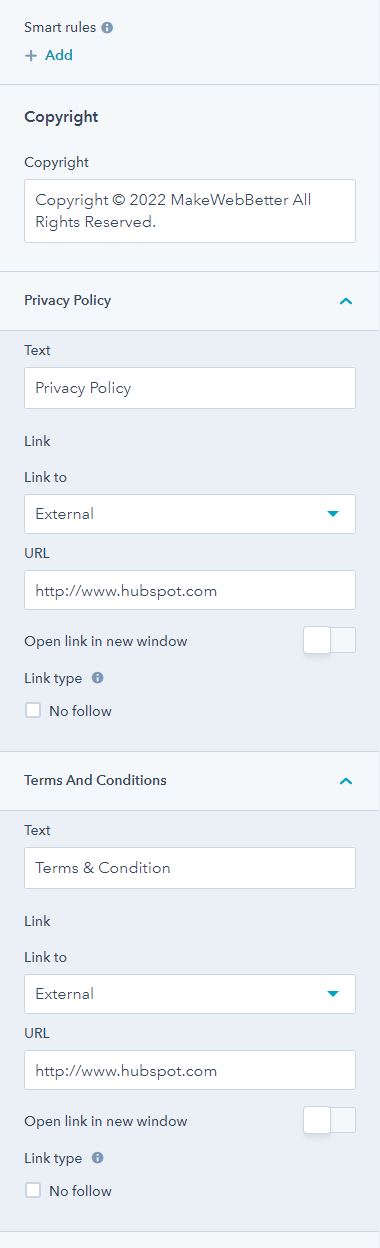
12.25.Footer Copyright
The footer copyright module allows you to display your copyright text on the bottom of the page along with privacy policy, terms and conditions page links.
12.26.Header Controls
A header control module allows the user to add search, language switcher, and button on the website header.

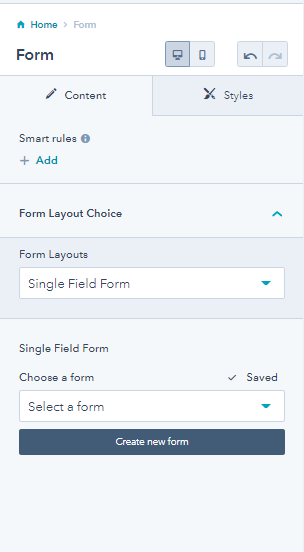
12.27.Form
The form module allows you to include forms on the page. You can select any form from the list of existing forms or create a new one too along with recaptcha.
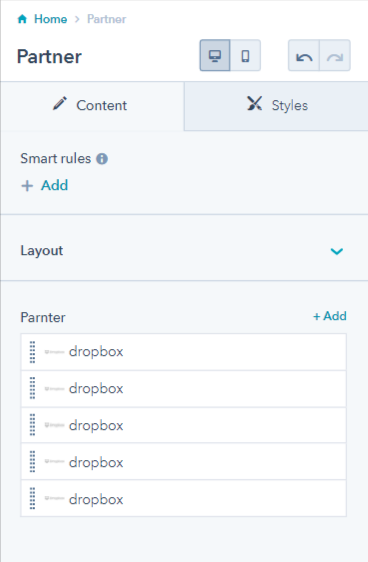
12.28.Partner
Use the Partner module to display your partners, sponsors, etc on your landing page. You can set image, image size, link, etc for the same.
13.Templates List
Here is a list of all the modules present in the free HubSpot nonprofit theme:
13.1.Homepage Template

13.2.Homepage Template
13.3.Our Cause Template

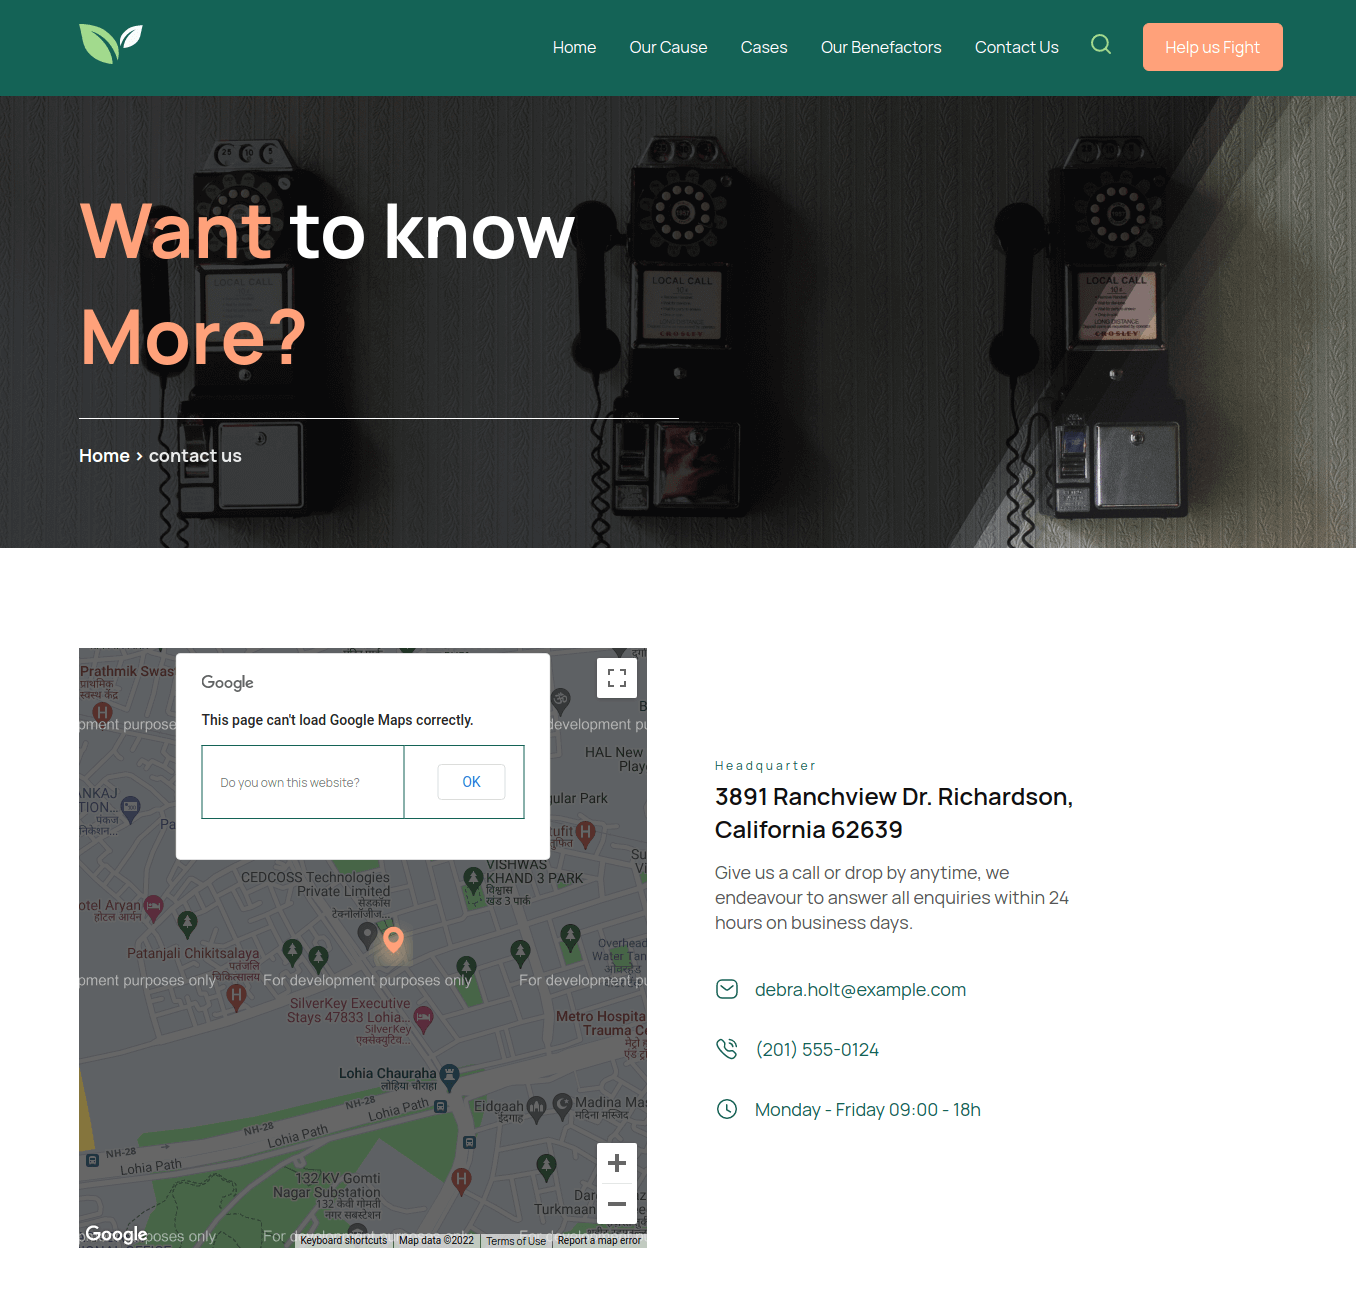
13.4.Contact us Template
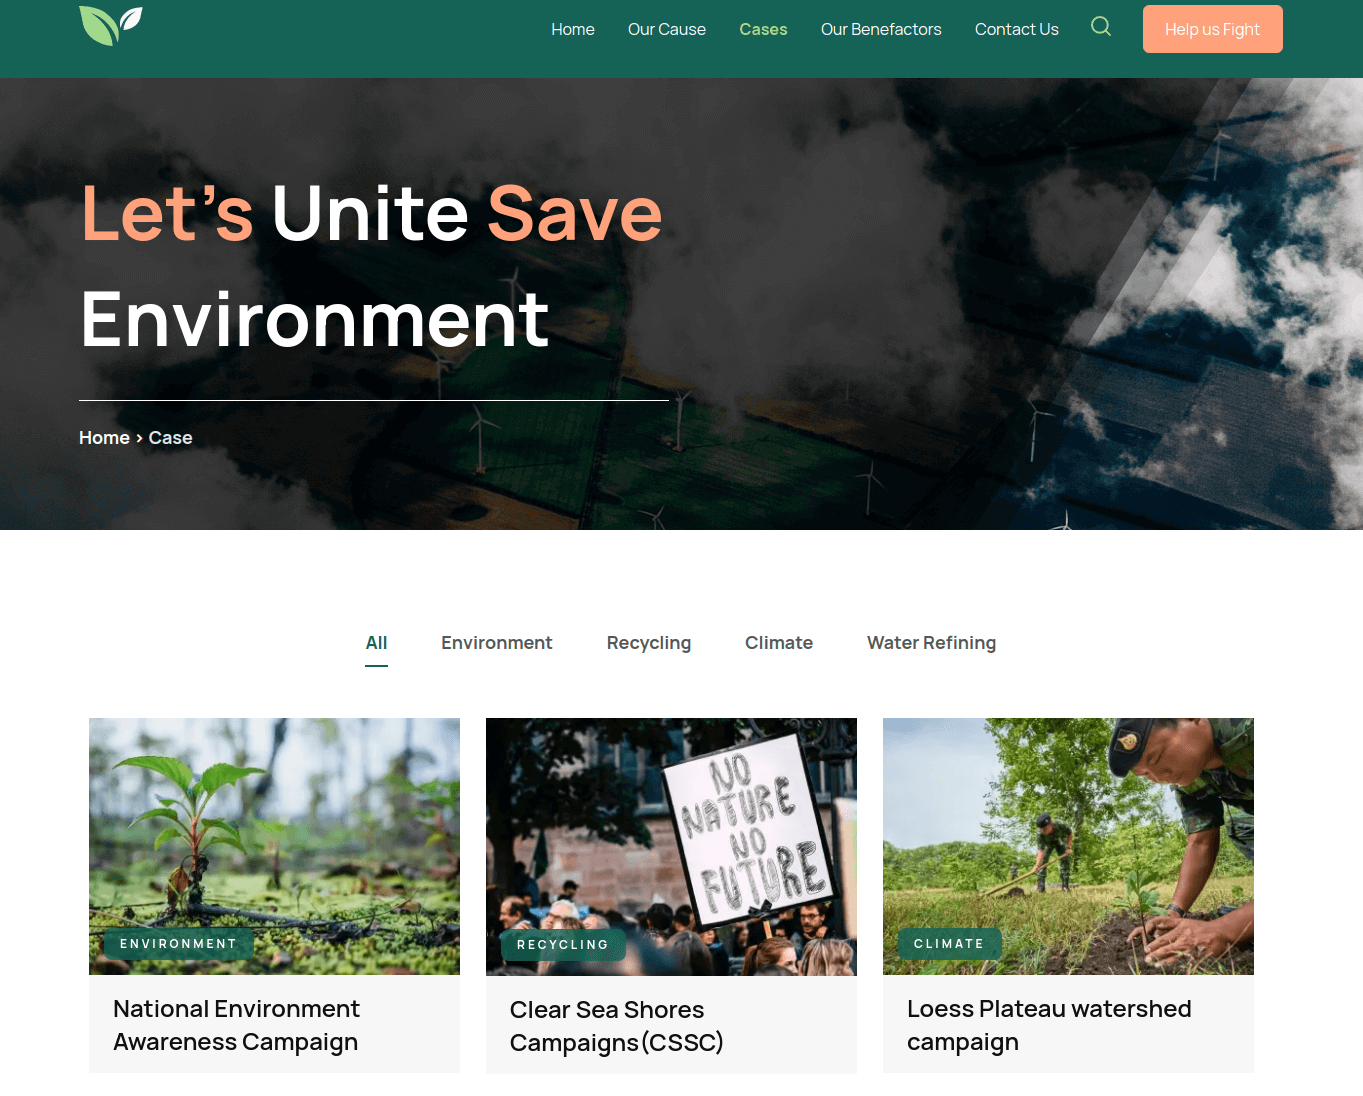
13.5.Case Template
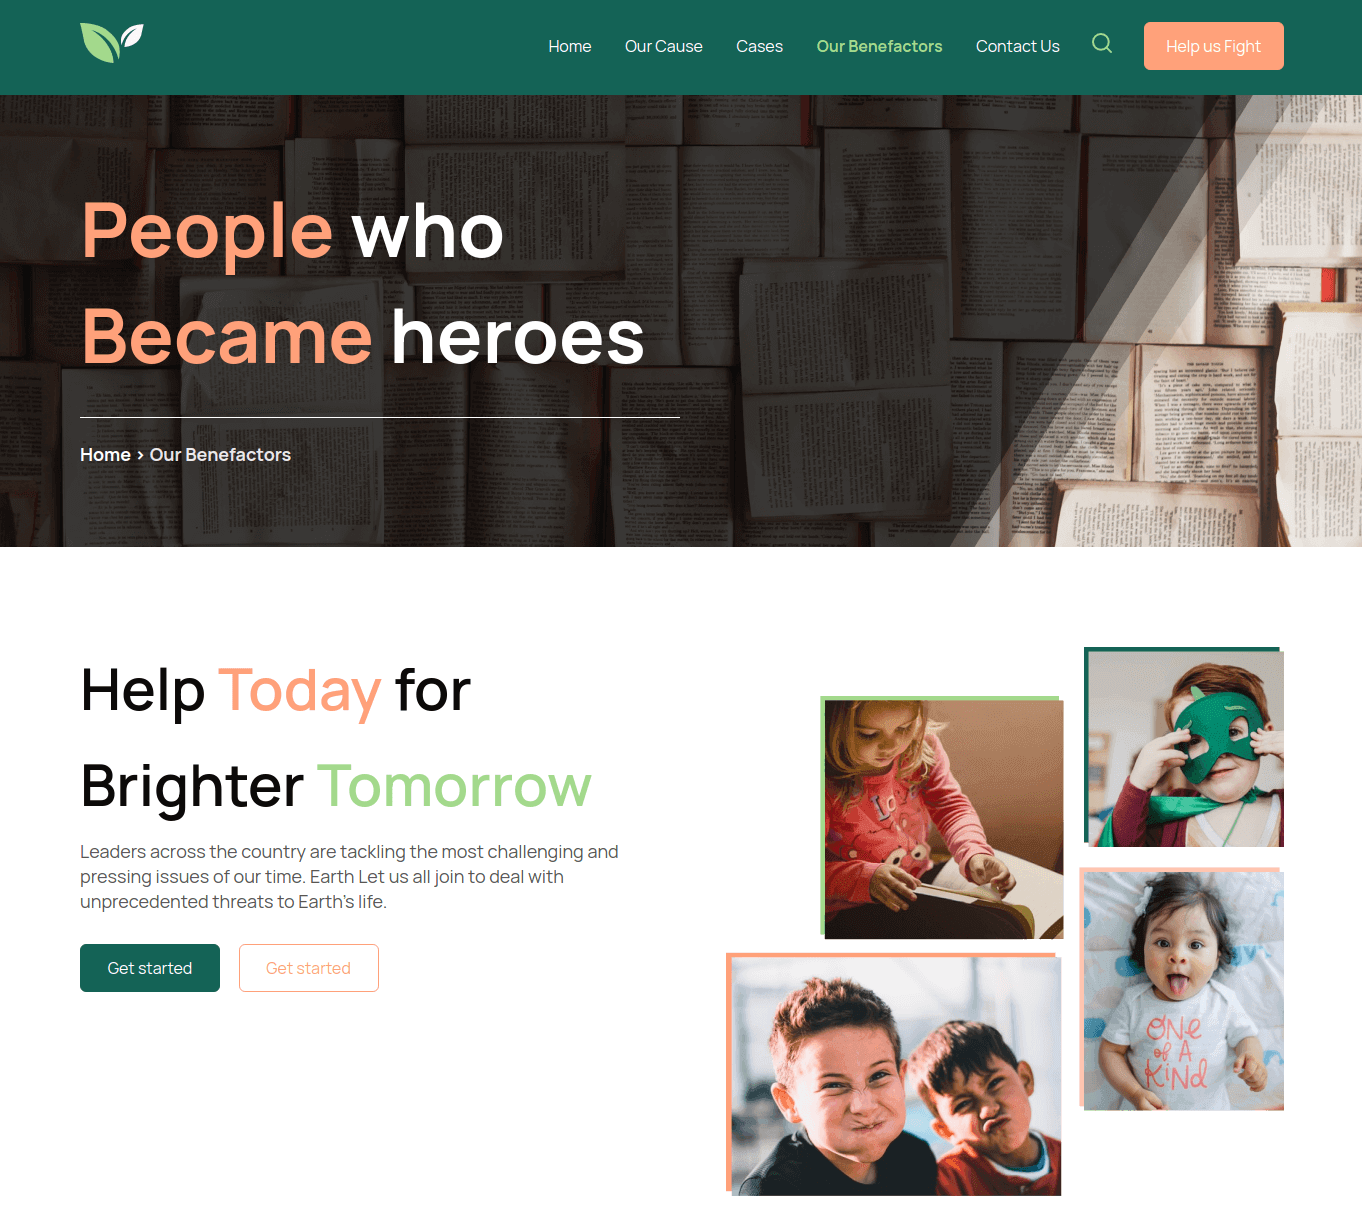
13.6.Our Benefactors Template
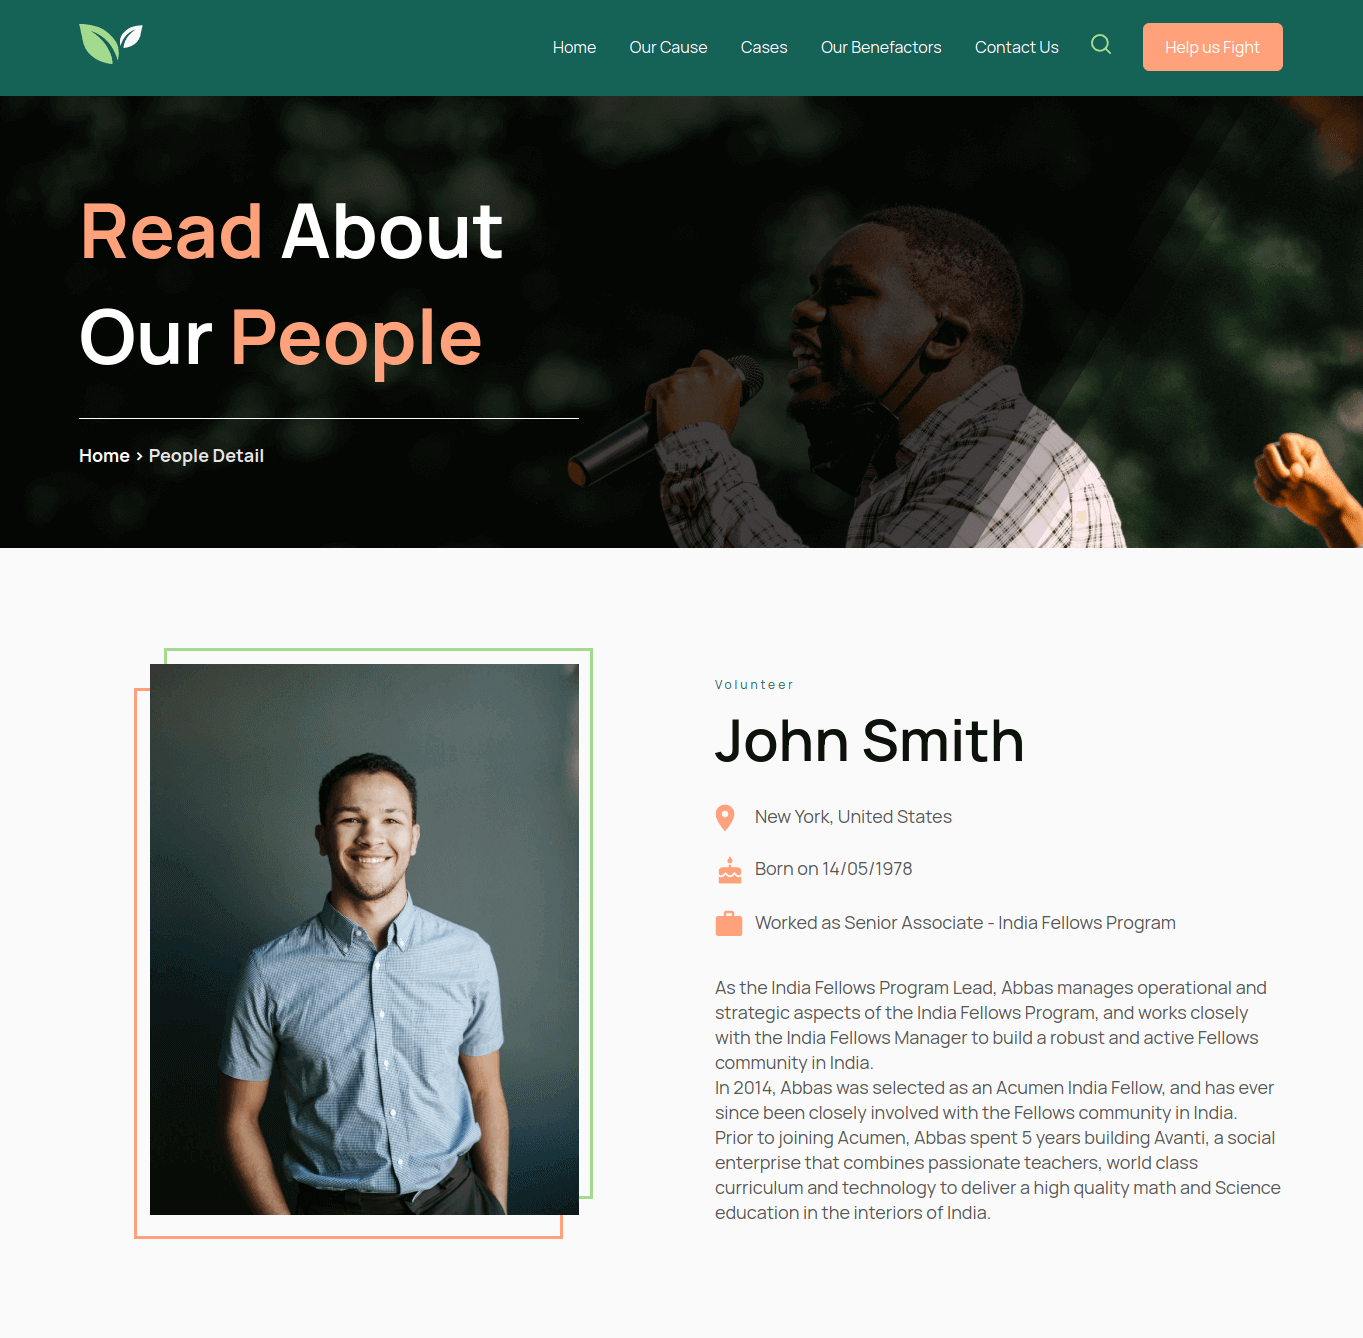
13.7.People Details Template
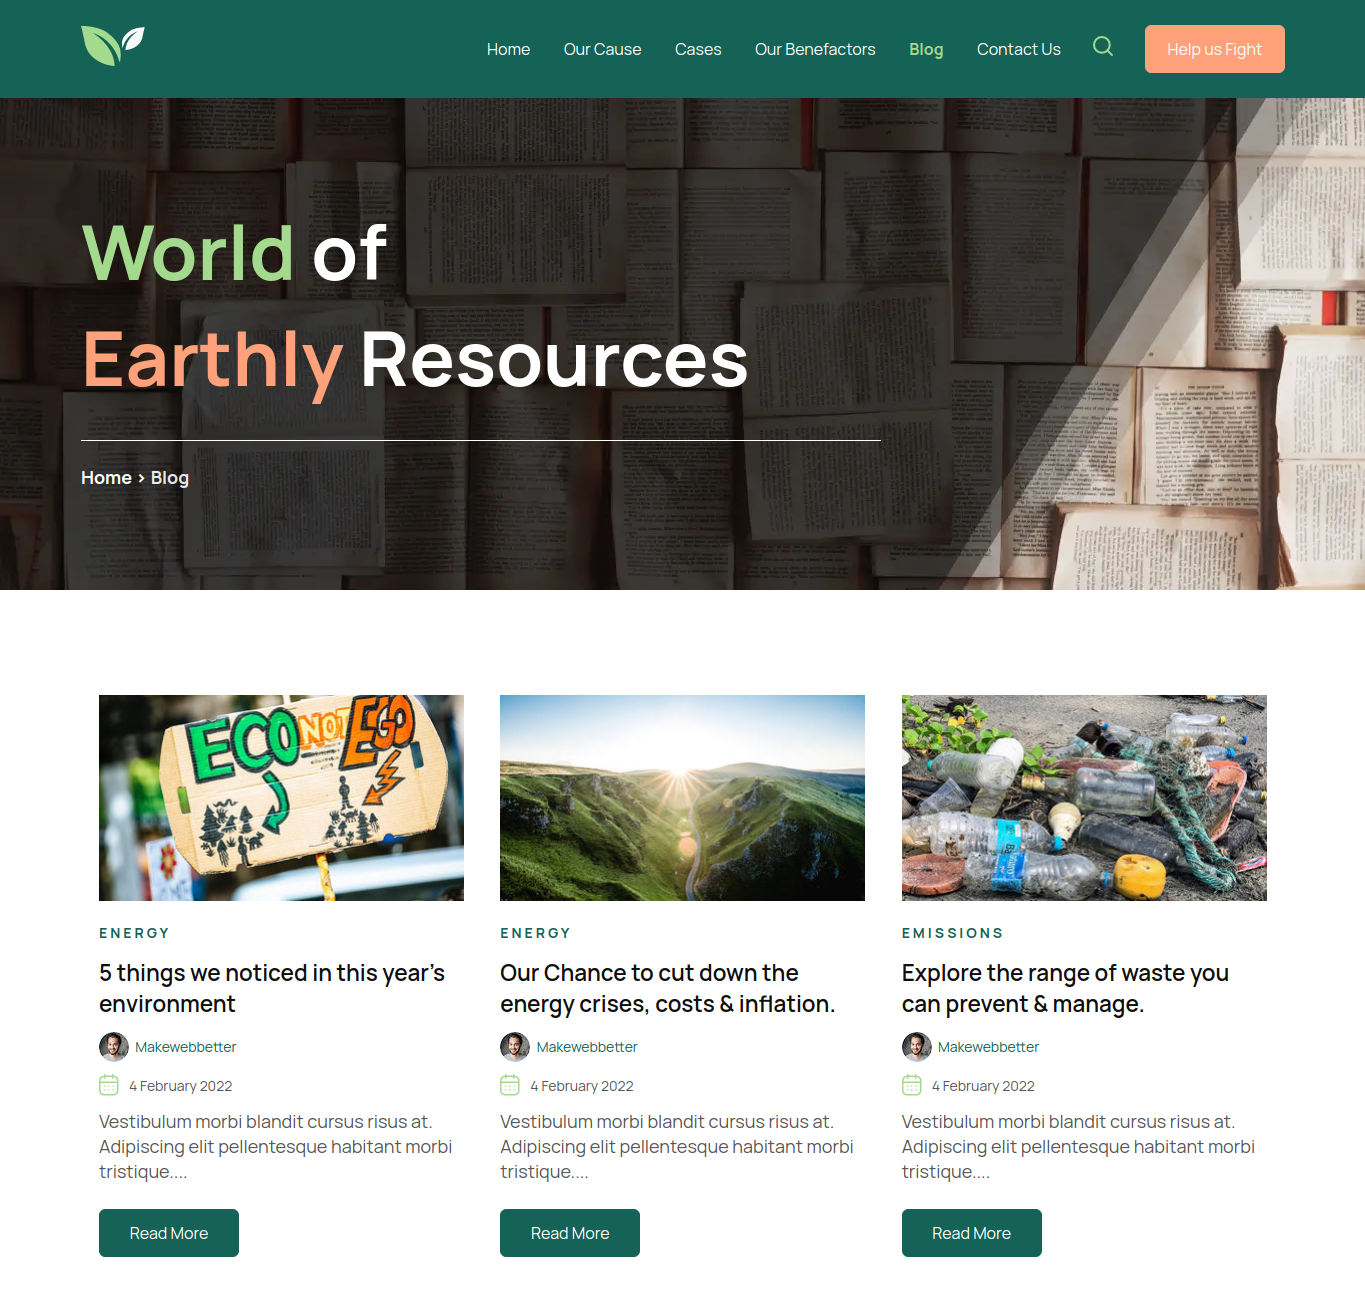
13.8.Blog Listing Template
13.9.Event Details Template

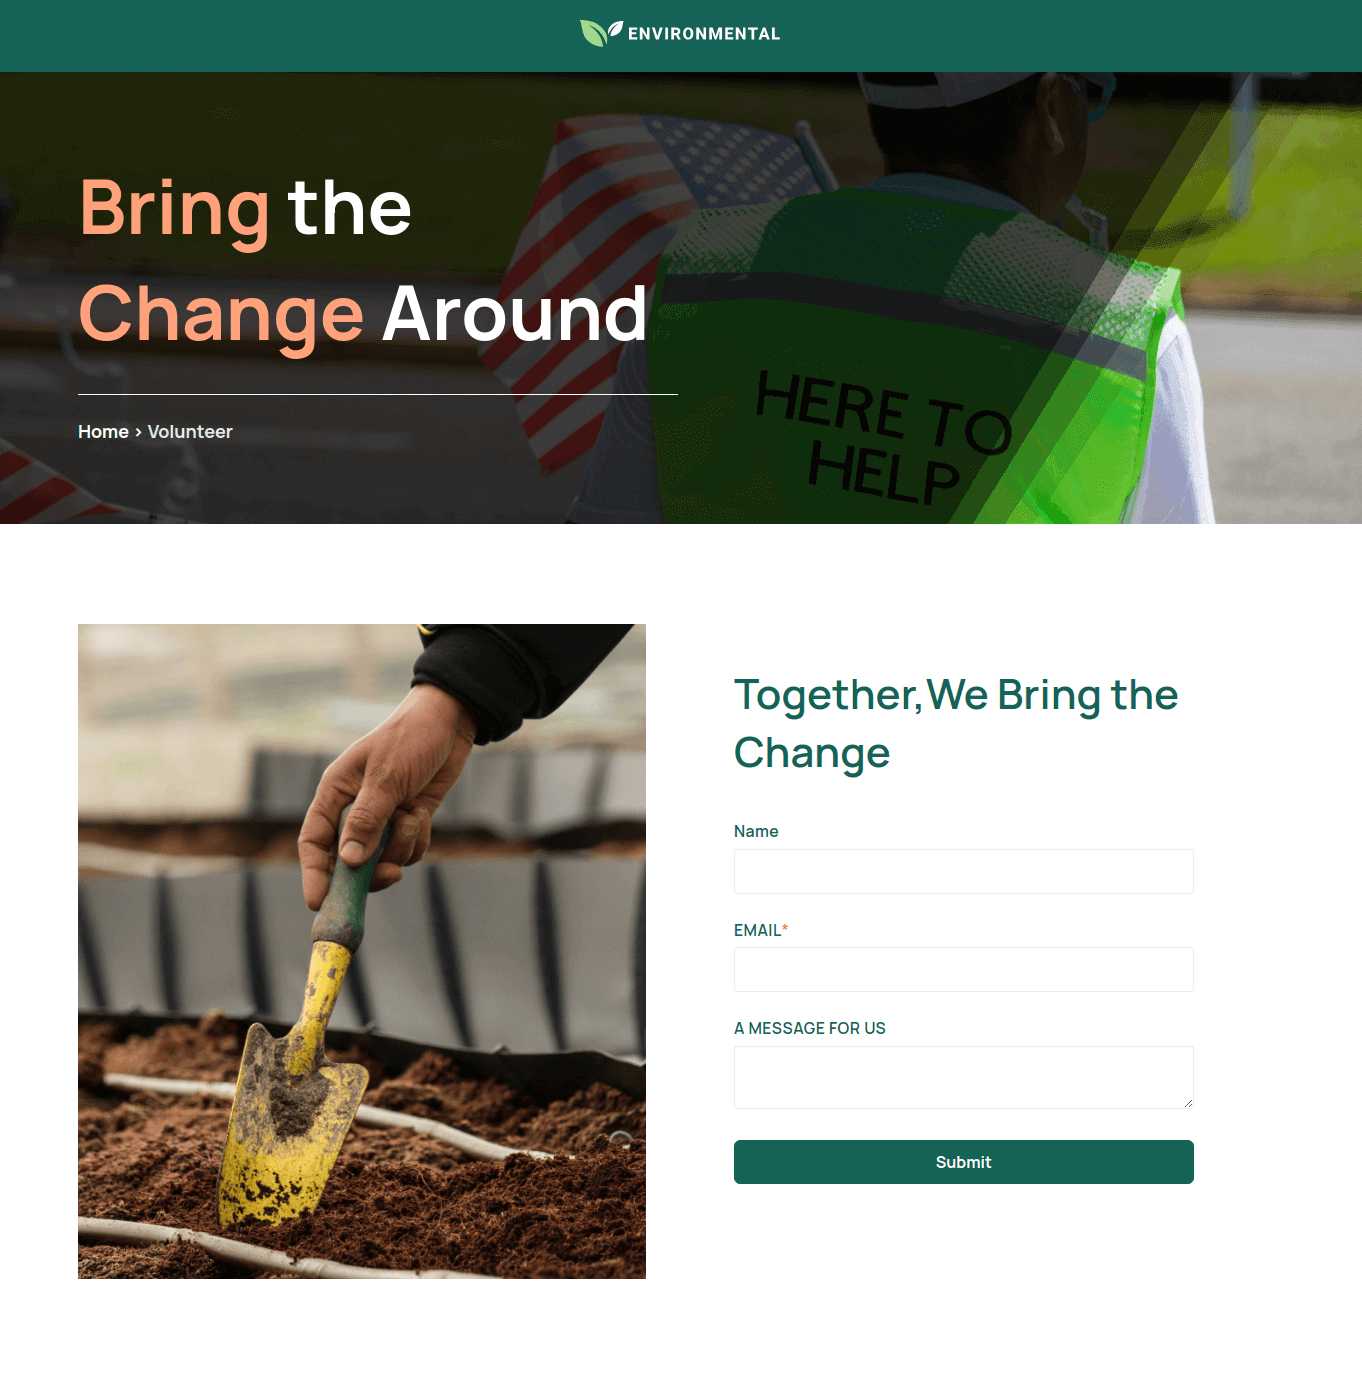
13.10.Landing page - Volunteer Template
13.11.Landing page - Donation Template

14.System Pages
Here is the list of system pages in our Environmental theme:
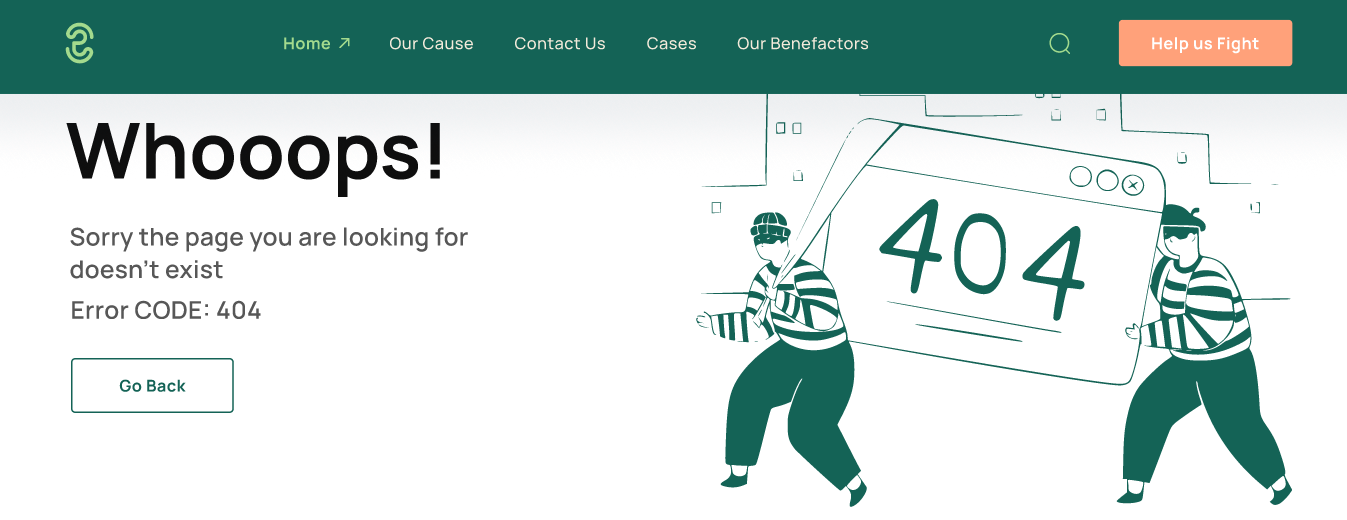
14.1.404- Error
14.2.500 - Error
14.3.Subscription Confirmation

14.4.Backup Unsubscribe
14.5.Subscription Preferences
14.6.Password Prompt
14.7.Search with Result
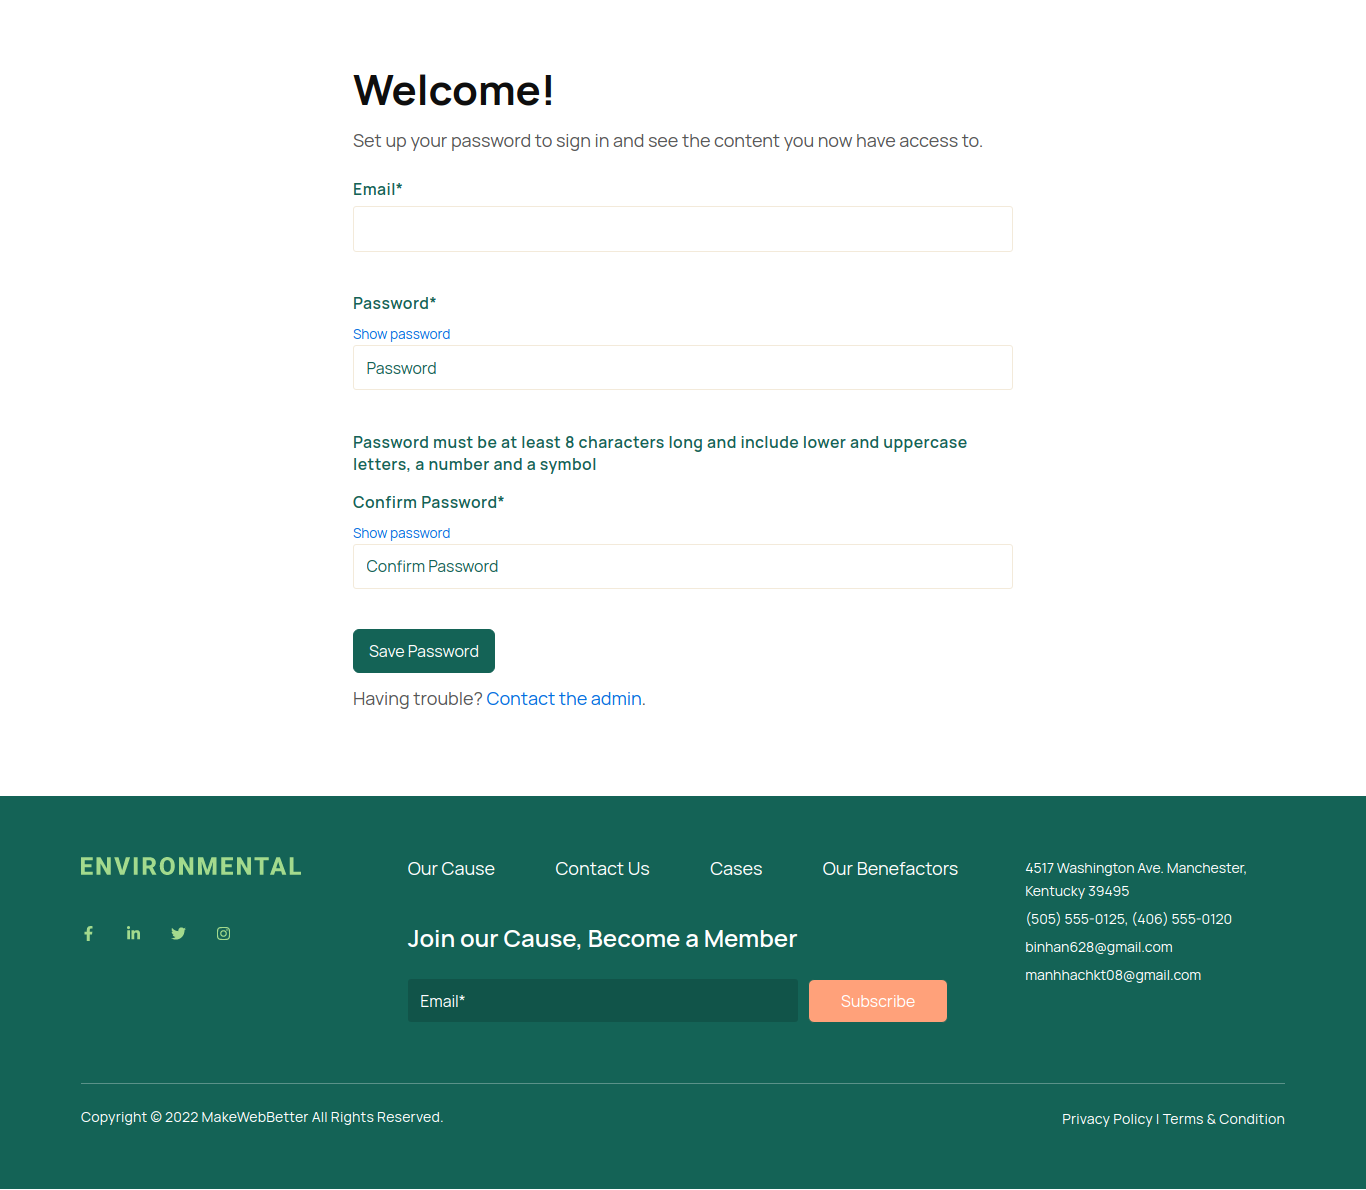
14.8.Membership Login
14.9.Membership Register
14.10.Membership Reset Password Request
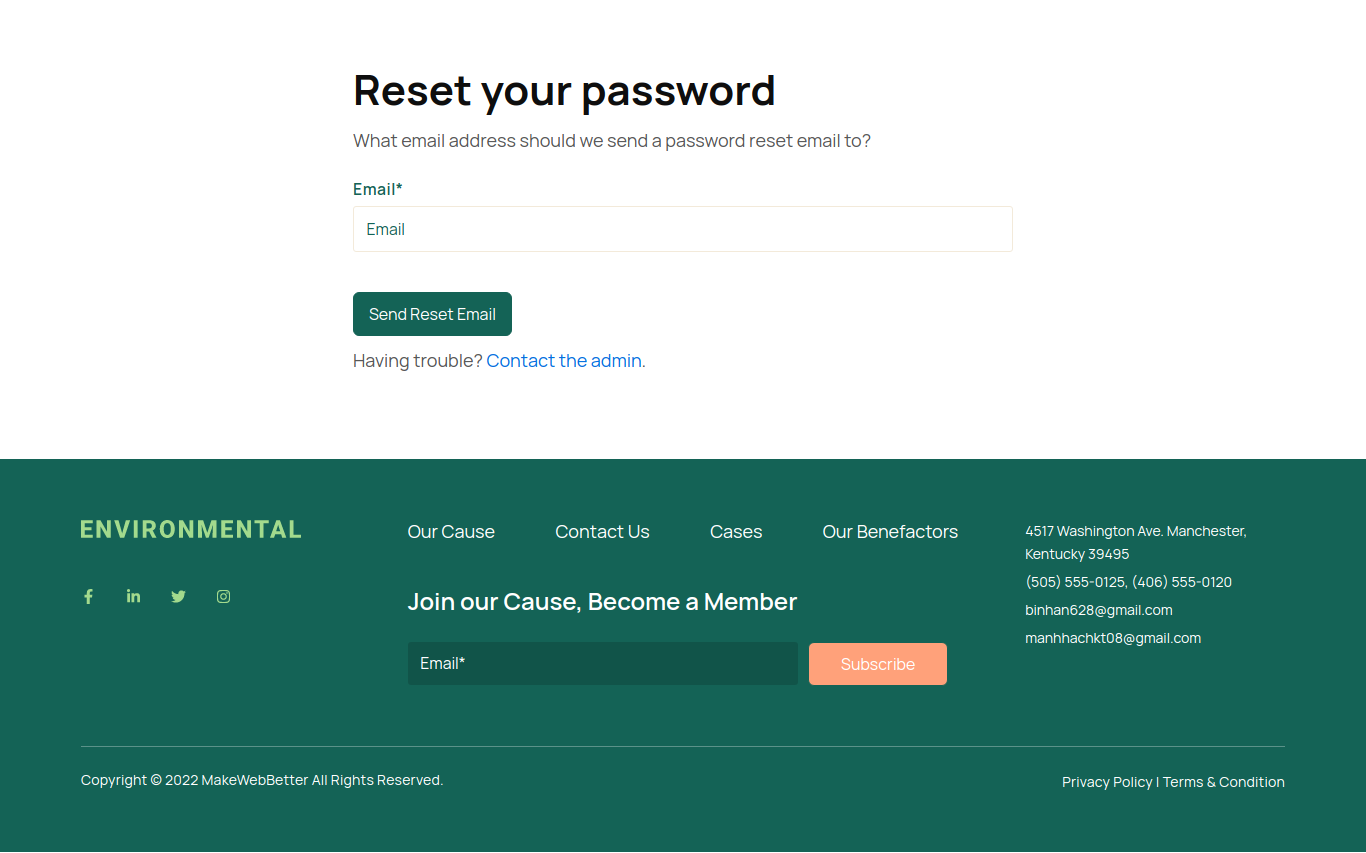
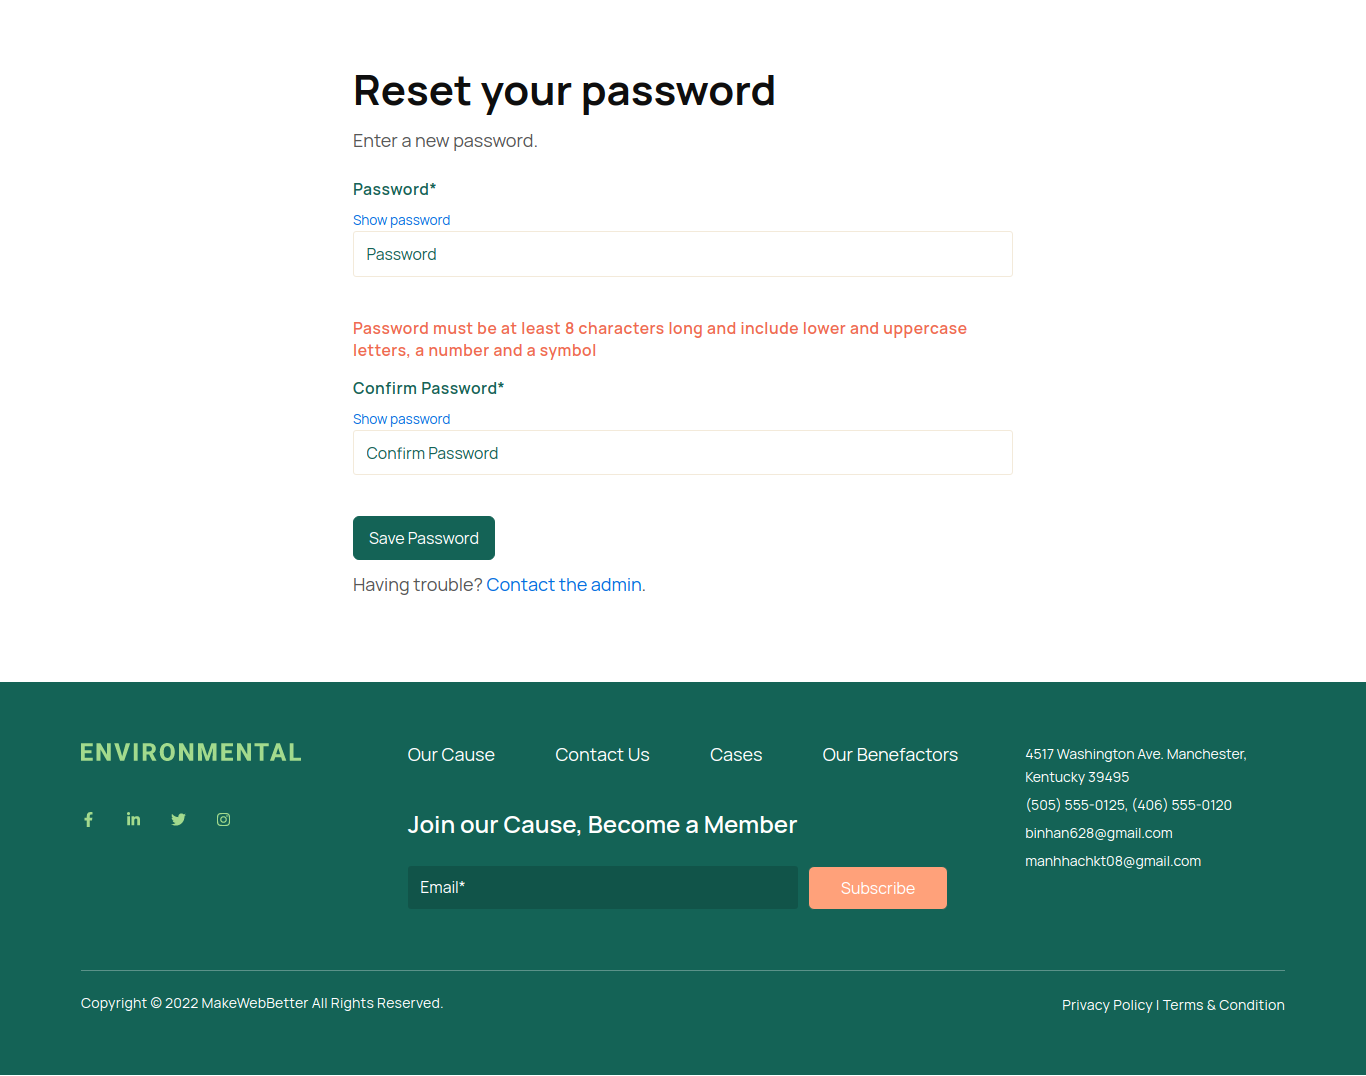
14.11.Membership Reset Password
If you want to add any additional thee module, need a hand in website design, or have any queries regarding theme setup and documentation, contact us now!
12.18.Social Follow
Social follow module allows you to add your social platforms like Twitter, Instagram, Facebook, and LinkedIn on your website pages, header or footer. You can change icon size and icon color, add link, and icon.