
1.Overview
2.Features Included
The Donate Now module contains all the elements that help you style a donation page that’s attractive enough for noble people’s attention and make your efforts worthwhile.
The Donate Now module allows you to:
- Use 2 Layouts – Hunger Relief & Nature’s Defender.
- Avail of multiple payment gateways.
- Embed payment form using FormPay.
- Customizable Amount Cards.
- Personalizable designs and branding options for the Donation Card.
3. Module Benefits
The Donate Now module benefits you in the following ways:
- Deliver an emotional appeal to your website visitors.
- Collect leads with the donation forms.
- Gain customer trust and loyalty.
- Make your nonprofit page standout and influence people in taking actions.
- And most importantly, fight the cause in style!
4.Module Set up
Setting up the Donate Now Module is easy and straightforward. All you have to do is perform a simple drag and drop.
Now let’s go through the setup steps:
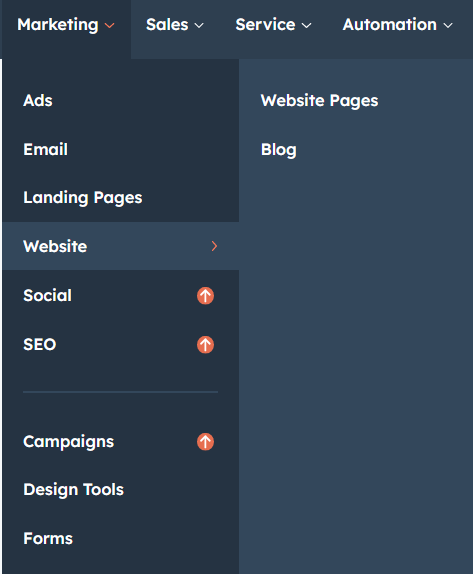
- First, log in to your HubSpot account and navigate to the “Marketing” tab.

- Click on “Website” in the dropdown menu and select “Website Pages” from the extended menu.
- Select the template and create your web page as usual. Under the module selection menu, search for “Donate Now” and select the module.
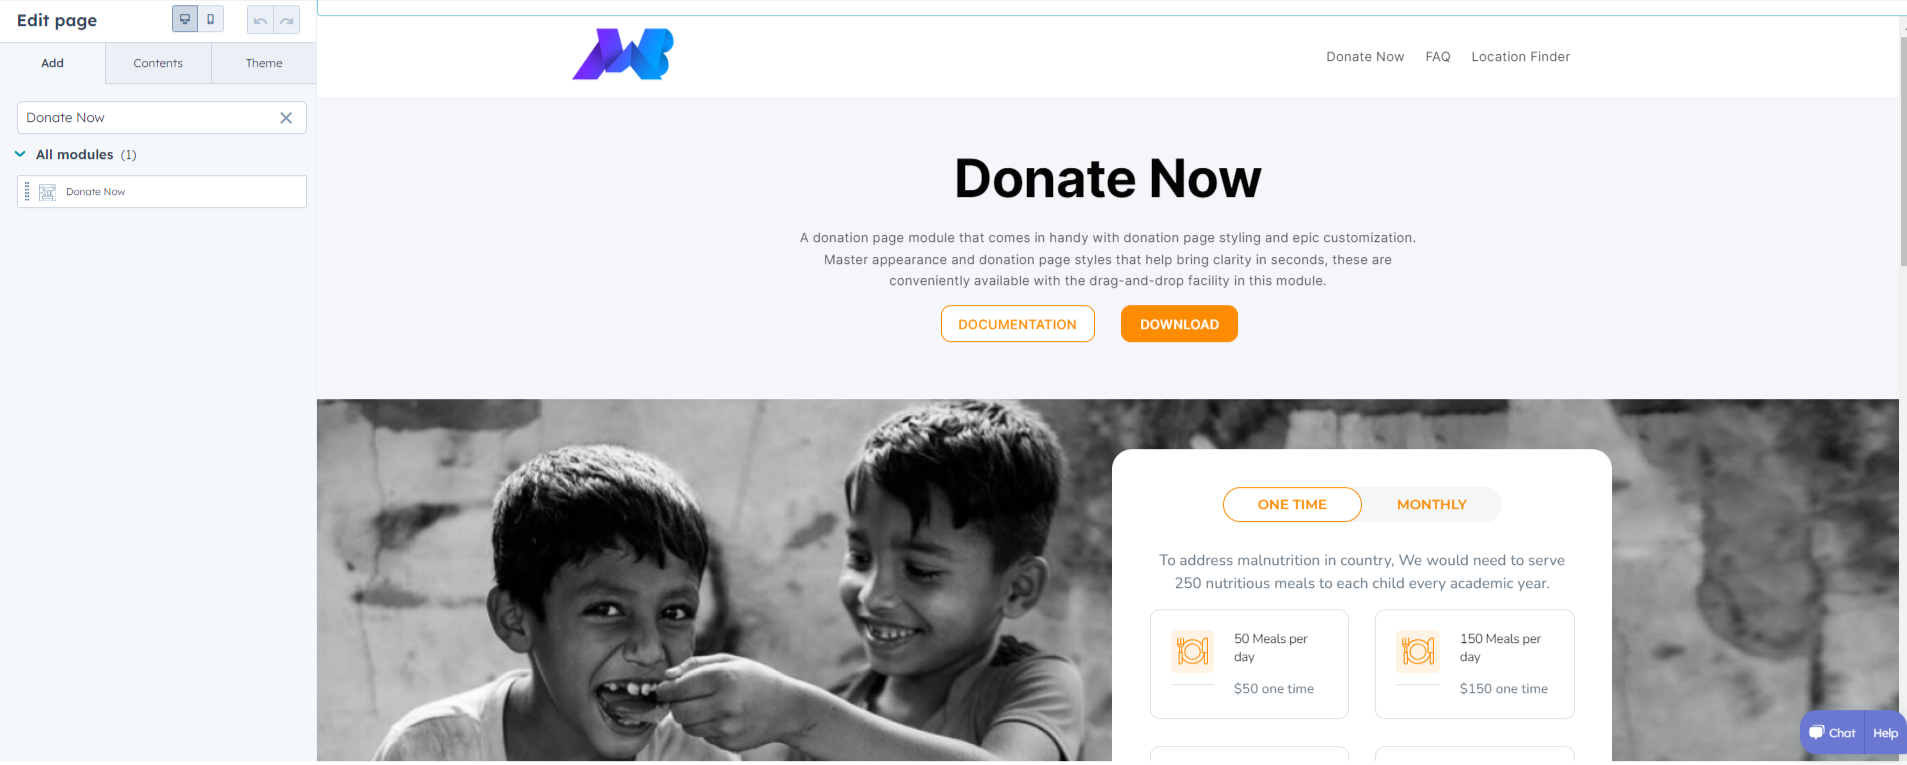
- Now simply pick the Donate Now module, drag, and drop it wherever you want on your page. You’ll see a new module appear on the page.
- Once you drag and drop the Donate Now module to your page, you will get to choose among the two module layouts.
5.Module Settings
Now let’s move on to the module settings and functionalities as per their layouts.
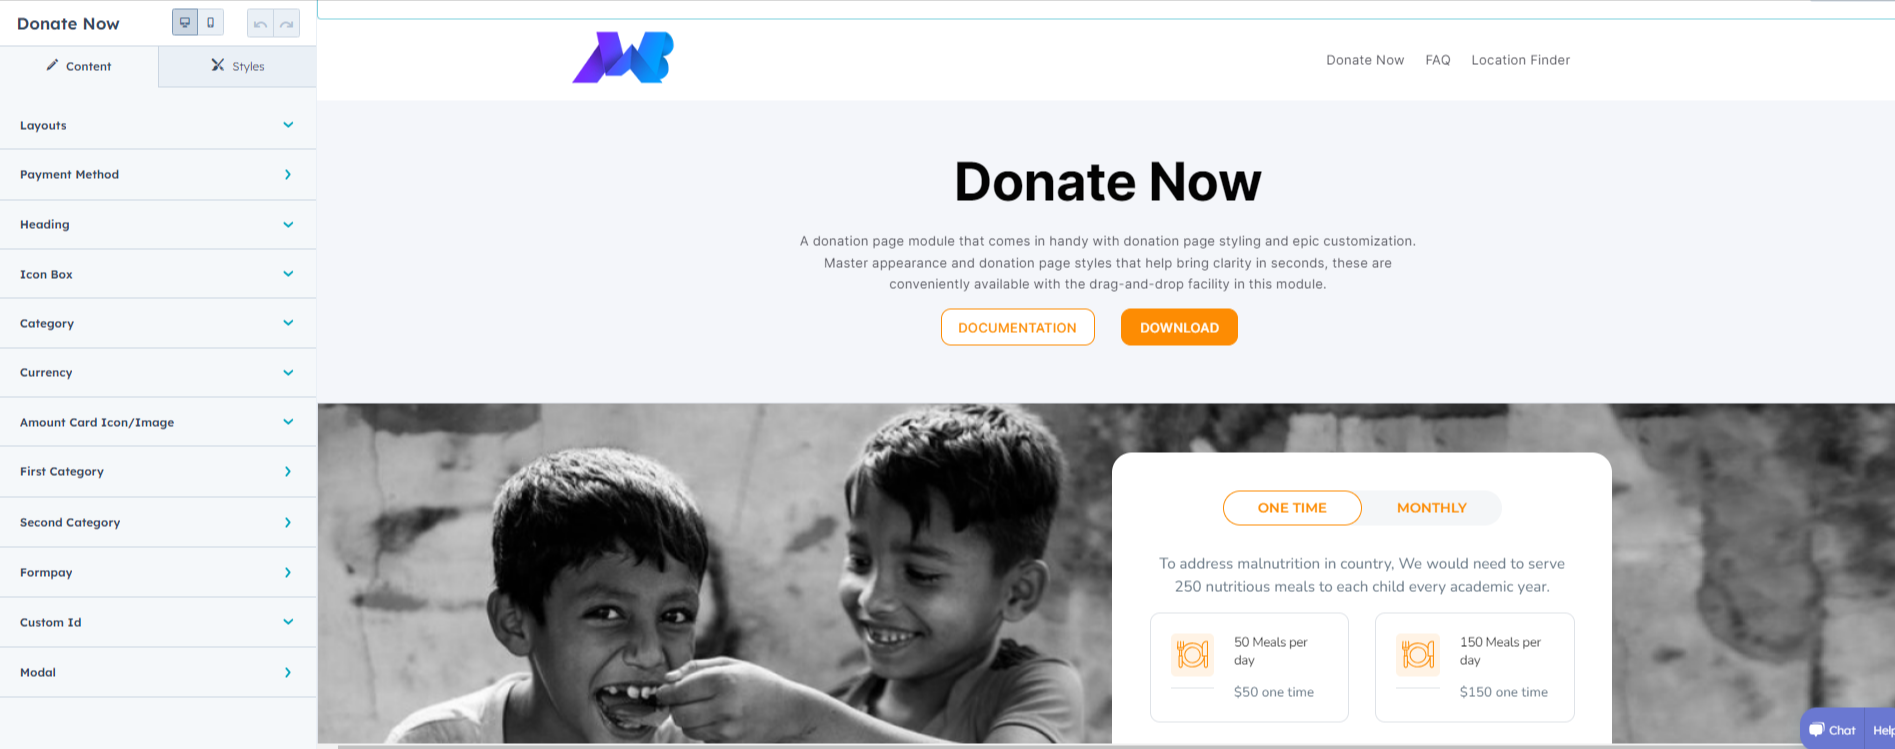
5.1.Content
Hunger Relief Layout
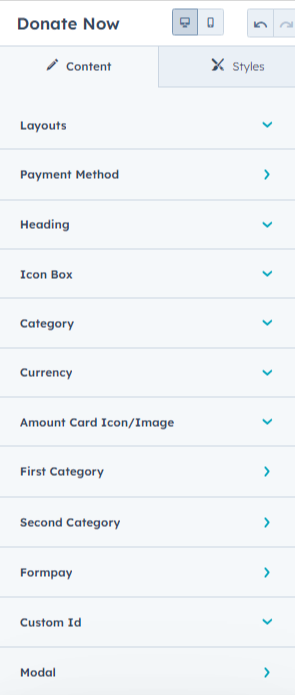
Let’s look at the content setting when you choose Hunger Relief as your layout suited to your purpose.
- Starting with “Payment Method” which involves two options:
- FormPay: You can insert the embed code of a form that you obtain from the FormPay App after creating it within the application, check the FormPay details here.
- Direct Link: Here you can insert the link to the payment checkout page.
Note: If you require assistance with customizing the direct link method, you can reach out to us for support.
- You can also add the FormPay embed code to add the payment form on the website.
- In the “Heading” menu, you can create/edit the title or appeal you want to construct through the donation page.
- Next is the “Icon Box” menu, where you can add icons and text of your choice to the module.
- In the “Category” section, you have to choose how to regulate your donation form.
- Under the “Currency” section, you can select whatever currency you want to receive donations in.
- The “Amount Card Icon/Image” helps you set the suitable icon for your amount card.
- Next are the “First Category” and “Second Category” sections, which you can update according to the categories you chose prior in the process.
- Next comes the “FormPay” section that will help you customize the Title of the FormPay payment of the payment form that appears when the user clicks on the Donate CTA button.
- The ”Custom Id” lets you add unique custom ids to your donation section.
Nature’s Defender Layout
Here is the content setting when you choose Nature’s Defender as your suitable layout.
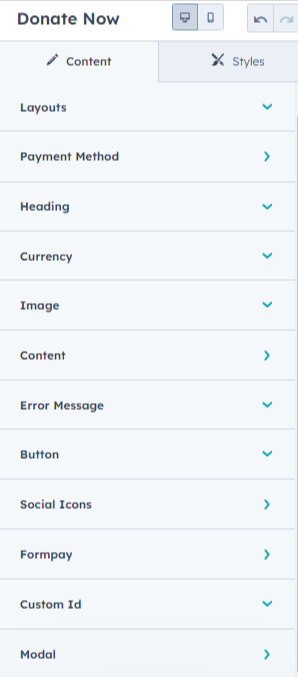
- The “Payment Method” in this layout is similar to the one in the Hunger Relief layout.
- The “Heading” menu is also similar to the Hunger Relief layout. But here, you can also add a description.
- The “Currency” menu also remains the same.
- You can add an image and the suitable alt text in the “Image” menu.
- Content
- Mini title: Add a mini title to your donation box.
- Link: You can add links, and adjust the test, link type, and URL of your choice.
- Title: Add an influential title to your donation section.
- Subtitle: Write positive notes about your mission in the subtitles.
- Progress bar: Under the progress bar, you can custom edit the Achieved Target, Final Target, and Goal Achieved Label.
- Amount: Furthermore, you can customize the amount cards (suggested amounts) as above. They will be displayed as donation amount suggestions to the donor.
- Add an “Error message” to your donation page.
- You can also add a “Button” with suitable text and icon.
- The “Social Icon” lets you connect your socials and show you reach with social proof and build credibility.
- This is exactly the same as discussed in the Hunger Relief Layout. You can customize the payment form by FormPay.
- The ”Custom Id” lets you add unique custom ids just like in the Hunger Relief Layout.
5.2.Styles
Hunger Relief Layout
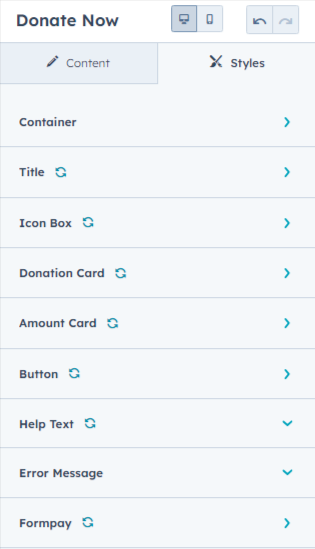
- Starting with “Container”, where you can adjust the appearance of your donation box.
- Background: You can add/replace/remove the background image from here. Customize the alignment of the image.
- Spacing: Here in the Spacing tab, you will find a few more customization options to decide on the appearance of all the elements of this page module.
- Max width: To enable the maximum width, use the buttons and set the width to whatever you please.
- Next comes “Title”, where you can change the desktop and mobile typography and text shadow on your title bar.
- Icon Box
- Text: Adjust the text typography on your preferred device view.
- Background: Choose the background color of your icon box as you prefer.
- Corner: Adjust the radius of your icon box.
- Icon: The Icon you chose, also has customizable settings i.e. background color of the icon image, its radius, & color.
- Donation Card
- Background: Change the background color of your donation card to your likings.
- Corner: Adjust the radius of your donation card as you want.
- Spacing: Adjust the margins and padding of your card as suitable.
- Inactive tab: Alter the text style and background color for your inactive tabs.
- Active tab: In addition to the functionalities of Inactive tab, Active tab also lets you adjust the border of your card.
- Description: Set the description typography for mobile and desktop view.
- Amount Card
- Inactive: Easily adjust the background color, border style, corners, label font and line height, icon and icon background color, amount font, and input color on your amount card.
- Active: Active card also lets you change the background color, borders, label, icon and its background color, amount font, and the input text and color. The only thing it excludes is the corner adjustments.
- Button
- Under “Button”, we can alter the text, background color, border color and style, corners, and margins.
- In the “Hover” extension, we can adjust the text color, background color, and border color of the same.
- Adjust the text color of “Help text” to enhance your donation tab.
- You can also enhance the text color of “Error message”.
- Next, the container & body text of the payment form of “FormPay” is customizable with color concentration.
Nature’s Defender Layout
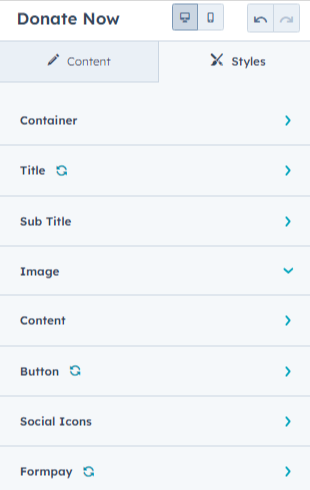
- The “Container” menu works just like in the Hunger Relief layout.
- The “Title” is also similar to the Hunger Relief layout.
- The “Sub Title” allows you to adjust the typography in desktop and mobile view.
- Under “Image”, you can adjust the radius of the image used.
- The “Content” menu is identical to how it is in the ”Content” section of this layout itself. Just simply customize it as you go.
- Just like the “Content” menu, the “Button” works the same as it does in the “Content” section of this layout. The aesthetics are in your hands!
- Decide the outlook of your social icons in the “Social Icons” menu.
- Adjust how your FormPay section looks, its container, title, icon and icon background color, and how the input fields look in the “FormPay” menu.
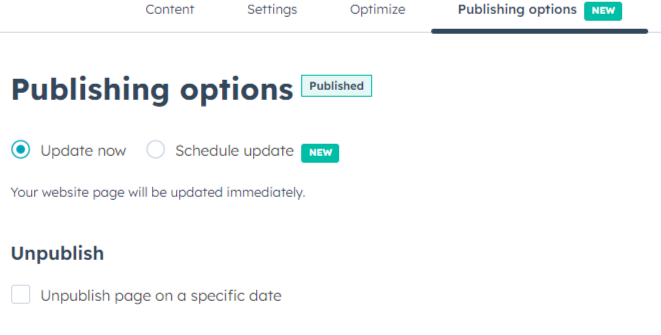
6.Publishing Page
Finally, just save and publish the changes to your webpage by clicking on the “Publish” button in the top right corner of the page editor.
7.Custom HubSpot Modules
We hope you’ll love working with our Donate Now module and create a seamless experience for both your users and marketers on your team. Here at MakeWebBetter, we strive to make your experience with HubSpot a better one!
Just in case you have a custom HubSpot module requirement or need a customized HubSpot CMS or CRM setup, hit us up.