
1.Overview
2.Features Included
The Location Finder module in HubSpot includes a range of features that can help you create engaging and interactive maps for your website.
These features include:
- Customizable map styles, including color schemes, markers.
- Ability to add markers, pins, or annotations to specific locations on the map.
- Customizable info windows to display additional information about a specific location on the map.
- Multiple layout support: choose between basic and advanced map layout.
- Ability to pin multiple locations on map (requires api key)
- Multiple Map Theme options for advanced layout (requires api key): You can Choose between Default, Silver, Night mode and Retro.
- Mobile-responsive design and clean UI for easy navigation on any device.
- Zoom and pan functionality for enhanced user experience.
3. Module Benefits
Using the Location Finder Module can offer a range of benefits for your website, such as:
- Improved user experience for website visitors.
- Increased conversions for businesses with physical locations.
- Better search engine optimization for websites with embedded maps.
- Customizable design options allow for consistent branding.
- Mobile-responsive design ensures compatibility with all devices.
4.Module Set Up
Setting up the Location Finder Module is easy and straightforward. All you have to do is perform a simple drag and drop.
Now let’s go through the setup steps:
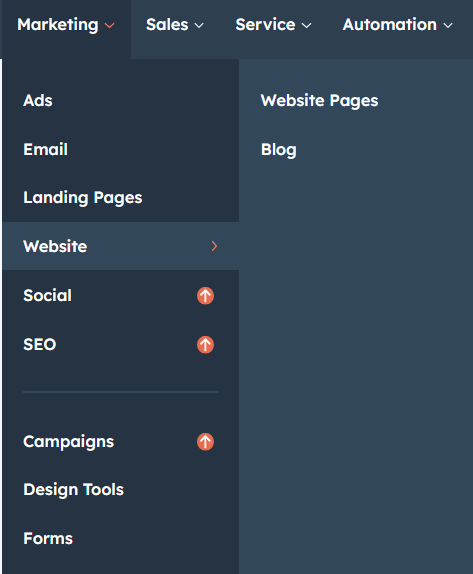
- First, log in to your HubSpot account and navigate to the “Marketing” tab.

- Click on “Website” in the dropdown menu and select “Website Pages” from the extended menu.

- Select the template and create your web page as usual. Under the module selection menu, search for “Location Finder” and select the module.
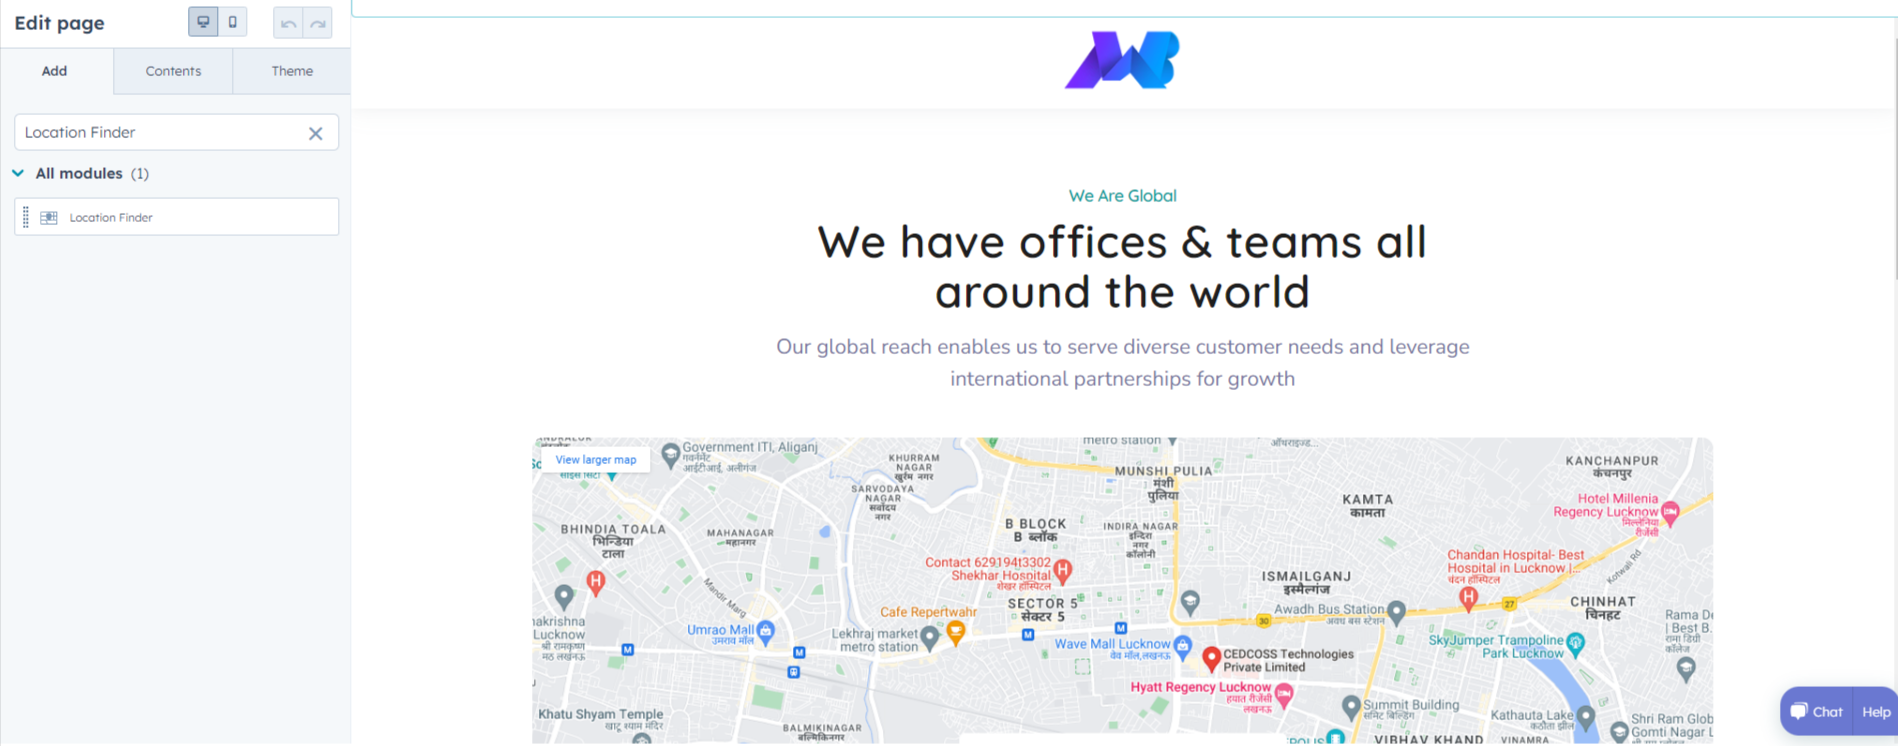
- Now simply pick the Location Finder module, drag, and drop it wherever you want on your page. You’ll see a new module appear on the page.
- Once you drag and drop the Location Finder module to your page, you will get to choose among the two module layouts.

5.Module Settings
Now let’s move on to the module setting.
5.1.Content
Basic Layout
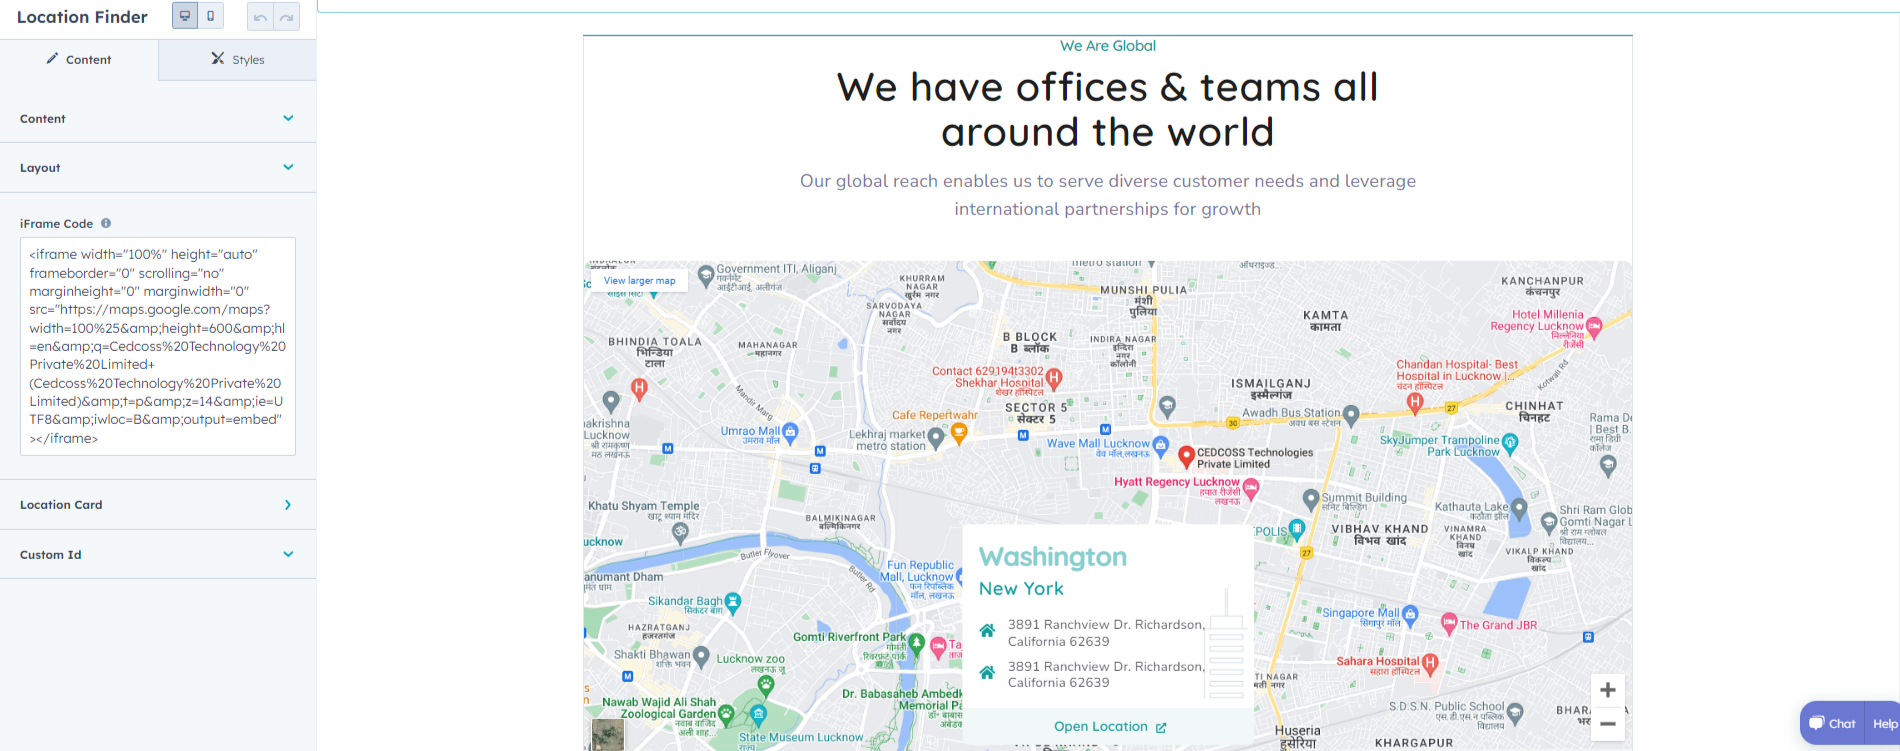
- In the “Basic” layout settings, you will see this dropdown menu.
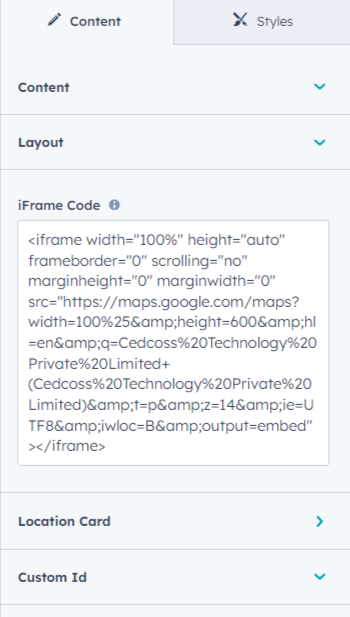
- In the “Content” menu, you can customize the map’s appearance, add title and descriptions, and set the location that you want to display on the map.
- The iFrame code can be used to embed the responsive Google Maps on your website. You can generate this code on Google Maps easily.
- To set the location of the map, click on the “Location Card” tab and proceed to clicking on “Content”, enter the address, city, state, or zip code of the location you want to display on the map.
- Under the “Content” button, there is also a details button where you can add further details or redirect links to your outset, right on the map!
- Below the “Content” section on the location card, we also have a “Card Position” dropdown where you can choose the position where your location card appears on the map.
Advanced Layout

- In the advanced layout module settings, you will see these dropdown menus, with each of them working to customize your map addition.
- The “Content” and “Layout” dropdowns function similarly in both the layouts, so let’s jump straight to the “Location”, “Map” and “Pointer”
- Starting with the “Location” menu. Here, you are required to provide the latitude and longitude coordinates of your location in order for the marker to show up on the map. You can also add a “Button” to the map and the location’s image on the Info Card that you can customize according to your needs.
- Moving onto the “Map” menu, you will get a variety of options to customize your map content, location, zoom level, as well as the Map Themes.
- Next comes the “Pointer” dropdown where you can edit the map pointer icon as you please.
5.2.Styles
Basic Layout
- Once you’ve set up the location, click on the “Style” tab to customize the appearance of the map. Here, you can edit the content, map, and location card appearance.
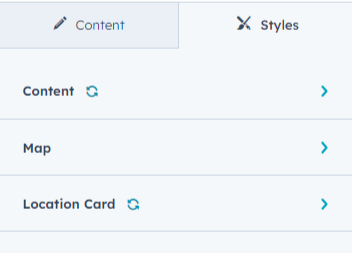
- Content
- Container: Adjust the container’s spacing and width under this section
- Alignment: Set content alignment as per your requirements for mobile and desktop view.
- Mini Title: Edit the Mini title typography according to mobile and desktop view
- Heading: Edit container text heading size and typography suitable to the view.
- Description: Write and edit content description according to the view.
- Map
- Corner: Adjust the corner radius and scale of your map.
- Height: Set the height of your map on desktop, tablet, and mobile view.
- Location Card
- Background: Set the background image and color as you want to display on your location card.
- Spacing: Set the spacing and padding of your location card on desktop and mobile view.
- Title: Edit the title typography according to mobile and desktop view.
- Subtitle: Edit the subtitle typography as per the mobile and desktop view.
- Address: Edit the address typography and icon according to mobile and desktop view.
- Button: Adjust the button style and typography as you please.
- Box Shadow: Enable box shadow on your location card if suitable for your page.
Advanced Layout
- Moving on, the “Style” section is almost the same as well, with the difference being the “Info Card” instead of a “Location Card”.
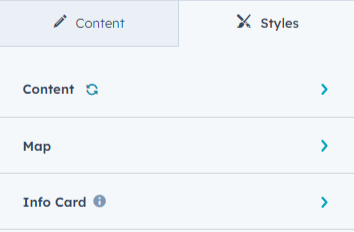
- Content
- This extended menu is the same as explained in the Basic Layout.
- Map
- This menu also includes the same features as Basic Layout.
- Info Card
- Background: Set the background color for your info card as suited to your page and theme.
- For the rest, your card spacing, alignment, title, and address are to be edited just as the Basic Layout.
6.Publishing Page
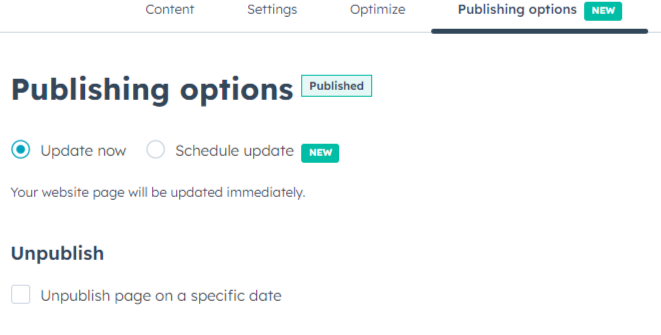
Finally, just save and publish the changes to your webpage by clicking on the “Publish” button in the top right corner of the page editor.
That’s it! Your Location Finder module should now be live on your webpage, displaying the location(s) you’ve set up.
7.Custom Hubspot Modules
We hope you’ll love working with our Location Finder module and create a seamless experience for both your users and marketers on your team. Here at MakeWebBetter, we strive to make your experience with HubSpot a better one!
Just in case you have a custom HubSpot module requirement or need a customized HubSpot CMS or CRM setup, hit us up.