1.STARTING OFF!
2.Understanding The Concept
Introducing the basic inputs:
- Modules: The independent and interchangeable elements that add functionality to your page are called modules. You can couple them easily to work out perfectly for your UI/UX. The Weebio Technical Theme allows you to drag and drop a module wherever you want.
- Templates: The specimen layout is already available in the theme. Use these templates as it is or create a fresh template for your website. Construct a template suiting your services and replacing the demo content with your content.
For more information regarding HubSpot Themes: Use themes
3.Theme Installation
For installing the Weebio Technical Theme:
-
- Purchase the theme from Themeforest
- Open your HubSpot Dashboard > Appearance > Theme > Add New
- Upload the theme zip file > Install
- Activate theme after complete installation
- Now you can start compiling your pages using available modules.
How To Create a Page Using The Weebio Technical Theme?
After you log in, start creating a new page:
- Go to Marketing > Website > Website Pages. You can directly choose from Website pages, Landing pages, and Blog at the top. These are the templates on which you can perform modifications.
- Click Create > Page Type (Website Page/ Landing Page/Blog Post)
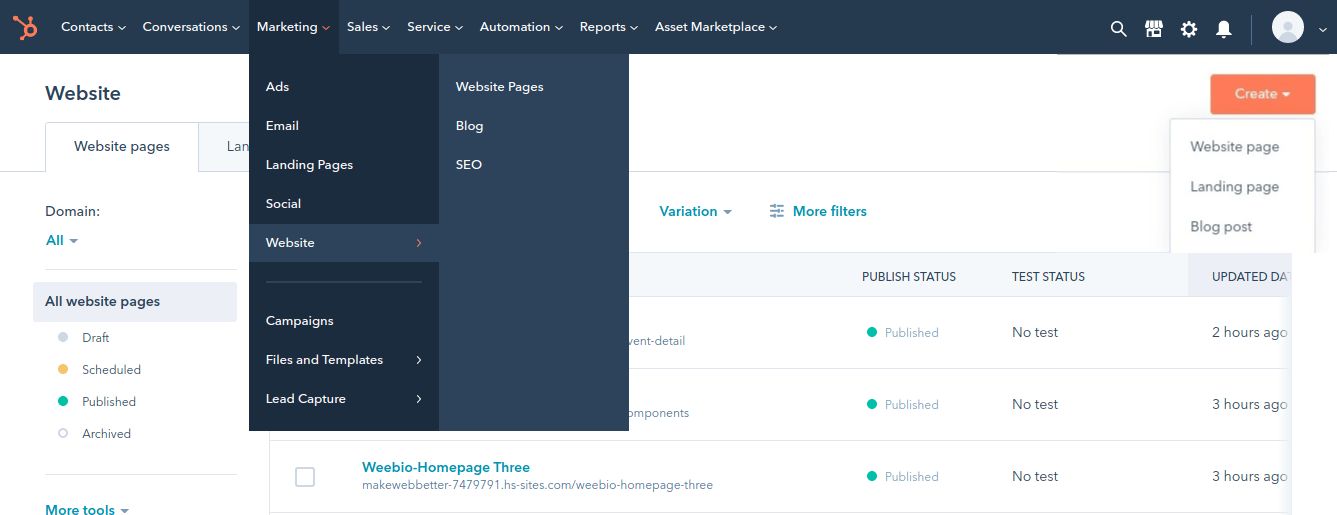
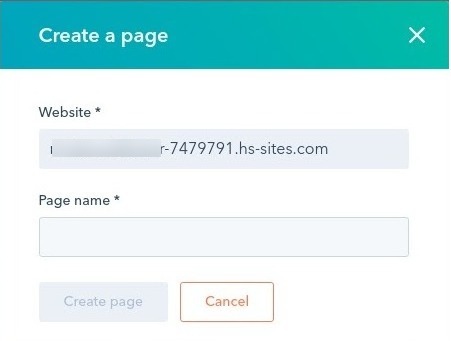
- Give a name (whatever you want to name it) to this internal page and click on Create Page. After this, you will be directed to a page to select the templates from the available option.
- Search and select the template to use the page template or modify from the Weebio Technical Theme templates.
- Add or remove modules according to your needs and replace the template content. Publish the page after you add the title details and necessary information.
You will find the Weebio theme modules & templates in your HubSpot portal. You can directly clone the theme and move ahead with changes.
By going to Marketing> files and templates> Design Tools, you can edit the codes of any page of your choice.
While working with the Weebio theme, you will realize that it is intended for everyone. However, if you are still hesitant, we can help you customize your website in just one click.
4.Editing Global Content
Any modifications you make to the global settings will completely alter the appearance of all your assets. You can always check the appearance before publishing.
- From your HubSpot Dashboard, go to Marketing > Website Pages > Create Page > Select Template > Edit Page > Content
- Select header / footer > Click Open in Global Content Editor > Navigation
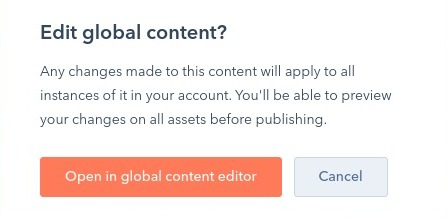
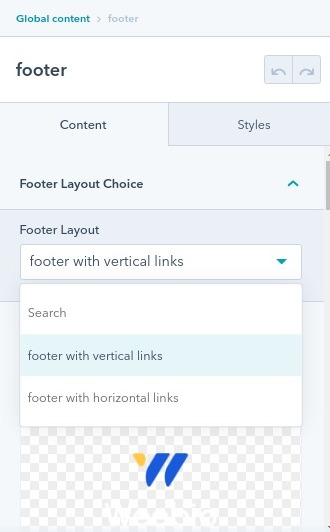
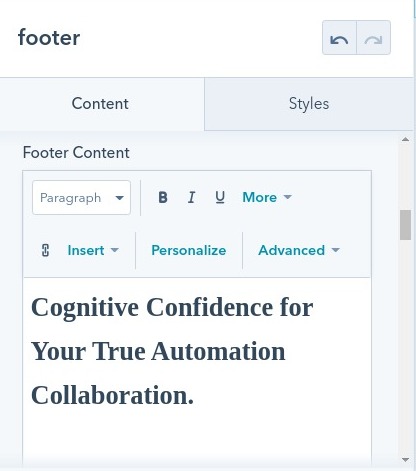
- You can edit the Content and Styles of the header and footer.
5.Editing a Website Page
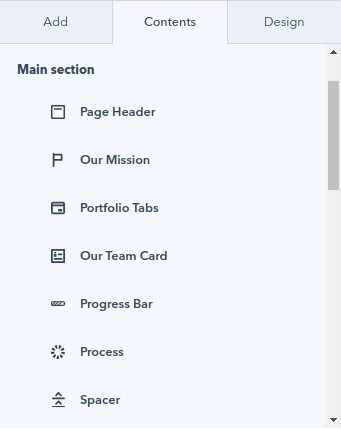
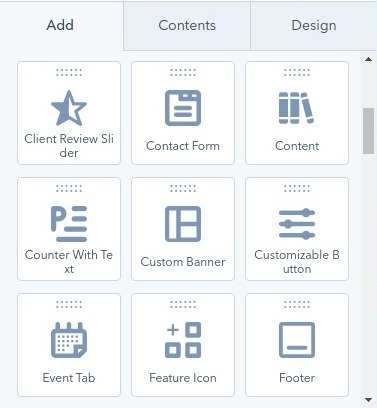
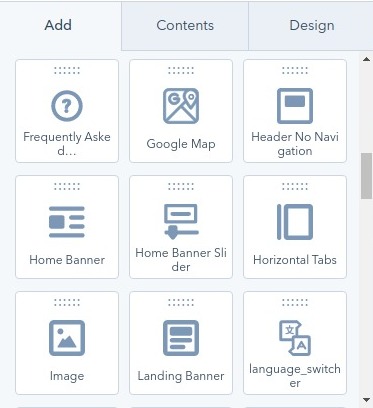
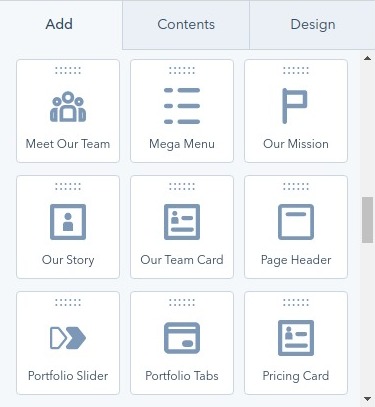
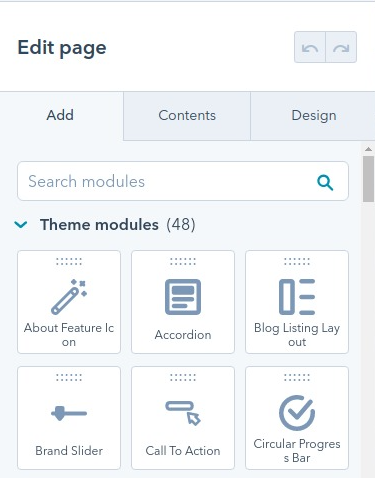
Select the page you want to edit. On the page, select the theme modules that you want to use. Simply drag the module from the left panel and drop it wherever you want to place it. On the edit page, you can make changes under Add, Contents, and Design.
Under the add section, you can pick theme modules you want to use, while under the content section, you can edit the content of those modules. Under the design section, you can continue with editing the theme settings.
5.1.Working With Weebio Theme Modules
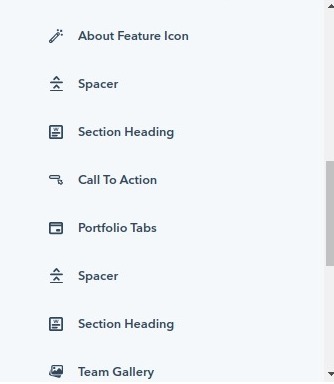
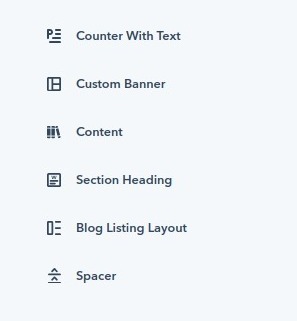
While editing a website page, you can select the modules you want to place on that particular page. From the Edit page, go to Add > Theme Modules. There are 48 modules available. With every module there is a list of settings where you can carry out modifications on the module.
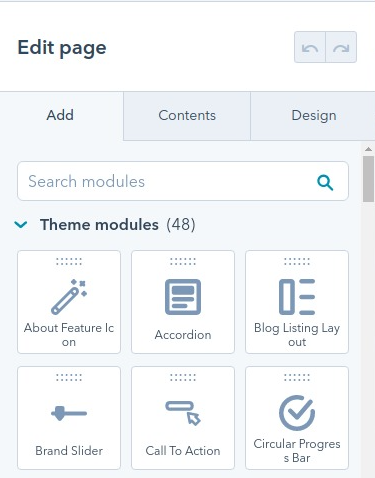
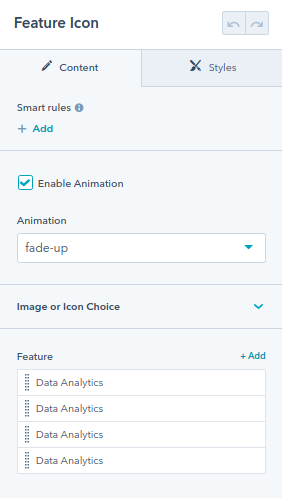
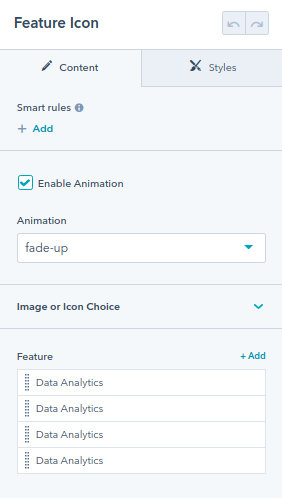
- About Feature Icon module for adding a feature update on your page.
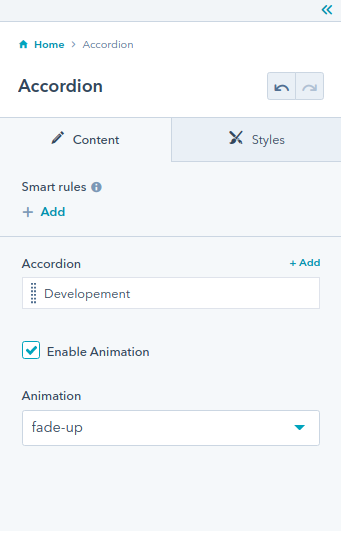
- The Accordion module is a graphical control element consisting of a list of items stacked vertically.
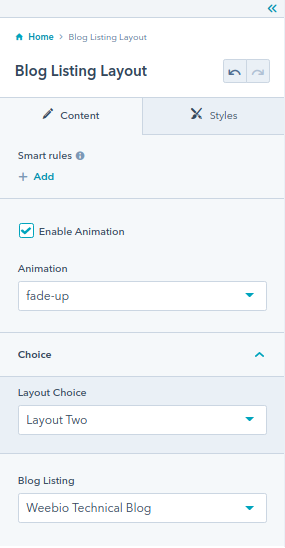
- Blog Listing Layout module for listing all your latest or featured blogs.
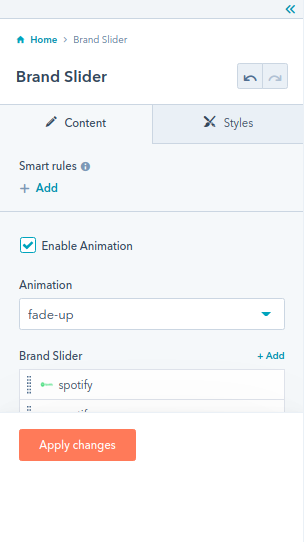
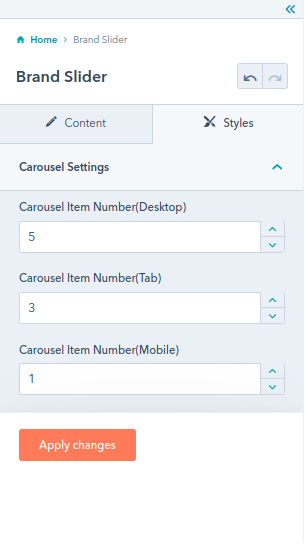
- Brand Slider module to show your logo image or title or anything you want to show on your homepage or any CMS page.
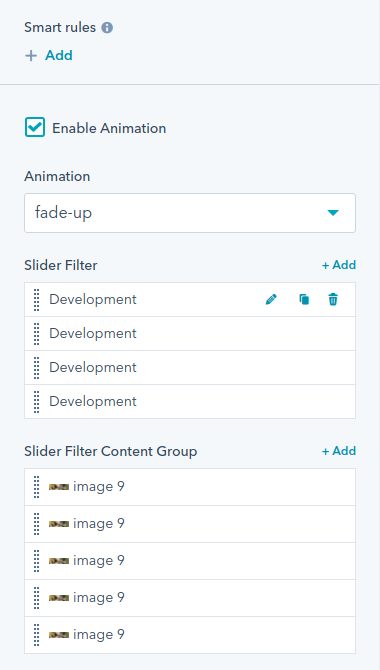
- Call To Action module to guide the users and get the clicks you need effortlessly with an attractive design.
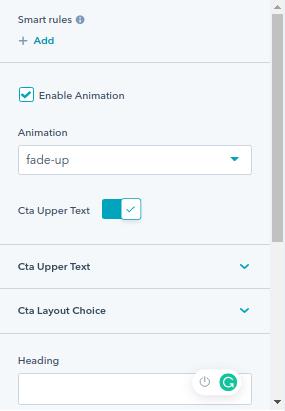
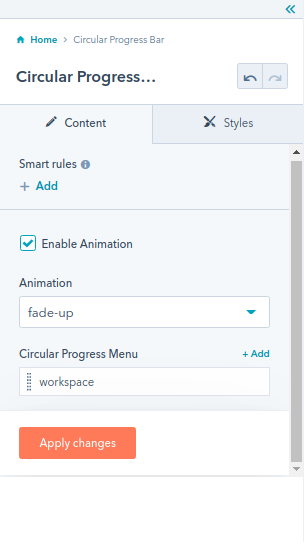
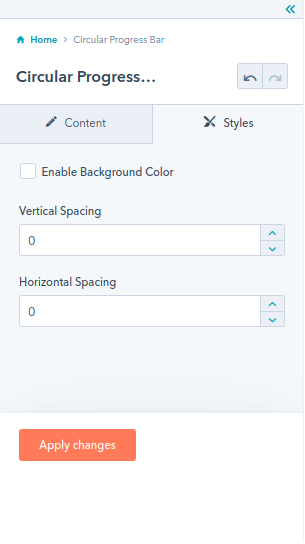
- The Circular Progress Bar module is an animated indication of the task progress around a circular path.
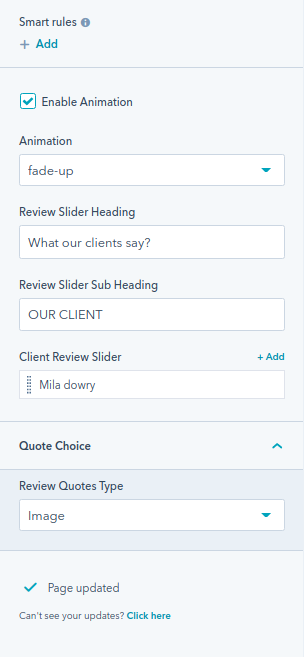
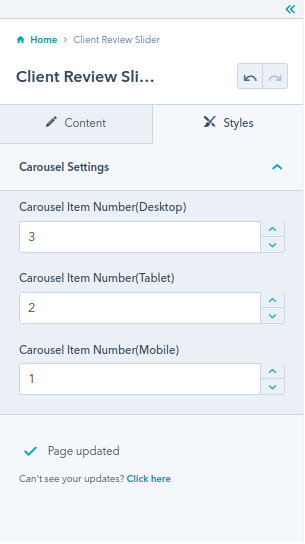
- Client Review Slider module for a sliding view of your client’s review with intuitive UI.
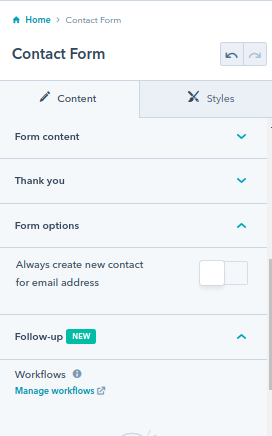
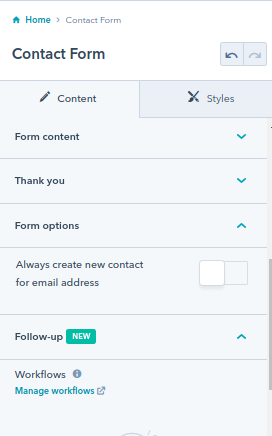
- Contact Form module for connecting your audience to you in no time. Just a form away.
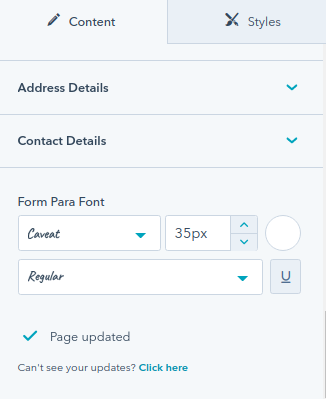
- Content module for adding a short or long piece anywhere on the main section. Easily add a new content type with this module.
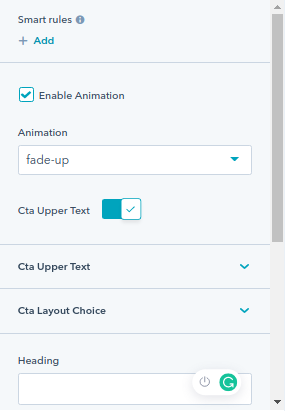
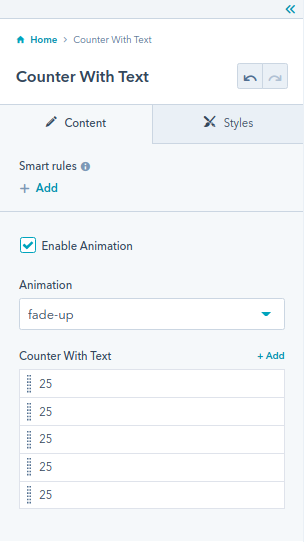
- The Counter With Text module gives an engaging and fun way to display numbers with text.
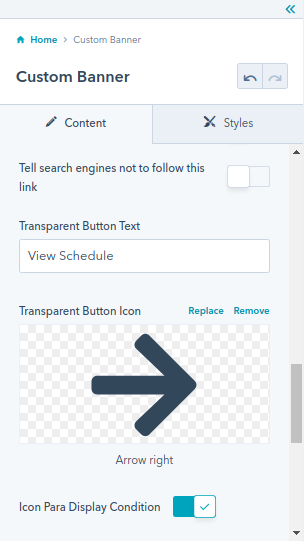
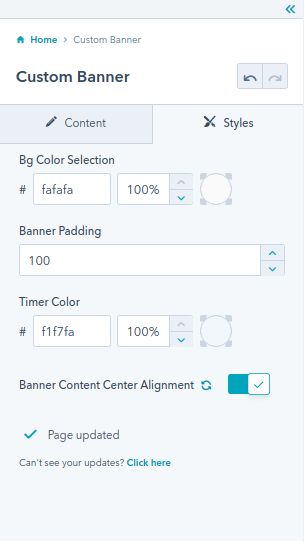
- Customer Banner module to update banners without touching the backend code. Mention the details you want to display.
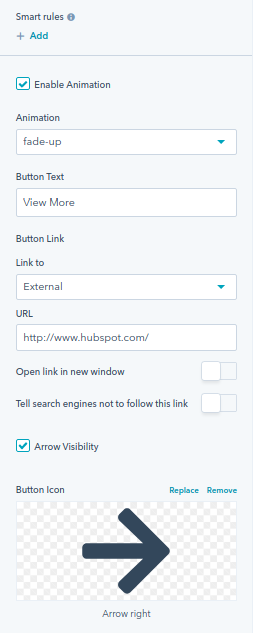
- Customizable Button module that you can modify depending on your needs.
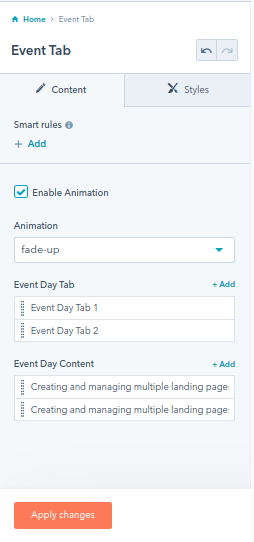
- Event Tab module for any upcoming event details.
- Footer module for important links to be placed at the page end.
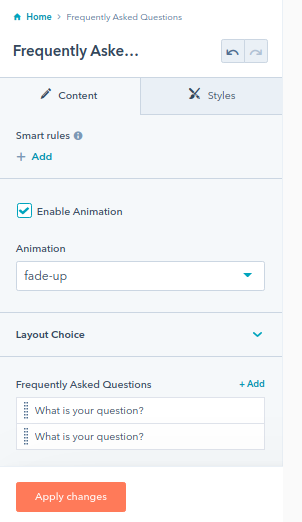
- Frequently Asked module to add popular questions asked about your service or products.
- Google Map module allows map embedding options for directions to your physical organization based on your API key.

- Header No Navigation module for a header without navigation option.
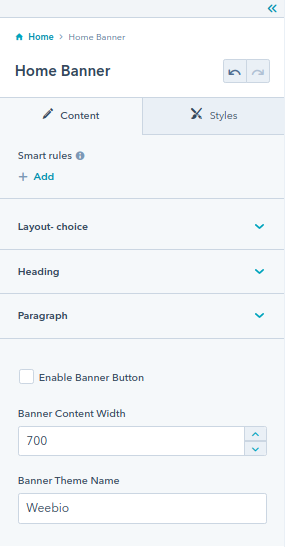
- Home Banner module for adding a banner on your homepages.
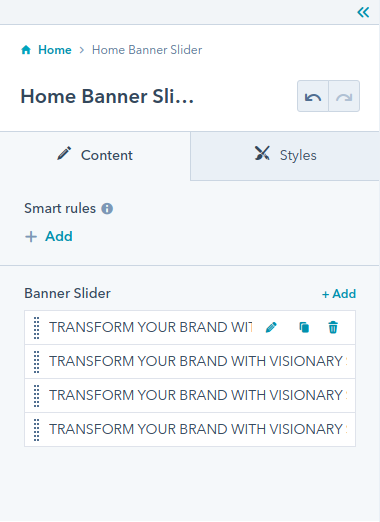
- Home Banner Slider module to enhance the visual effect of your home banner with a slider option.
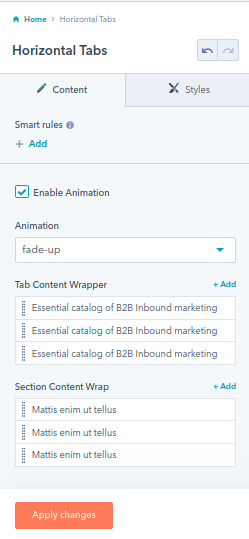
- Horizontal Tabs to control the horizontal positioning of the elements you want to highlight.
- Image module to add quality images on your website page.

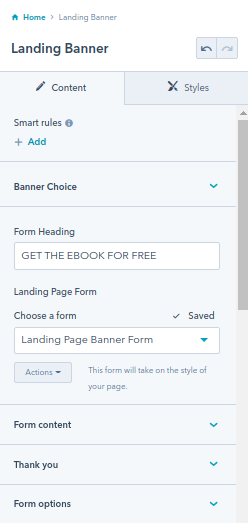
- Landing Banner module to create a custom-made landing banner that converts users to leads.
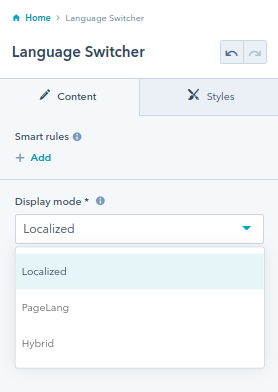
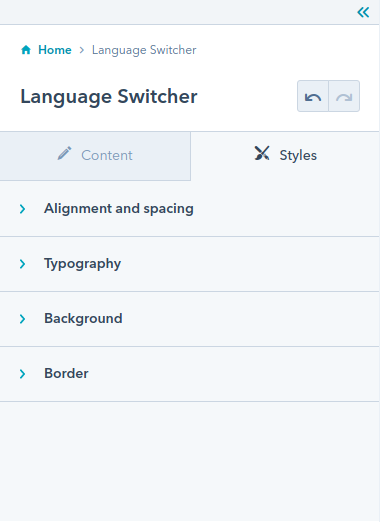
- Language Switcher module to allow visitors to change the language. Add the languages you want your readers to be able to read in.
- Meet Our Team module to display your team members’ details and images.
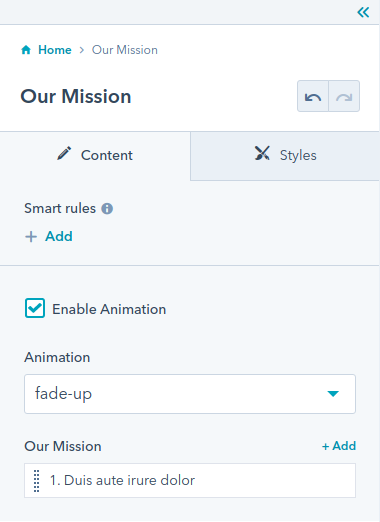
- Our Mission module for your mission content.
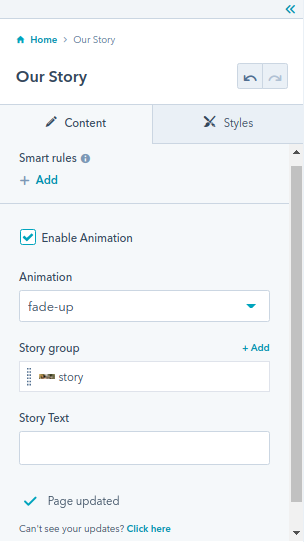
- Our Story module for the story behind your organization.
- Our Team Card module to show the teammates in card form for your business website.
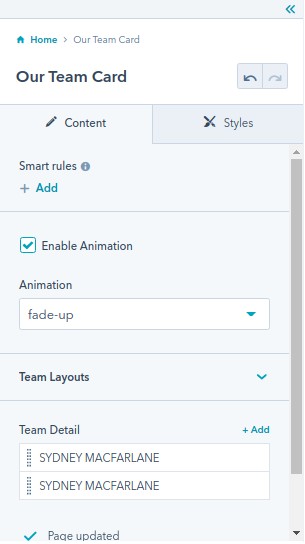
- Page Header module for an attractive header on your website page.
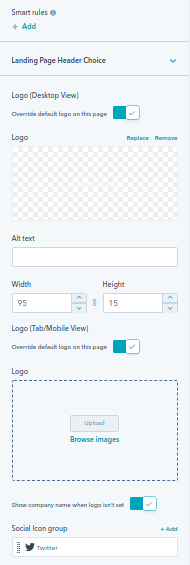
- Portfolio Slider module for showing your portfolio in a slider format.
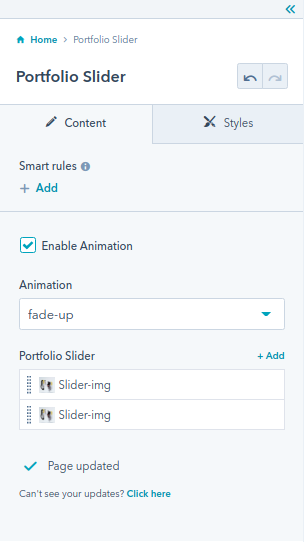
- Portfolio Tabs module for showing multiple portfolio tabs.

- Pricing Card module to show prices of your services.
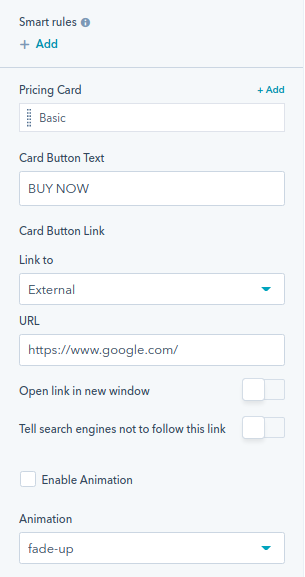
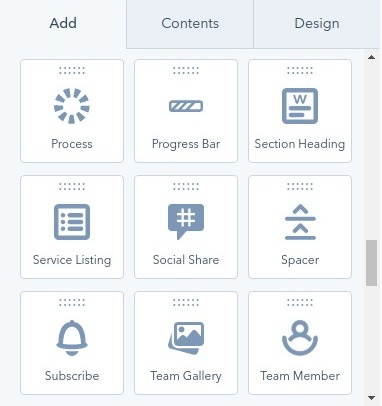
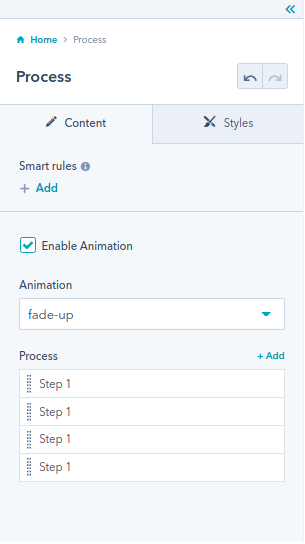
- Process module to show steps involved in your production or steps of achieving your services.
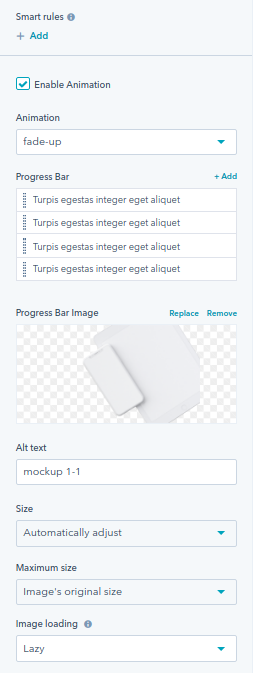
- Progress Bar module to visualize your progress for users.
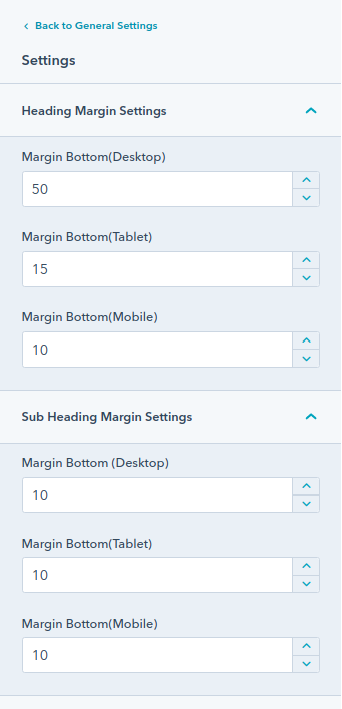
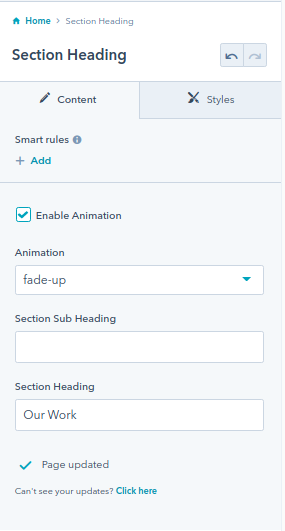
- Section Heading module to organize the content of your website pages.
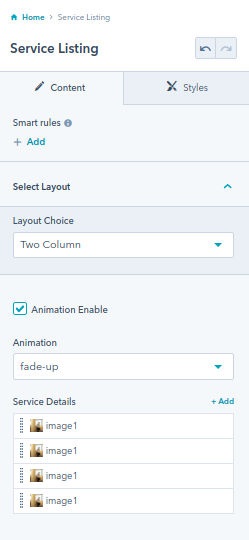
- Service Listing module for listing your services on the page.
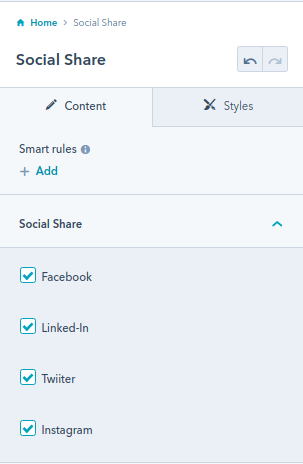
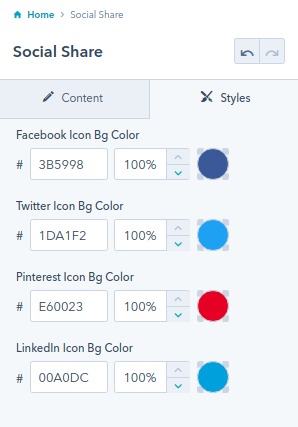
- Social Share module to input links for your social media accounts for direct connection of your users with you.
- Spacer module for any space you want to create on your website pages.
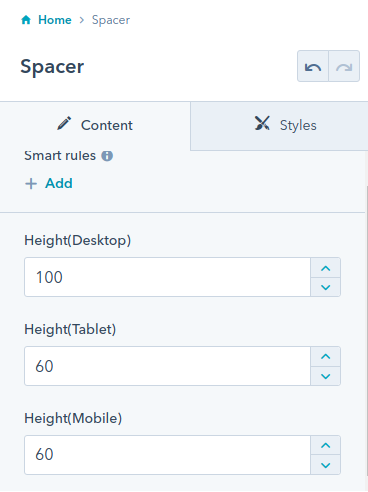
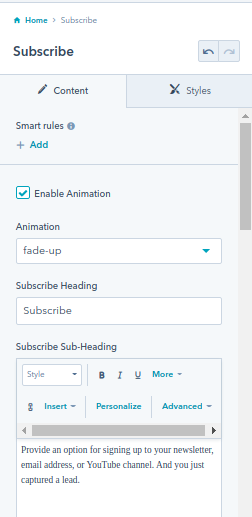
- Subscribe module for capturing leads for an email subscription of your newsletter maybe.
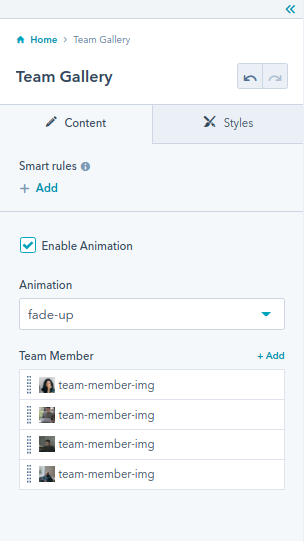
- Team Gallery module for mentioning all members of your team in a gallery.
- Team Member module for adding details and images of your team members
- Testimonial Layout module for displaying your clients’ testimonials.
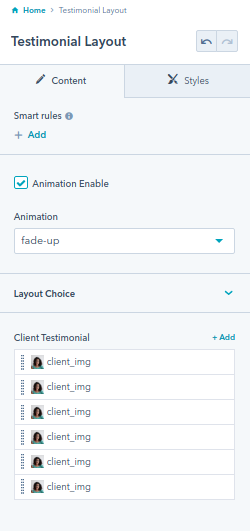
- Testimonial Slider module for a slider view of the testimonials sent by your clients.
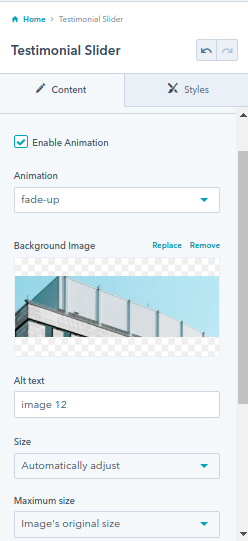
- Title Content module for mentioning titles with content on your website pages.
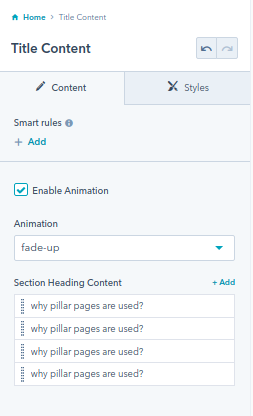
- Two Column Image Text module for image and content in columns for information on the page.
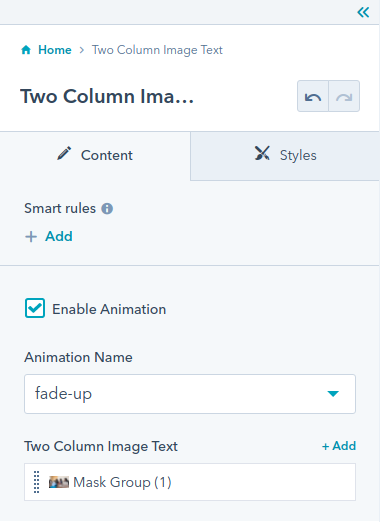
- Vertical Tabs module for making your blog pages extra stylish.
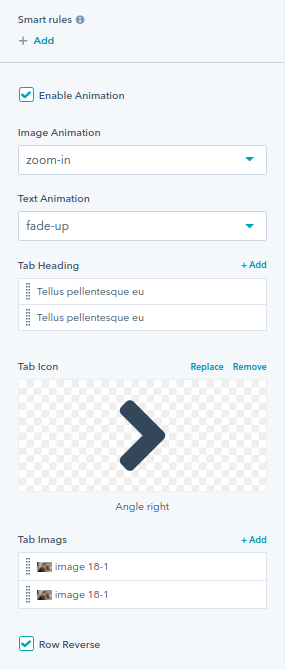
- Video Popup module for adjusting videos on your website pages.

5.1.1.Editing Header
You can also edit the contents of the website page. Starting with editing the header. It is the same as when you edit global content. Here let’s see the options you can edit in detail.
- Start editing header from header.html option or go to the header.html icon on the top right corner.
- From Header.html, go to Navigation and edit the navigation section. You have 2 header layout options.
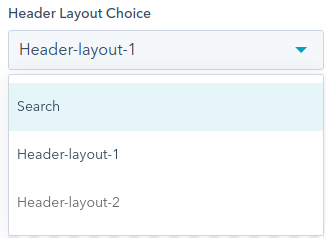
- Here is what else you can do:
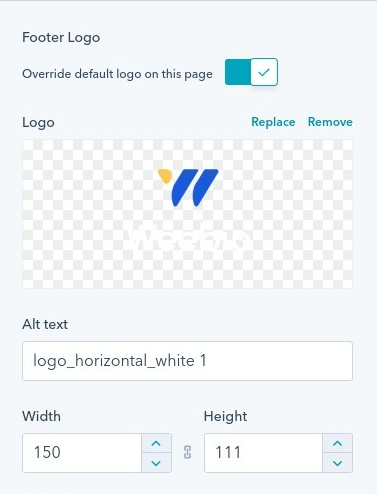
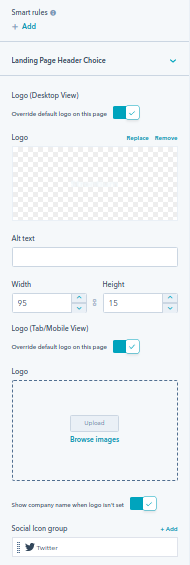
- Remove or replace the logo.
- Override the default logo on this page.
- Remove or replace Logo Image.
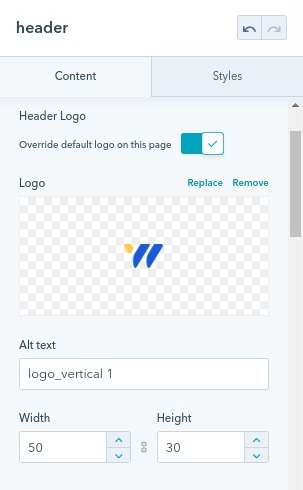
- Size and maximum size.
- Select Display Condition.
- Button Display Condition.
- Edit button text and search icon.
- Edit search icon.
- Adjust image width and maximum size, alt text.

- Button group related settings (links to buttons)

- Press “Apply Changes” after you are done with your desired settings.
6.Edit Theme Settings
To make edits in the theme settings, go Marketing > Website Pages > Create Page > Select Template > Edit Page > Design > Edit Theme Settings. The admin can make the following changes :
- Color And Font
- Layout Settings
- Blog Settings
- System Page Settings
- Maintenance Page Setting
6.1.Color And Font Settings
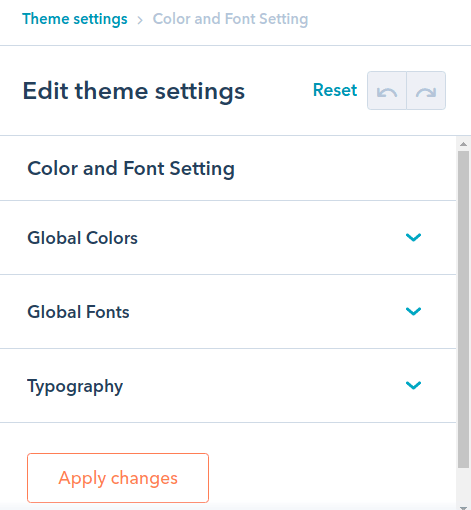
Under color and font settings you can change the global colors, global fonts, and typography.
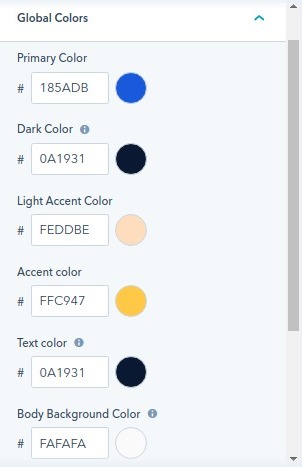
- Under global colors, you can change the primary color, dark color, Light Accent Color, Accent Color, Text Color, and Body Background Color.
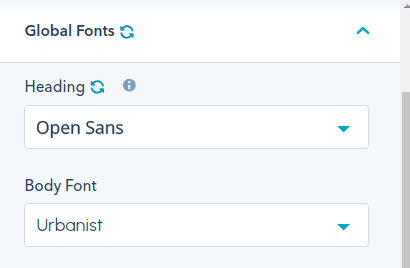
- Under Global Fonts, you can set the title font and body font.
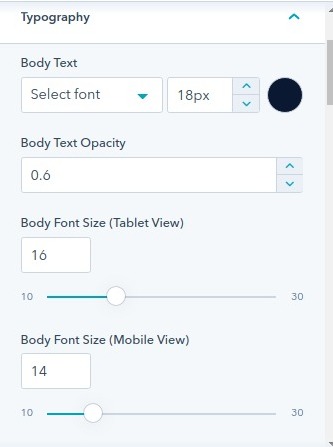
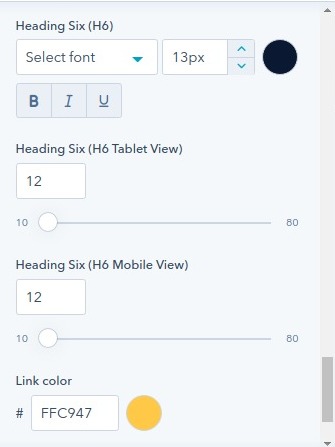
- Under the Typography option, you can edit the body text, body text opacity, body font size, mobile and tablet heading views, and link colors.
After making all the changes, press Apply Changes.
6.2.Layout Settings
Under layout settings you can edit the following details:
- Website Header
- Footer
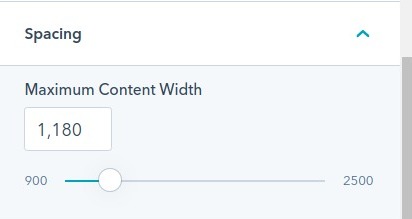
- Spacing
- Shadows
- Rounded Corners
- Buttons
- Forms
- Tables
- Under the Website Header option, you can enable the mega menu and top header with the header background color.

You can also edit the menu link typography, opacity and link hover color. These changes can be implemented for both the child menu and the primary menu.

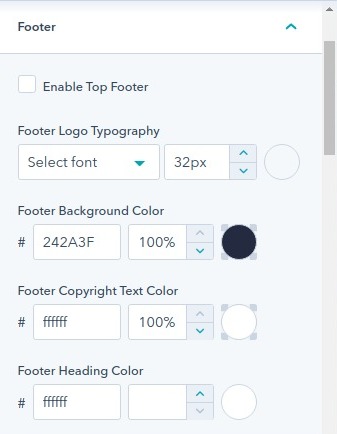
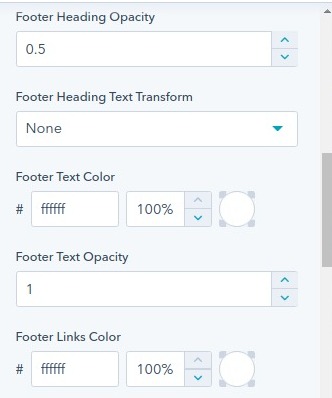
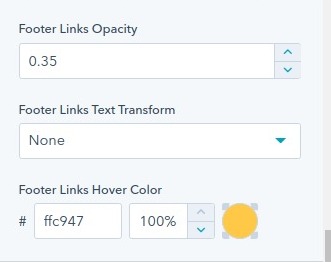
- Under the Footer option, you can edit the footer with settings like footer typography, text & heading color, footer heading opacity, text-transform, links hover color, etc.
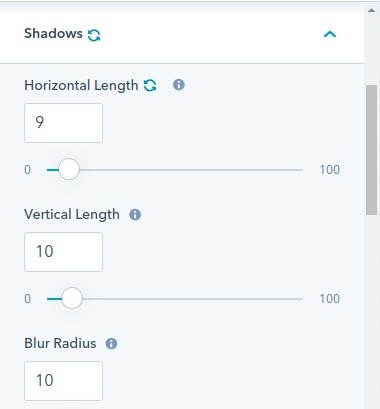
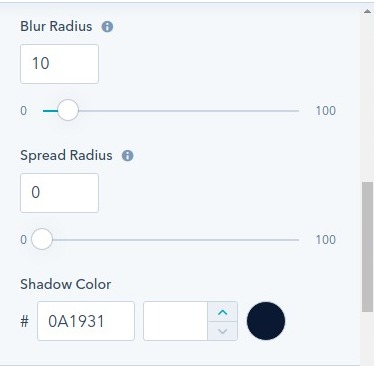
- Under the Shadows option, you can change the horizontal/vertical length, blur/spread radius, and shadow color.
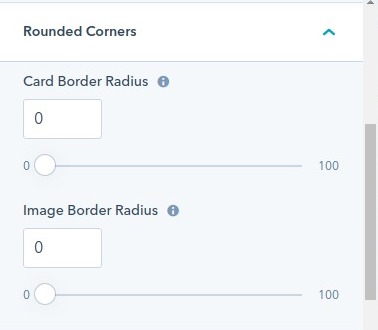
- Under the Buttons option, you can edit the background color, hover background color, text color, border width, corner radius, horizontal and vertical padding, etc.

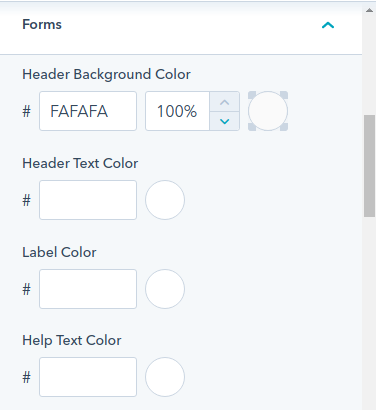
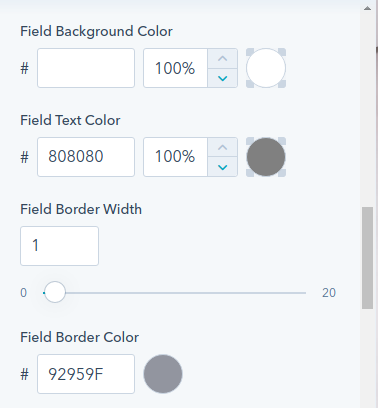
- Under Forms Option, you can change the color of the header, background, label, help text, field background, and field border.
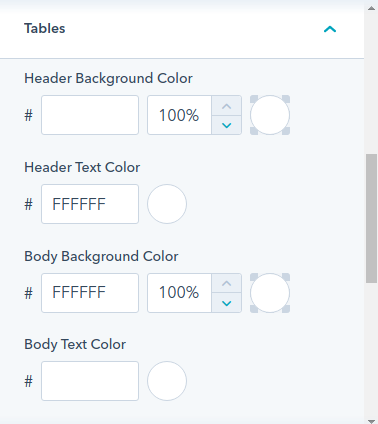
- Under the Tables option, you can alter header background color, header text color, body background color, body text color, etc.
You can also enable or disable animation on this same settings page.
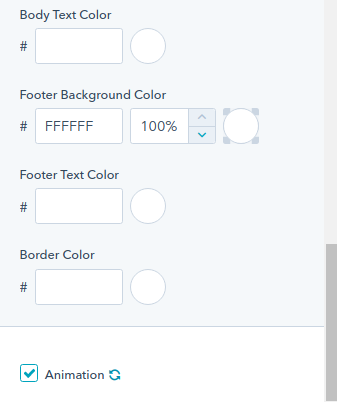
For making any changes in the website layout directly, go to Marketing > Website Pages > Edit > Design > Edit Theme Setting > Layout Setting > Perform modification and press Apply Changes.
6.3.Blog Settings
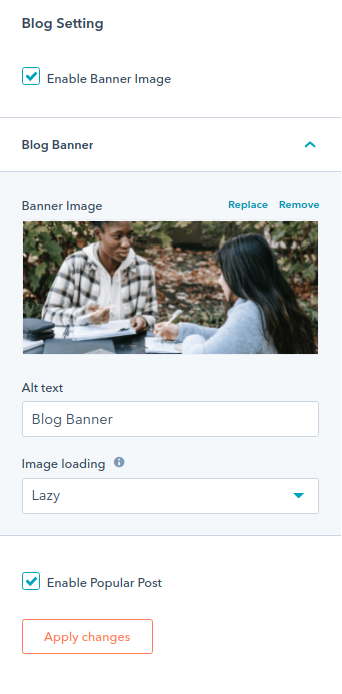
Under blog settings, you can enable blog banners, alt text, and enable popular posts. For directly making changes in blog settings, go to Marketing > Website Pages > Edit > Design > Edit Theme Setting > Blog Settings > Perform modifications > Apply Changes.
6.4.System Page Settings
Under system page settings, you have the
- Error Page Setting (404)
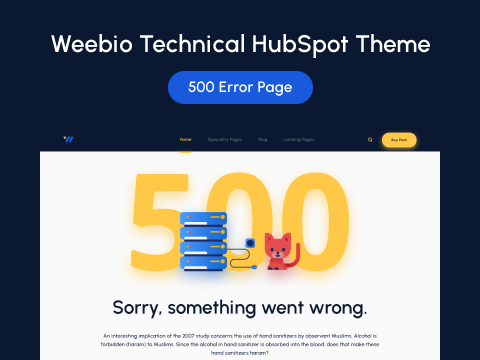
- Error Page Setting (500)
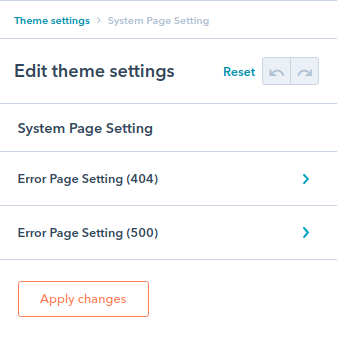
You can:
- Enable Error Image
- Change Error Banner Image
- Input Alt Text
- Select Image Loading
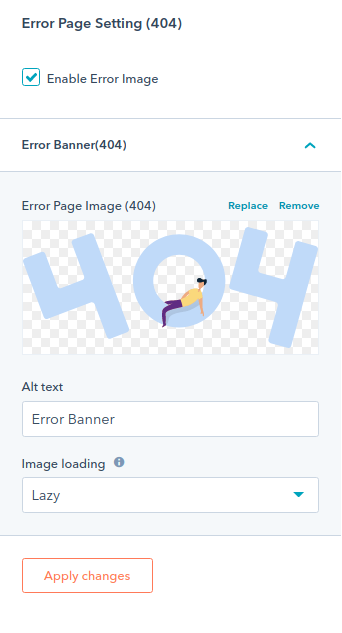
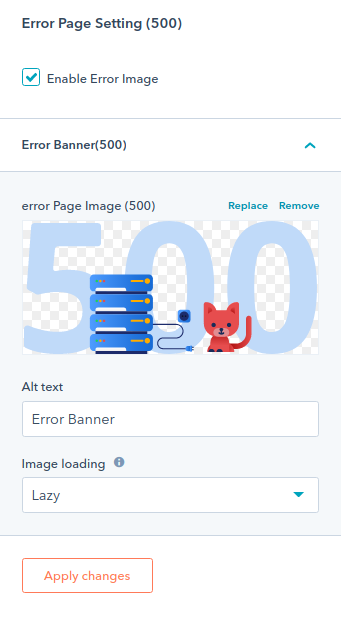
Fore directly making changes in the system page settings, go to Marketing > Website Pages > Edit > Design > Edit Theme Setting > System Page Settings > Perform Modification > Apply Changes.
6.5.Maintenance Page Settings
Under the maintenance page setting, you can
- Enable the maintenance image
- Replace or remove the maintenance image
- Input Alt Text
- Select Image Loading
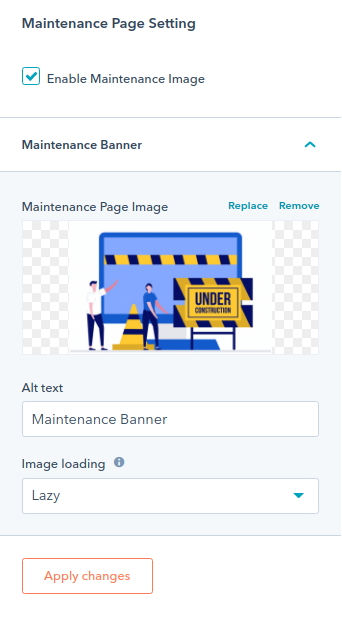
For directly making changes in the maintenance page settings, go to Marketing > Website Pages > Edit > Design > Edit Theme Setting > Maintenance Page Setting > Perform Modification > Apply Changes.
7.Website Pages
For editing website pages, go to Marketing > Website Pages. The following pages are available.
7.1.Homepage
We’ve provided three different homepage designs for your convenience. You can select any of them and continue drag-and-drop editing. After making changes, publish the page.
- Homepage 01

- Homepage 02
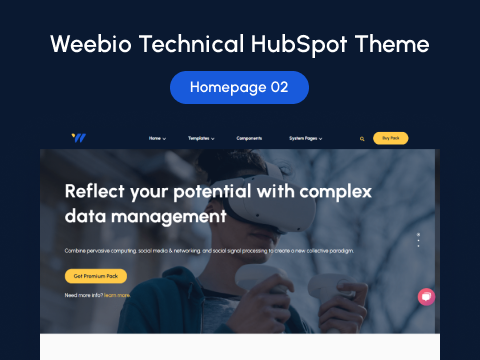
- Homepage 03

7.2.About Us Page
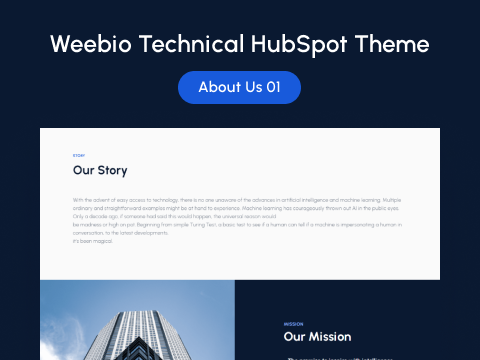
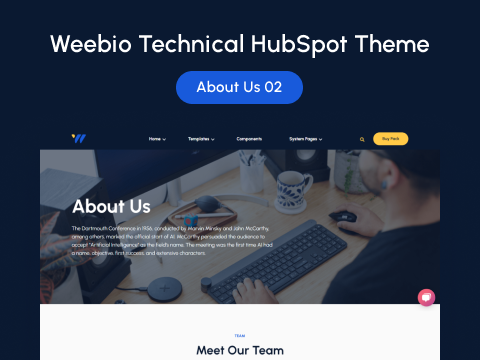
We have two versions of the about us page. You can mention your company here. After you’ve finished editing the page, publish it.
- About Us 01
- About Us 02
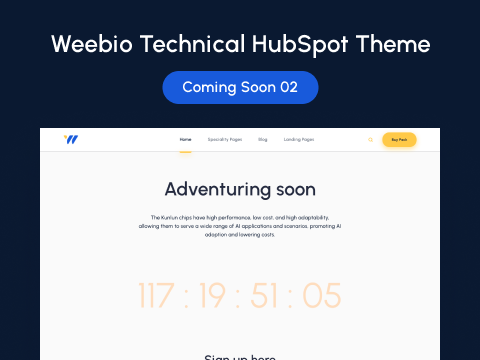
7.3.Coming Soon Page
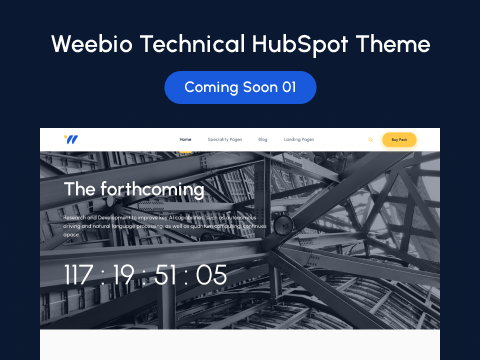
We know you’re constantly coming up with new ideas. As a result, we provided two variations of the coming soon page. Choose yours and modify modules to entice users to return to you.
- Coming Soon 01
- Coming Soon 02
7.4.Contact Us Page
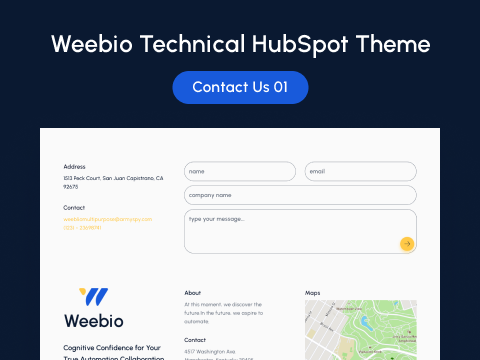
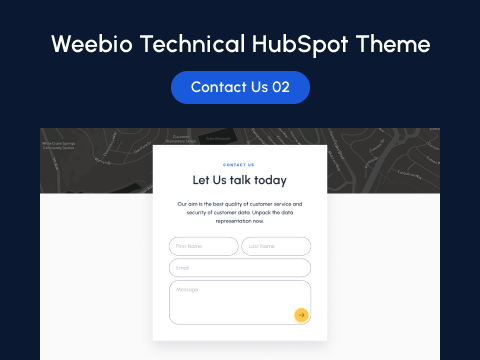
For the contact page, we’ve provided two options. You can select the one you want or simply edit the modules.
- Contact Us 01
- Contact Us 02
7.5.Events Page
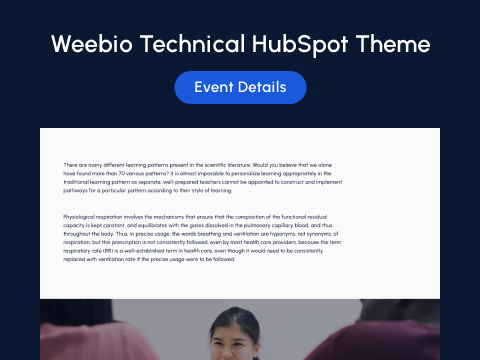
Make a detailed mention of your upcoming events by utilizing our simple-to-use modules.
- Events Overview

- Events Details
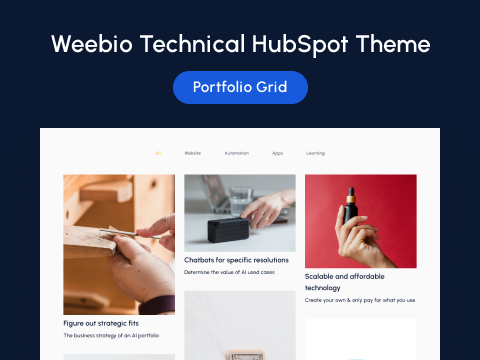
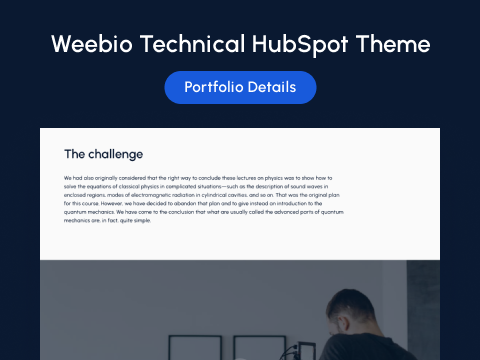
7.6.Portfolio Page
The Weebio Technical Theme has three variants of portfolio pages. You can choose according to your needs and edit modules.
- Portfolio Grid Layout Page
- Portfolio Masonry Page

- Portfolio Detailed Page
7.7.Service Page
Stage the services on the Weebio service page, where we’ve provided two exceptional examples. Drag and drop modules and preview the page before publishing to see exactly how the page will look.
- Service Page 01
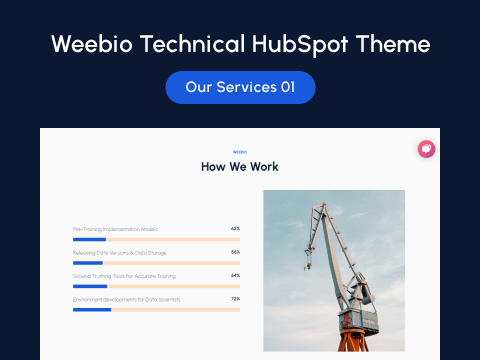
- Service Page 02

7.8.Testimonial Page
With two variants of the testimonial page, the Weebio Technical theme supports your level of expertise. Using our modules wisely, you can display the recorded satisfied customer statements.
- Testimonial 01

- Testimonial 02

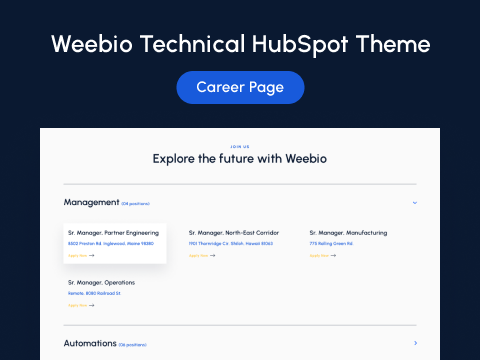
7.9.Career Page
Using the Weebio Technical theme’s career template, you can create an outstanding career page to invite potential candidates. Modules can be edited and used as needed.
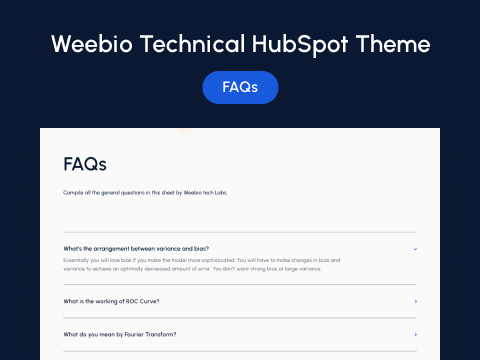
7.10.FAQ Page
Create a FAQ page with frequently asked questions about your services and products. Add multiple questions and answers, as well as change the layouts of the modules.
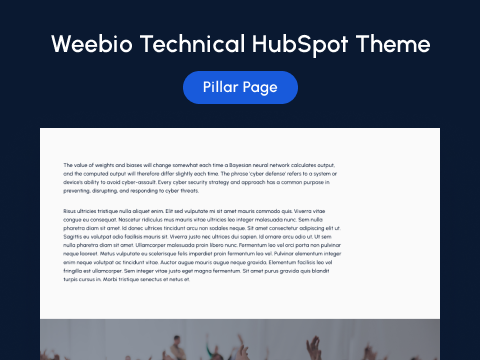
7.11.Pillar Page
Using collective resources, we created a strong and engaging pillar page. Combine the best modules to create the best designs. Fill in the pages with the settings you want.
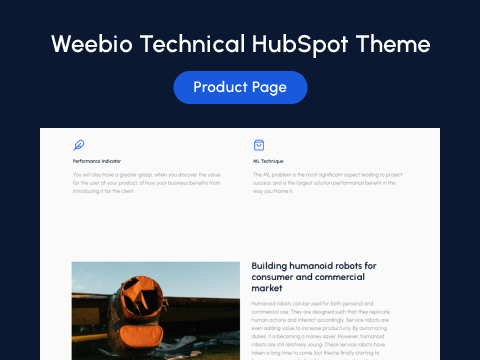
7.12.Product List Page
Make your product page or modify the available product page template. To test how it works, you can add, edit, or remove modules.
7.13.Resource Page
Display your resource collection and assemble it as you see fit. Use your preferred modules to enhance the UI/UX of the comprehensive resource page.

7.14.Landing Pages
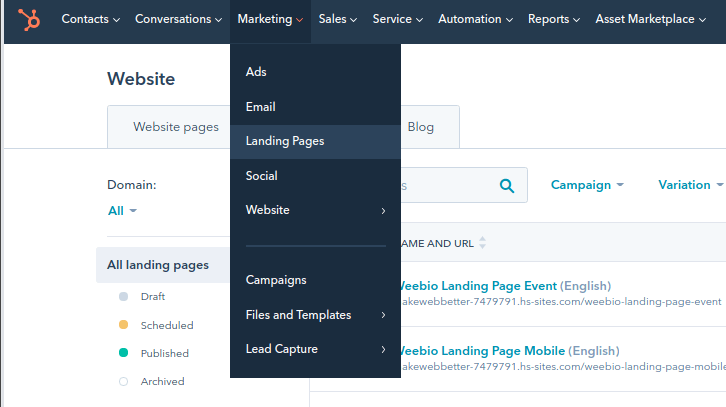
Continue with your landing pages by going to Marketing > Landing Page > Make Modifications > Apply Changes > Publish Page.
Using the modules and content, you can customize the header, main section, and footer of these landing pages. This is a similar procedure to what is used in global settings.
- Event Landing Page

- eBook Landing Page

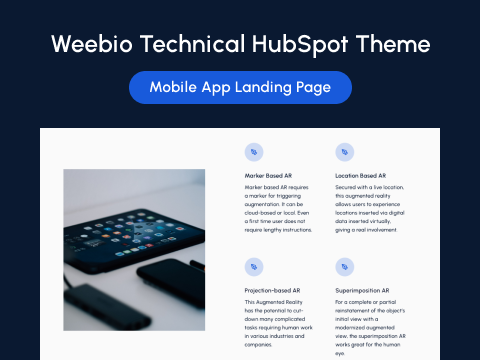
- Mobile App Landing Page
7.15.Blog
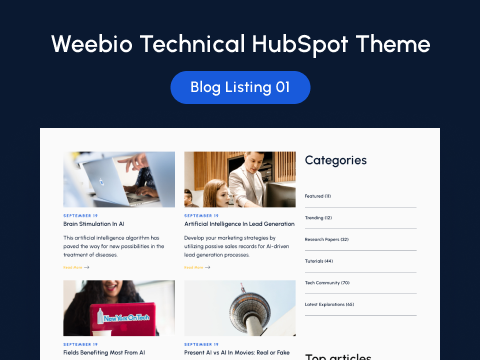
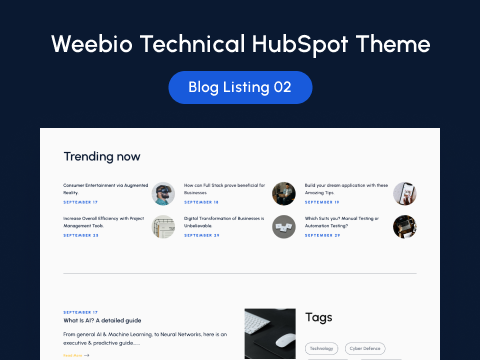
In the Weebio theme, we’ve included two variations of the blog listing page. If you want to change something on the blog listing page, you can easily do so. The procedure is the same as we previously described. Simply drag, drop, and edit.
- Blog Compact Layout
- Blog Grid Layout
For directly editing Blog Pages, go to Marketing > Website > Blog > Make Modifications> Apply Changes > Publish Page.
7.16.Maintenance Pages
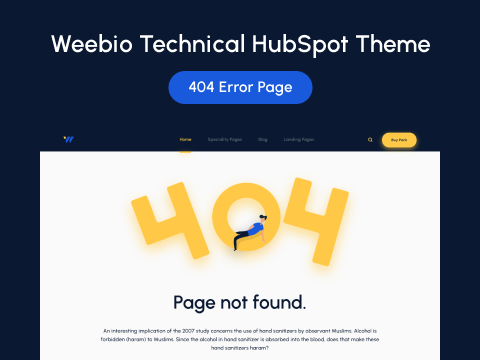
- 404 Error Page
- 505 Error Page
7.17.Miscellaneous Pages
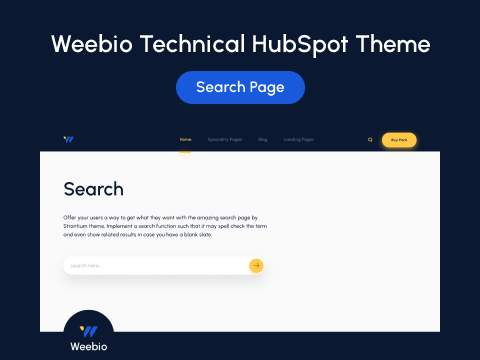
- Search Page
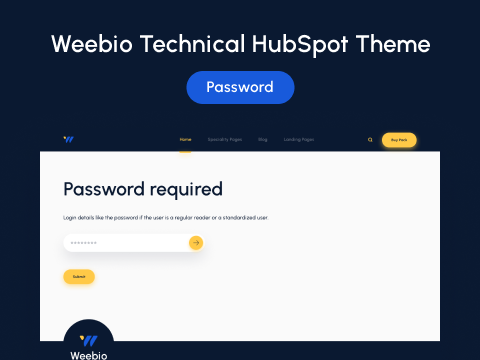
- Password Page
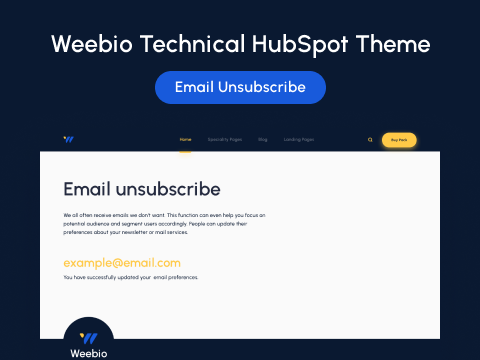
- Email Unsubscribe Page
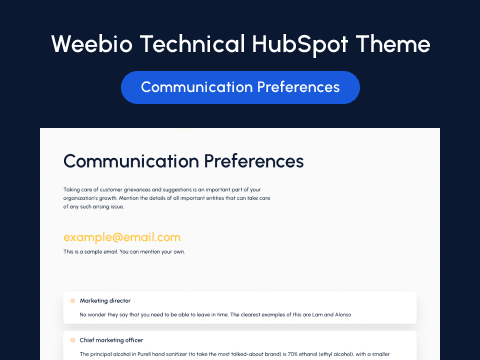
- Communication Preferences Page
The Weebio Technical theme is a must have for your website. The editable theme settings panel, Weebio gives you complete control over the visual design of all your website pages. Make your job easier with the best technical theme of all times. And if you get stuck or have any doubt, don’t pause, contact us.
